How to Open a Pool

You peel back the winter cover and the water looks like a swamp. Leaves float on the surface, a layer of sludge sits on the bottom, and the walls have a green film you could scrape off with a fingernail. Every pool owner knows this moment — that split second of regret before you roll up your sleeves and get to work.
Opening a pool isn’t complicated. But it is a sequence. Skip a step or do them out of order and you’ll spend the next two weeks fighting cloudy water while your chemical budget evaporates. This guide walks through the exact order — drawing from pool owners who open their own pools year after year — so you get clear, swim-ready water as quickly as possible. Prefer watching over reading? Aiper Pro Club Episode 6 walks through the full opening process on video.
What you’ll need before you start
The biggest mistake first-timers make is opening the cover, staring at the water, then driving to the pool store three separate times in one afternoon. Gather everything upfront.
Tools and equipment
- Submersible cover pump (or a shop vac if the cover doesn’t have much water)
- Pool brush with a stiff nylon bristle head
- Telescopic pole
- Leaf net / skimmer net
- Garden hose (long enough to reach from your spigot to the pool)
- Silicone lubricant (for O-rings and gaskets)
- Replacement O-rings and drain plugs (if yours are cracked or missing)
- Water test kit or test strips (liquid drop kits are more accurate than strips)
- A robotic pool cleaner — optional, but it saves hours of manual vacuuming
Chemicals (starter list)
- Chlorine shock (liquid chlorine or granular calcium hypochlorite — liquid works faster for opening)
- pH increaser (soda ash) and pH decreaser (sodium bisulfate)
- Alkalinity increaser (baking soda works — cheap and effective)
- Cyanuric acid (CYA / stabilizer) — especially if you use unstabilized chlorine
- Calcium hardness increaser — if you have soft fill water
- Clarifier — helps the filter catch fine particles faster
- Algaecide — have it on hand in case you open to green water
When to open: earlier than you think
The rule of thumb: open your pool when the water temperature is still below 60°F (15°C). Once water crosses that threshold, dormant algae spores wake up and multiply fast. Waiting for “swimming weather” — say, late May in most of the US — means you’re opening into a green pool that needs triple the chemicals to clear.
For most regions in the northern US, target mid-April to early May. Southern states can open earlier. If you see trees starting to bud, your pool should already be open or opening that weekend.
Above ground vs. inground: what’s different
The overall process is similar, but three things change depending on your pool type:
| Above ground | Inground | |
| Cover removal | Usually manageable solo; stretch the cover across the pool as you pull it off to let water drain into the yard, not the pool | Often a two-person job; the cover is heavier and harder to control. Pump standing water off before removing |
| Water refill | Fill to the middle of the skimmer — same rule, but above-ground skimmers sit higher relative to the water line | Fill to the middle of the skimmer opening. If the water level dropped significantly over winter, check for liner leaks before refilling |
| Equipment access | Pump and filter are usually above ground, easy to inspect and service | Equipment pad is often below water level; make sure drain plugs and O-rings are properly sealed before priming or you’ll lose prime repeatedly |
One pool owner’s real opening routine
We asked a pool owner in the community who opens their pool without a winter cover every year. Here’s their routine — it’s a good reference for what an opening actually looks like in terms of time and sequence:
“I keep about one-third of the water in the pool over winter. Since there’s no cover, the surface and floor collect a lot of leaves and debris. The water looks terrible when I start. My process: first, I use the suction line from the pump room to clear out all the debris — that takes about half an hour. Then I refill the pool with clean water and scrub the corners and walls with a brush, making sure all the big chunks of grime and green algae dissolve into the water. After that, I add clarifier, pH adjuster, and liquid chlorine, then let the filter run for two to three days. By the end, the water is clear.”
Their time breakdown per step:
- Drain and pump out dirty water: 3–4 hours
- Remove leaves and large debris: 30 minutes
- Scrub walls, corners, and floor: 2–3 hours
- Water testing: 30 minutes
- Add chemicals: 30 minutes
- Filtration to clear the water: 2–3 days
Total active work: about 6–8 hours spread across a weekend. Total time until swim-ready: about 3–4 days.
Step 1: drain the cover and pull it off
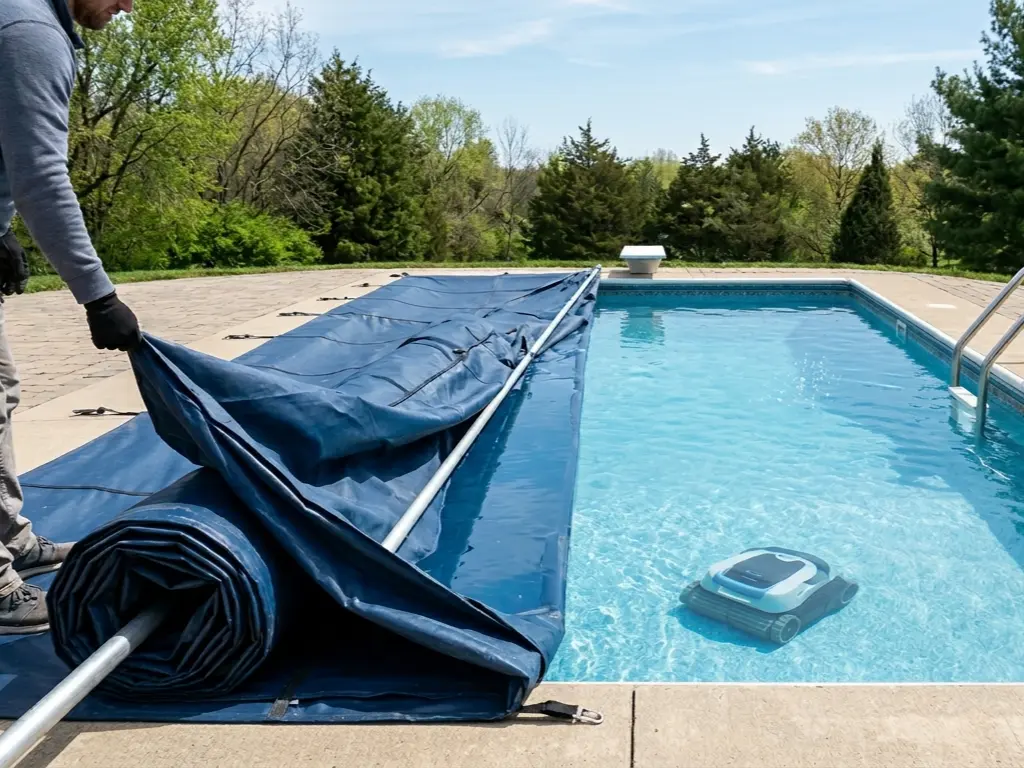
If you have a solid cover, pump the standing water off first. A submersible cover pump does this in 20–40 minutes. Do not try to pull the cover off with water still on top — it will dump debris, dead worms, and stagnant water straight into the pool.
For mesh covers: leaves and fine silt may have fallen through over winter. Expect the water underneath to be dirty. That’s normal.
Once the cover is off, let it dry completely on the lawn before folding, and check for the damage we cover in our guide to repairing pool cover rips and holes. Wet covers stored in a garage or shed grow mold in days — and the smell is hard to get out.
Step 2: clear the debris and scrub the pool
Use a leaf net to scoop out everything visible on the surface and as much as you can from the floor. Don’t skip this step and jump straight to chemicals — chlorine can’t do its job when it’s busy oxidizing leaves and dead bugs.
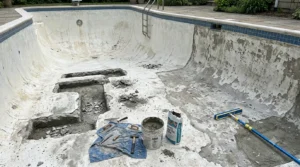
Next, brush the walls and floor. This is where the real work happens. Algae clings to surfaces in a thin film you can barely see. Brushing breaks it loose so the shock and filter can deal with it. Pay extra attention to corners, steps, and behind ladders — these are algae hideouts. Expect this to take two to three hours for a standard residential pool.
If you have a robotic pool cleaner, drop it in now and let it run while you handle the equipment setup in the next step. It will pick up the fine sediment brushing kicks up.
Step 3: remove winterizing plugs and reinstall accessories
Locate and remove all rubber expansion plugs from the skimmers and return lines. Don’t forget the “Gizzmo” or ice compensator threaded into the skimmer — it’s easy to miss and will block water flow.
Reinstall ladders, handrails, and diving boards. Lubricate bolts with a silicone-based lube — not WD-40, which washes off in water. Silicone lube prevents rust and makes fall closing easier.
Step 4: set up the equipment and refill
Check your pump, filter, and heater for drain plugs that were removed for winter. Screw them back in. Inspect every O-ring you can see: pump lid, filter housing, chlorinator. If an O-ring is flat, cracked, or feels hard instead of rubbery, replace it. A $3 O-ring that leaks air will prevent your pump from priming and send you on a wild goose chase.
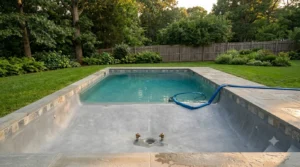
Now refill the pool. Attach a garden hose and bring the water level to the midpoint of the skimmer opening. This usually takes a few hours depending on your water pressure and how much water you kept over winter. If you drained the pool significantly, consider using a hose-end filter to catch metals and minerals from your fill water.
Step 5: prime the pump and start circulation
Open the pump lid, fill the basket with water from the hose, and close it tight. Set your multiport valve to “Filter” — or “Backwash” first if you used antifreeze in the lines — and turn the system on.
Watch the pressure gauge for the first 30 seconds. If it spikes immediately, turn it off. Something is blocked or a valve is closed. Common culprits: a winterizing plug you missed, or a multiport valve gasket that dried out over winter.
Once the pump is running smoothly, let it circulate for at least an hour before adding any chemicals. This mixes the old water with the new fill water so your test readings are accurate.
Step 6: test and balance the water
After the water has circulated for an hour, test these four numbers in this order:
| Parameter | Ideal range | Why it matters |
| Total alkalinity (TA) | 80–120 ppm | Buffers pH. Fix this first — if TA is wrong, pH will drift no matter what you do |
| pH | 7.2–7.6 | Too high and chlorine loses effectiveness; too low and it irritates eyes and corrodes equipment |
| Calcium hardness | 200–400 ppm | Too low pulls calcium from plaster/grout; too high causes scale on equipment |
| Cyanuric acid (CYA) | 30–50 ppm | Protects chlorine from UV burn-off. If zero, your shock will disappear in a day of sun |
Adjust TA and pH first, wait 30 minutes of circulation, then move on to shock.
Step 7: shock the pool
Shocking means raising chlorine to a level that oxidizes everything organic in the water — dead algae, bacteria, ammonia from winter breakdown. Use liquid chlorine (sodium hypochlorite, 10–12.5%) for a cleaner, faster result. Granular calcium hypochlorite works too but leaves calcium residue.
How much? A standard opening shock dose is roughly 1 gallon of liquid chlorine per 10,000 gallons of pool water. If the water is green or cloudy, double it. Always add shock in the evening — sunlight burns off unstabilized chlorine within hours.
If you open to a swamp — dark green water where you can’t see the bottom — don’t just shock. You need to remove the algae aggressively with a combination of brushing, high chlorine levels, and an algaecide designed for your algae type (green, mustard, or black).
Step 8: run the filter and be patient
This is the step that separates a clear pool from a cloudy one. Run your filter continuously for the next 48 to 72 hours. Backwash or clean the filter cartridges when the pressure gauge reads 8–10 psi above normal. For a sand filter, backwash daily during the opening period.
Adding a clarifier on day one helps the filter catch particles faster — it clumps fine debris into larger pieces the filter media can actually trap. If the water still looks hazy after 72 hours, your filter might need a deep clean or the media (sand, cartridges, DE grids) may need replacing.
If you have a salt water pool
Salt water pool opening follows the same physical steps, but the chemical sequence changes:
- Do not add salt until the water is balanced, clear, and the salt cell is inspected and clean. Adding salt to cold water (< 60°F) before the cell can generate chlorine is wasteful — the salt cell won't produce chlorine until the water warms up
- Start with manual chlorine (liquid shock) to get through the opening phase. Your SWG can’t generate enough chlorine fast enough to handle opening demand
- Inspect the salt cell for calcium scale buildup. If there’s white crust on the plates, soak the cell in a diluted muriatic acid solution (4:1 water to acid) for 10 minutes
- Add salt only after the water is clear and warm enough. Most cells need 60°F+ to operate. Test existing salt level first, then add in increments — oversalting means draining and diluting
DIY cost vs. hiring a pro
Pool companies typically charge $300–$600 for a standard pool opening, depending on your area and pool size. That includes cover removal, equipment setup, chemical startup, and a basic cleaning — and a smooth startup starts months earlier with where and how to store pool chemicals. If your pool is green or has known equipment issues, expect to pay more.
Doing it yourself costs roughly:
- Chemicals: $50–$100 for a standard opening (shock, pH adjuster, alkalinity, CYA, clarifier)
- Replacement parts (O-rings, plugs, gaskets): $10–$30
- If you open to a green pool, add $30–$60 for extra shock and algaecide
DIY opening saves $200–$500 per season. After doing it once or twice, most owners find it takes a Saturday morning and the confidence that comes from knowing your own system.
When to call a pro instead
DIY opening works for most pools. Call a professional if:
- You have a mesh safety cover with an anchor system that needs tensioning
- The equipment pad shows signs of freeze damage (cracked PVC, split pump housing)
- You suspect a leak — if the water level dropped more than expected over winter with a solid cover on, something isn’t right
- The heater won’t fire or makes unusual sounds on startup
- You open to a swamp so bad you can’t see the first step — severe algae blooms often need professional-grade chemicals and multiple treatments
5 mistakes that turn opening weekend into opening month
- Adding chemicals before the water circulates. Dumping shock into still, stratified water creates localized chemical spikes that can bleach a liner and leave other areas untreated. Always run the pump for at least an hour first.
- Not testing CYA. If your CYA is at zero — common if the pool was partially drained over winter — unstabilized chlorine burns off in a few hours of direct sun. You’ll add shock, test the next day, see zero chlorine, and think the shock was bad. It wasn’t; it just had no protection.
- Skipping the brush. Chemicals alone won’t clear algae that’s attached to surfaces. If you shock without brushing first, you’ll fight the same green tint for weeks. Brush first, shock second.
- Not replacing dried-out O-rings. A pump that won’t prime usually comes down to one thing: air getting in through a flat O-ring. Inspect and replace them proactively — they cost pocket change.
- Turning the pump off too soon. Water that looks “mostly clear” after 24 hours isn’t finished. Stop filtering early and the remaining dead algae settles and decomposes, dropping pH and clouding the water again. Let the filter run the full 48–72 hours.
Opening your pool yourself isn’t just about saving money. Once you’ve done it, you understand your system — and that confidence carries through the whole season. If manual scrubbing and vacuuming feels like too much after a long winter, an automated pool cleaner handles the ongoing cleaning so you can focus on the part that matters: using the pool.
Get more pool and lawn care guides from Aiper on Google