How to Change a Pool Light Without Draining the Water

The first time someone tells you that you can swap a pool light with the water still in the pool, it sounds like a trick. It isn’t.
It’s just a design decision that’s been standard in inground pools for decades, and once you understand why it works, the whole job stops feeling risky and starts feeling routine.
Most homeowners never touch this because they assume it requires draining thousands of gallons, calling a pool company, and losing a weekend.
None of that is true if the fixture is a standard niche-mounted light, which almost all inground pools have.
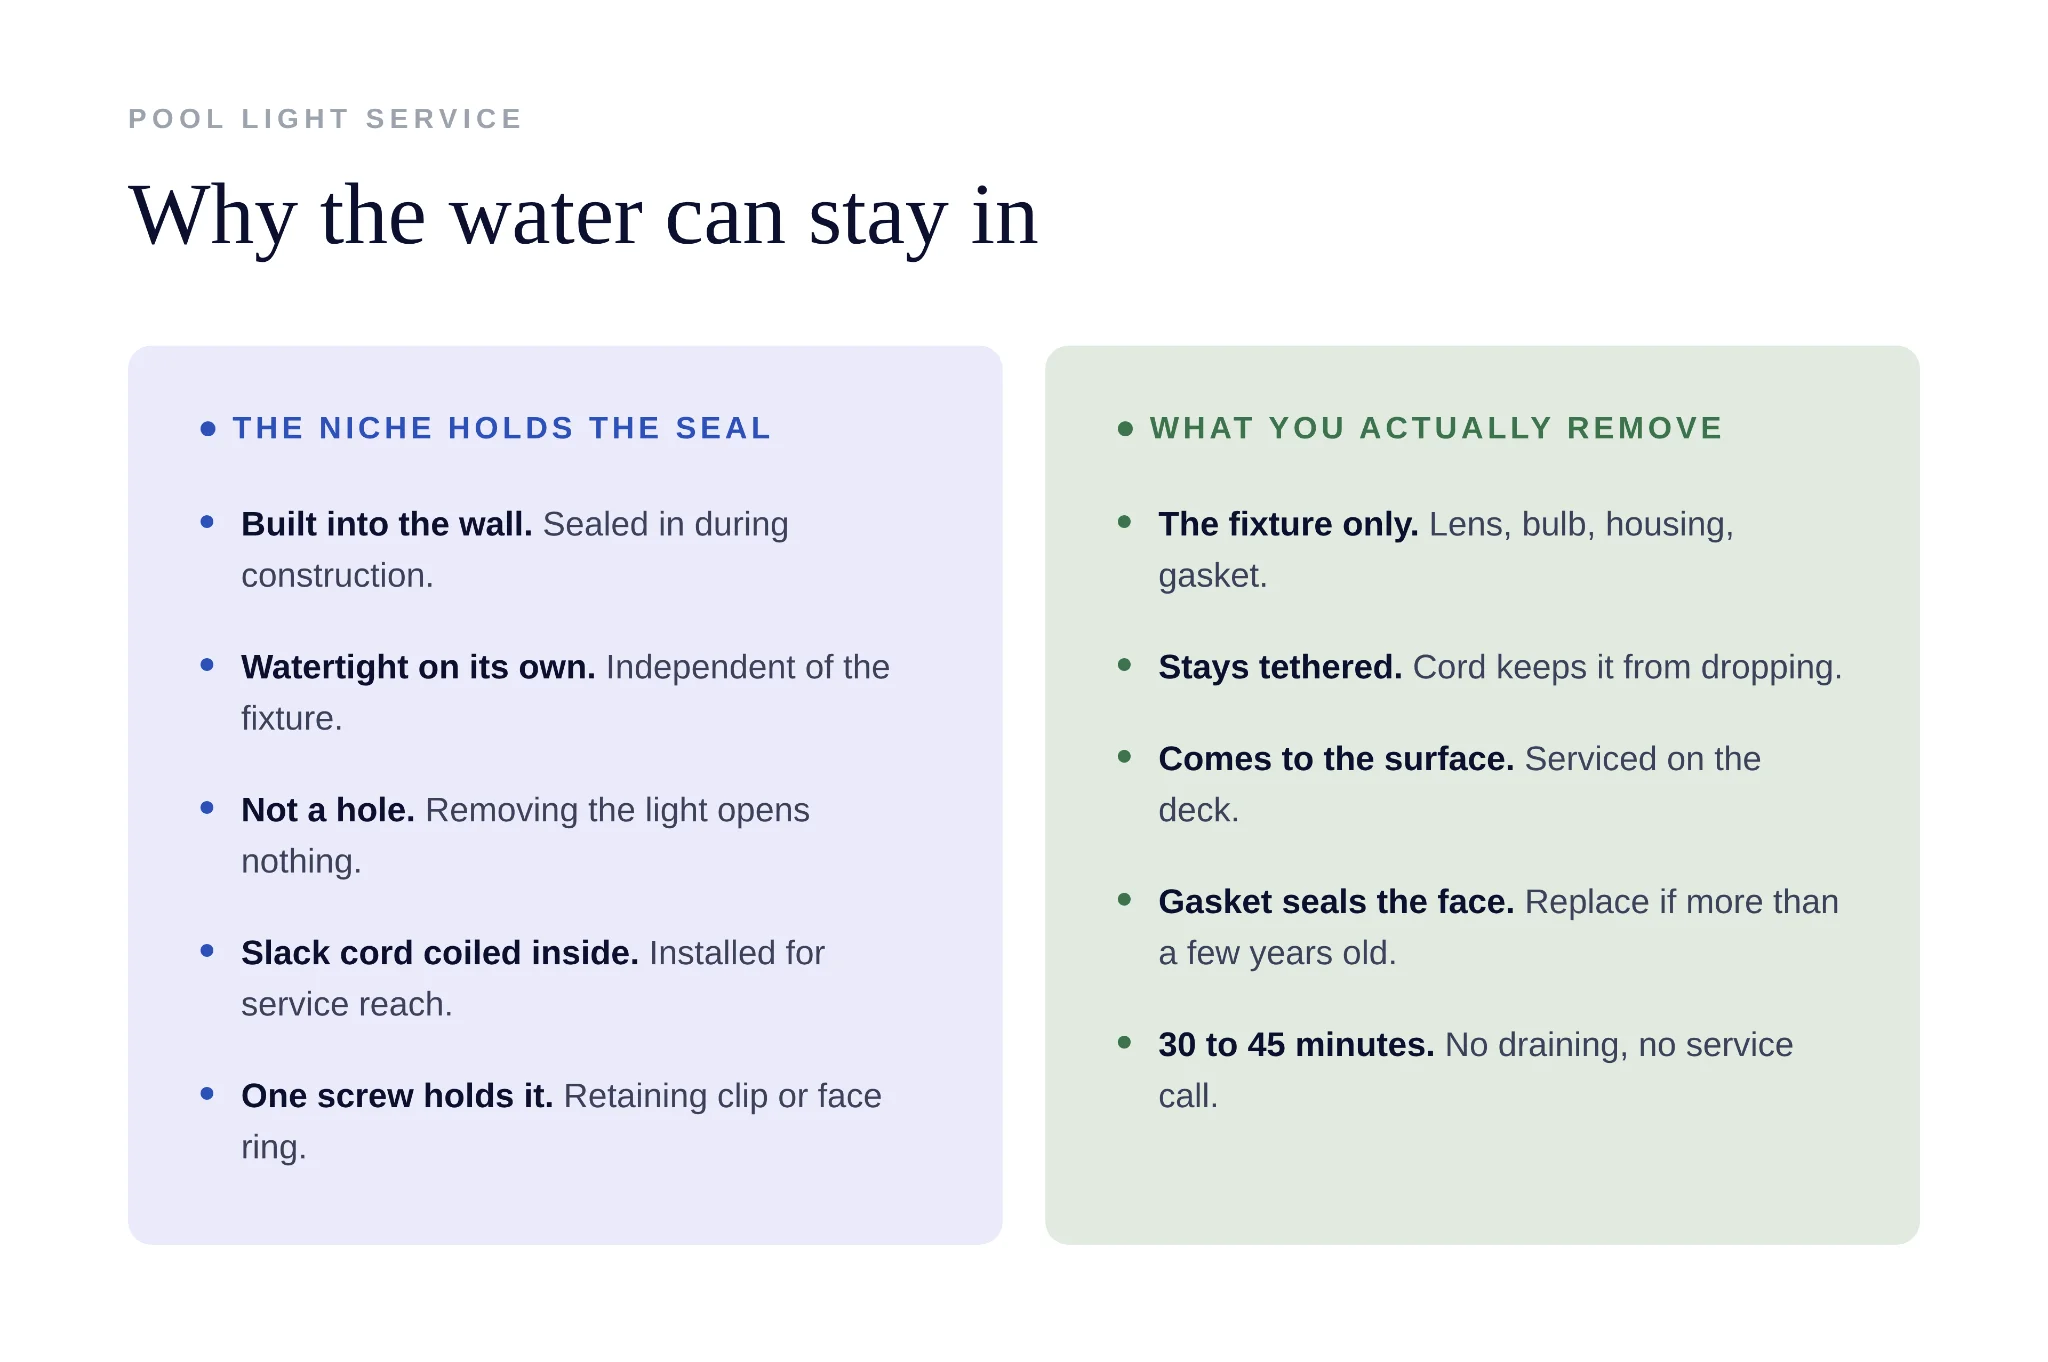
Here’s the part that matters before you do anything else: the light itself isn’t what keeps water out of the wall. The niche is.
That metal or plastic housing embedded in the pool structure is sealed in during construction, is part of the wall, not part of the fixture.
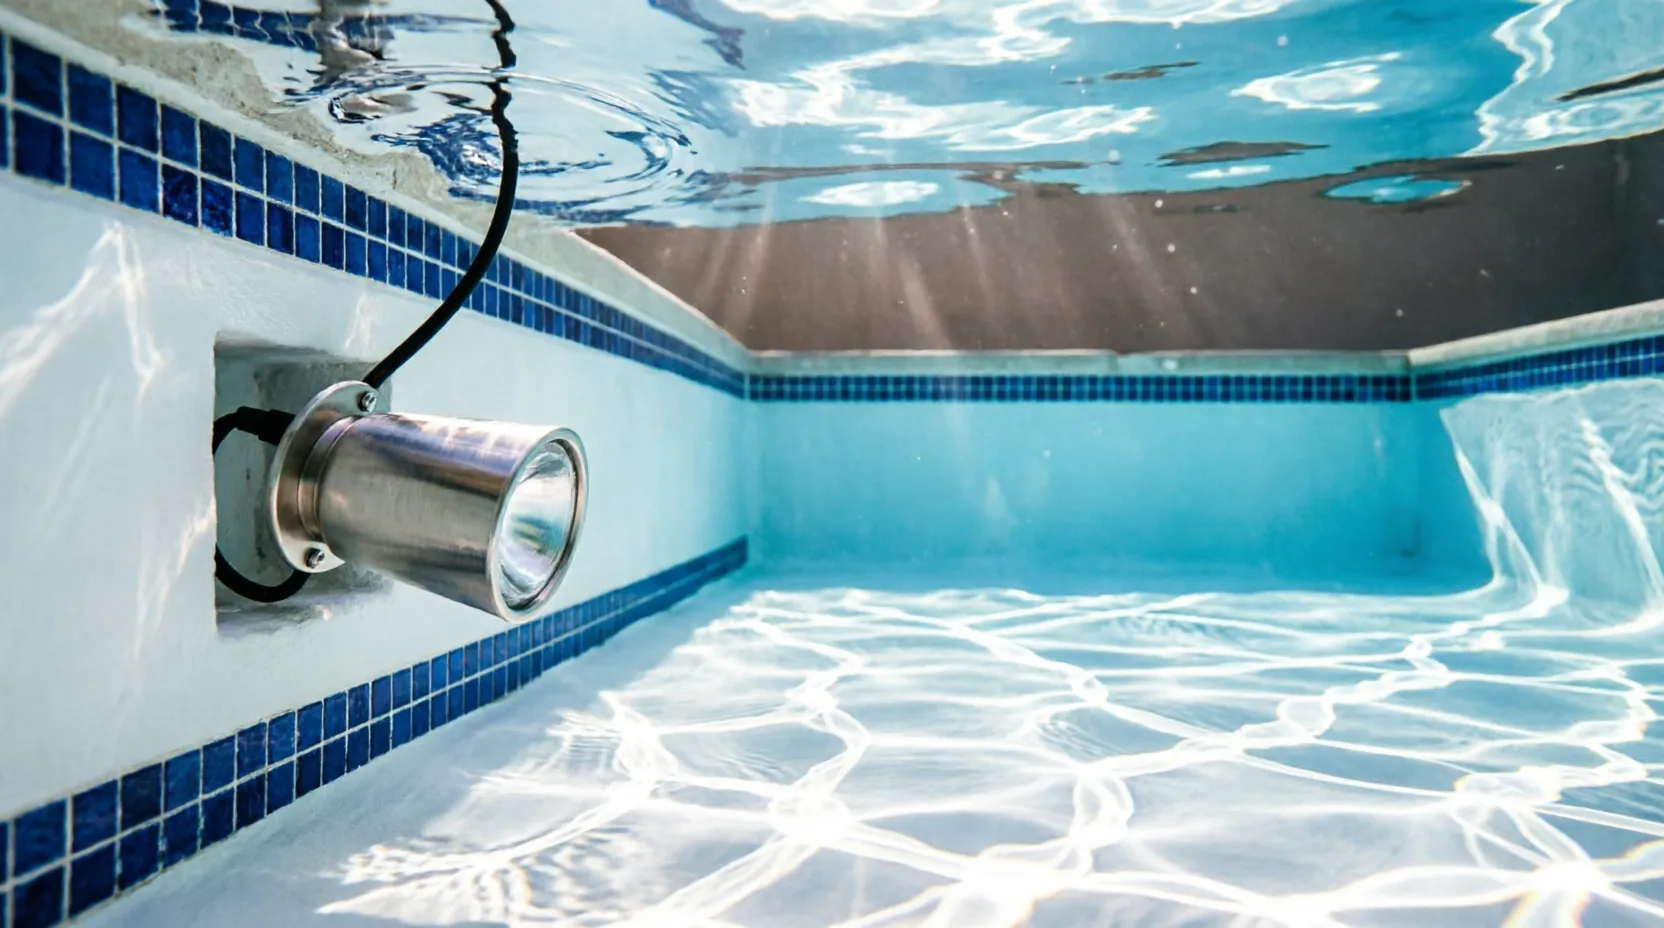
The light sits inside it, held in place by tension and a single screw, sealed against the niche face by a gasket.
Pull the light out, and you’re not opening a hole in your pool. You’re just removing a plug from a socket that was built to be watertight on its own.
That’s why this works without draining. Understand that, and the rest is mechanics.
Kill the Power First
Before you touch the screw, go to the breaker box and shut off the circuit feeding the pool light.
Then test it.
Flip the light switch at the pad, confirm nothing happens, and if your system has a GFCI breaker dedicated to the light circuit, hit the test button and make sure it trips clean.
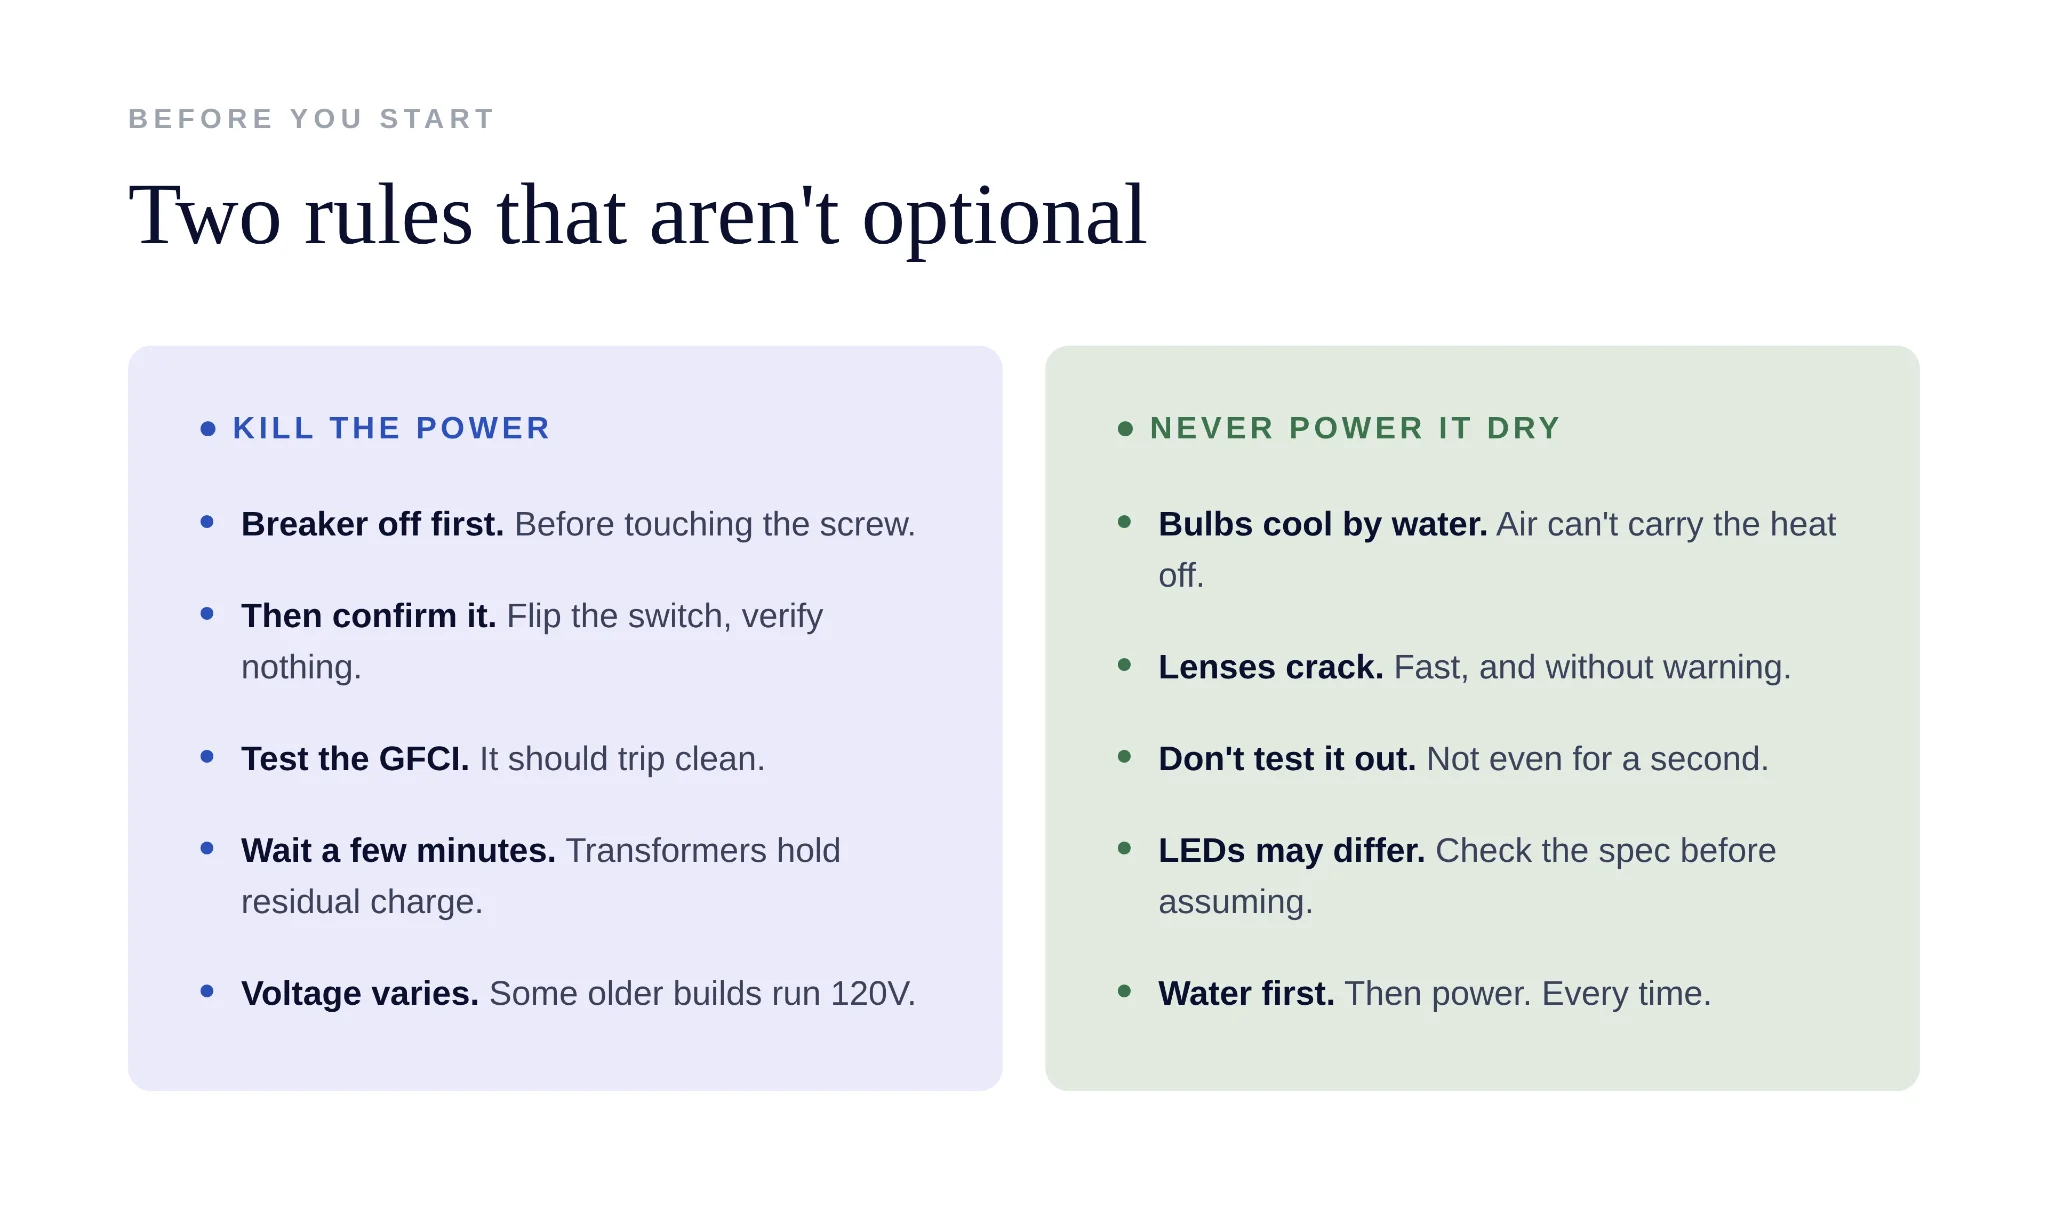
Pool lights run on low voltage in a lot of installations, but not all of them. Some older builds still run 120V straight to the fixture, and even 12V systems can bite when your hands are wet and you’re standing in or near water.
Skip this step, and you’re gambling with a body of water you’re about to have your arms in.
Give it a few minutes after you kill the breaker. Some transformers hold a residual charge longer than people expect.
Getting the Fixture Out of the Niche
There’s usually one screw holding a retaining clip or face ring against the niche.
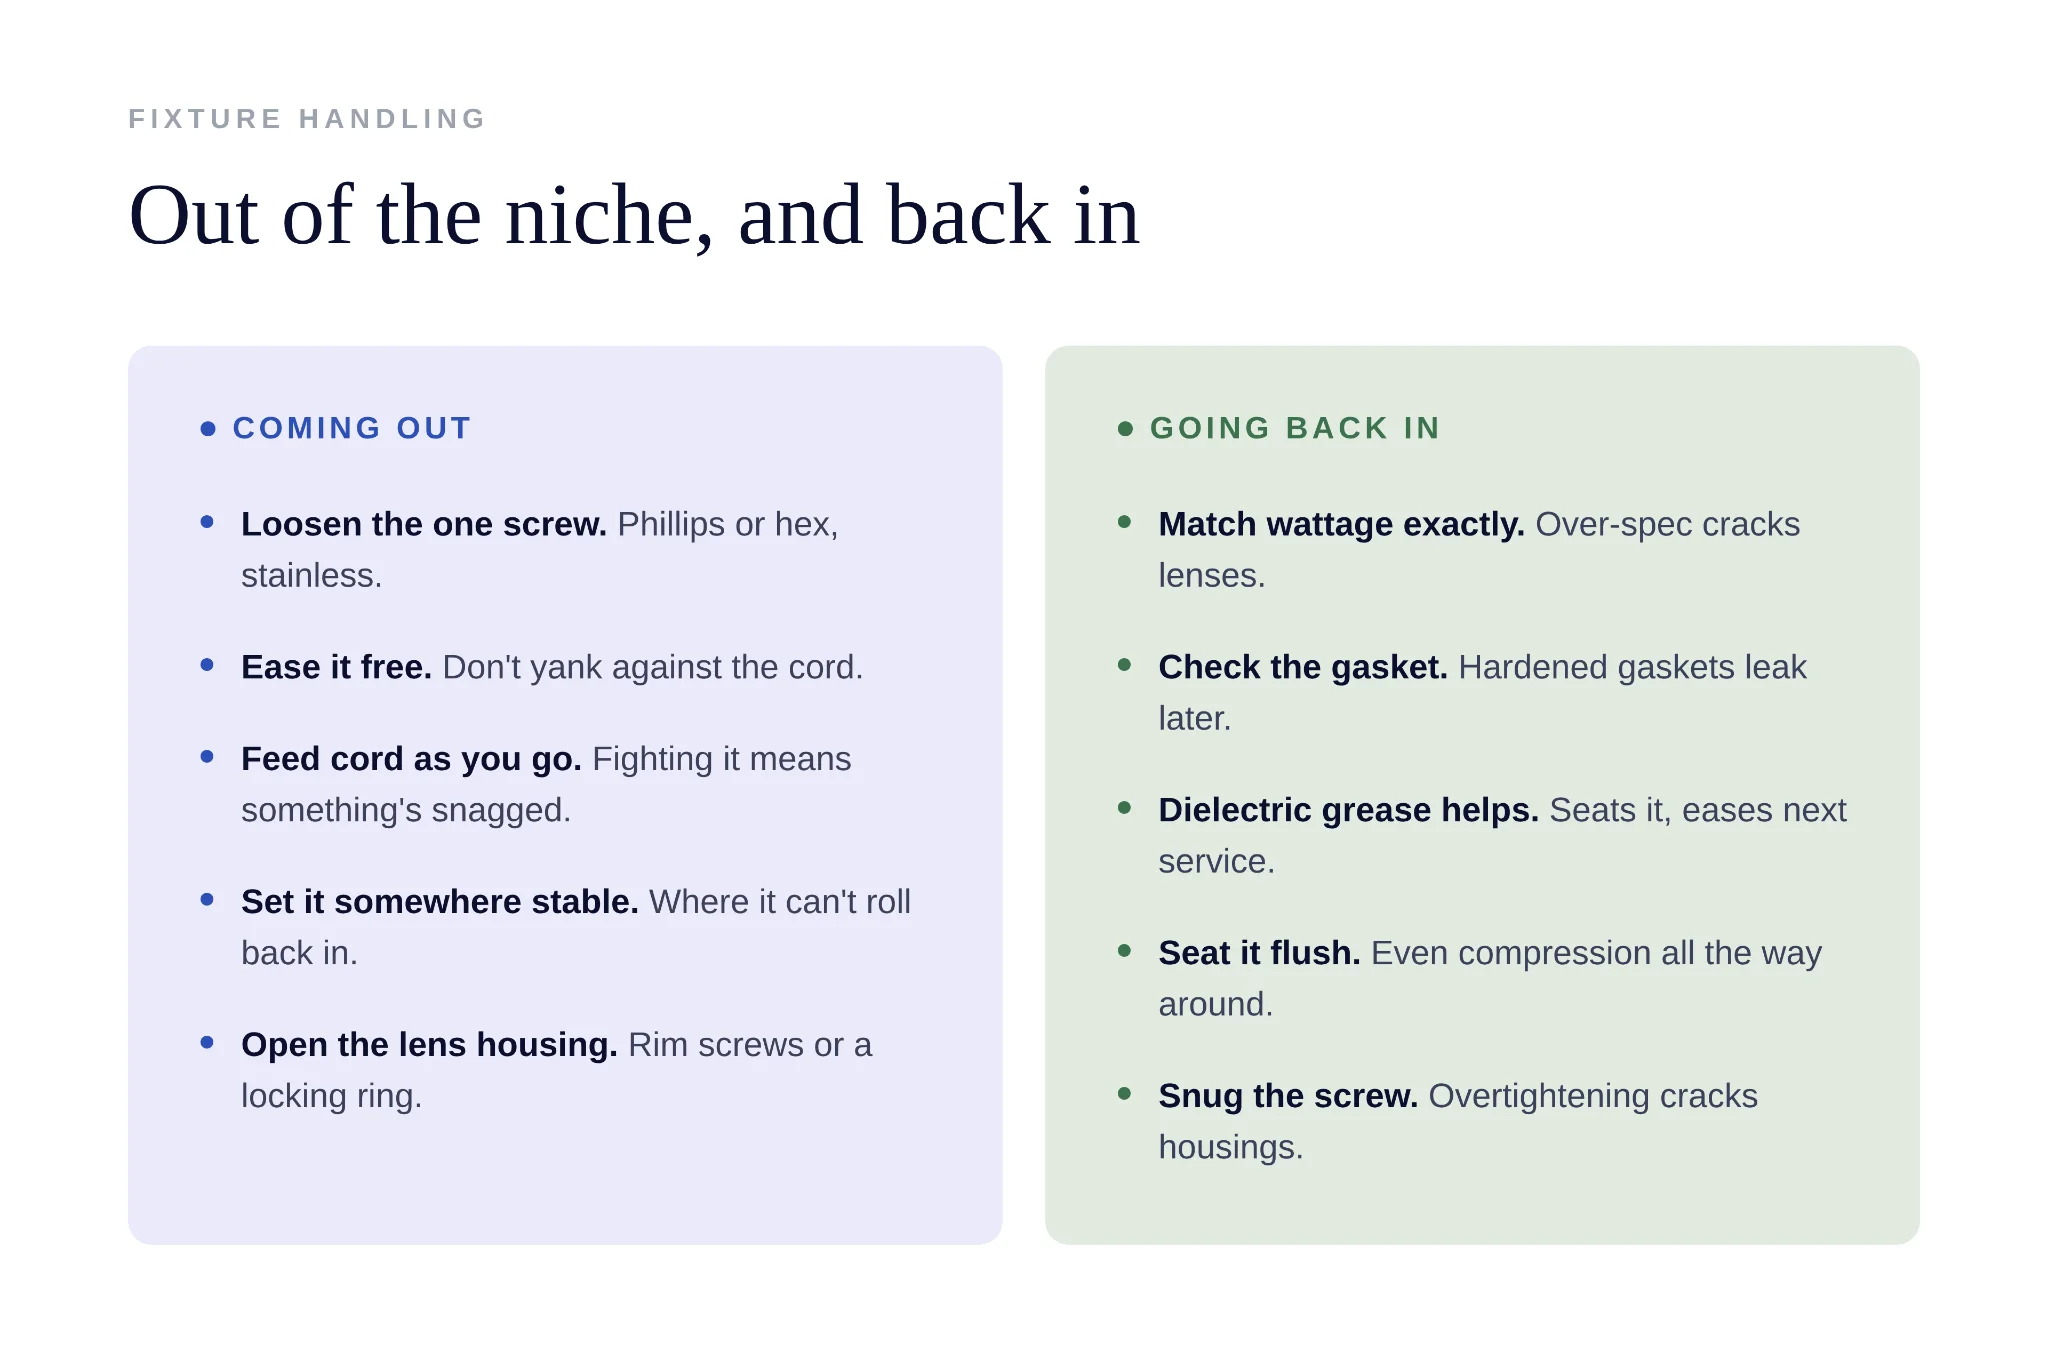
Loosen it, and the whole fixture will come free from the wall. It’ll still be tethered by its cord, so it’s not going anywhere, but you need both hands and a plan for where the fixture goes once it’s out.
Don’t yank it.
Pool light housings are usually stainless steel or heavy-duty polymer, and they’re not fragile, but the lens can crack against pool coping or tile if you’re careless setting it down.
Ease it out slowly, feeding the cord as you go, and set it somewhere stable. Somewhere it can’t roll back into the water.
The cord has slack built in specifically for this. That’s intentional. Whoever installed the light coiled extra cord into the niche cavity so you’d have enough to bring the fixture up to the surface for exactly this kind of service. If you’re fighting the cord, something’s wrong. Check for a kink in the conduit or a snag at the niche opening before you force anything.
The One Rule People Break
Do not power on an incandescent or halogen pool light while it’s out of the water.
Say that twice if you need to. These bulbs are designed to run submerged, where the surrounding water pulls heat away from the glass fast enough to keep it from failing.
Out of water, in open air, that heat has nowhere to go. The lens can crack. The bulb can shatter.
LED retrofit units are more forgiving, many are rated to run briefly out of water for testing, but check the manufacturer spec before you assume that’s true for the one you’re installing. When in doubt, treat every pool light the same way: it goes back in the water before it goes back on.
Swapping the Bulb or LED Module
With the fixture out and set safely aside, open the lens housing.
This is usually a few screws around the rim, sometimes a locking ring you twist. Inside, you’ll find the bulb, either a standard incandescent/halogen pool bulb rated for wet-niche use, or if the fixture’s already been retrofitted, an LED module wired straight into the housing.
Match wattage and voltage exactly.
A pool light niche has a fixed thermal and electrical tolerance, and putting in a bulb rated higher than spec isn’t a minor mistake. It’s how lenses crack, and gaskets degrade early.
If you’re replacing an old incandescent housing with an LED conversion kit, this is the point where you do it. Most kits are built to fit standard Pentair or Hayward niches without modification, but measure your existing housing diameter before ordering.
Not all niches are the same size, and a kit that’s a quarter-inch off will not seal properly no matter how much you force it.
Before closing the lens back up, check the gasket. If it’s original to a light more than a few years old, replace it, gaskets compress and harden over time, and a tired gasket is the single most common reason a “sealed” light develops a slow leak months later.
A small dab of silicone dielectric grease on the gasket helps it seat and makes the next service easier too.
Putting It Back
Lower the fixture back into the niche the same way you took it out. You want the fixture seated flush against the niche face with the gasket compressed evenly all the way around. If it’s sitting crooked, or if you feel resistance partway in, stop and check for a twisted cord or debris in the niche before pushing further.
Reinstall the retaining screw.
Then, and only then, go flip the breaker back on.
Testing It
Walk to the switch. Turn it on.
If it lights, you’re done. If it doesn’t, don’t start guessing at the wiring with the fixture already sealed back in the niche.
Pull it again, check the bulb seated fully in its socket, check that the connection wasn’t disturbed during reinstall, and confirm the breaker actually reset.
One thing worth knowing for next time: if the light flickers for the first few minutes after a bulb change and then steadies out, that’s usually just the bulb warming to its normal operating temperature.
Give it a few minutes before you assume something’s wrong and start disassembling again.
Get more pool and lawn care guides from Aiper on Google