How to Find a Leak in an Inground Pool

Every outdoor pool loses water to evaporation, so a dropping water level doesn’t automatically mean a leak. The first job is to measure how much water the pool loses beyond evaporation. The second is to narrow the leak to the plumbing or the shell, and the third is to find the exact spot.
All three can be done without special equipment. A bucket, a roll of tape, and a bottle of leak-detection dye cover most cases. Leaks in underground pipes are the exception and usually need a professional with pressure-testing gear.
Signs Your Pool Is Leaking
Evaporation depends on the weather, so the same pool can lose very different amounts from one week to the next. Evaporation rises with higher pool temperature, higher wind speed, and lower humidity.
Estimate your pool evaporation with this calculator.
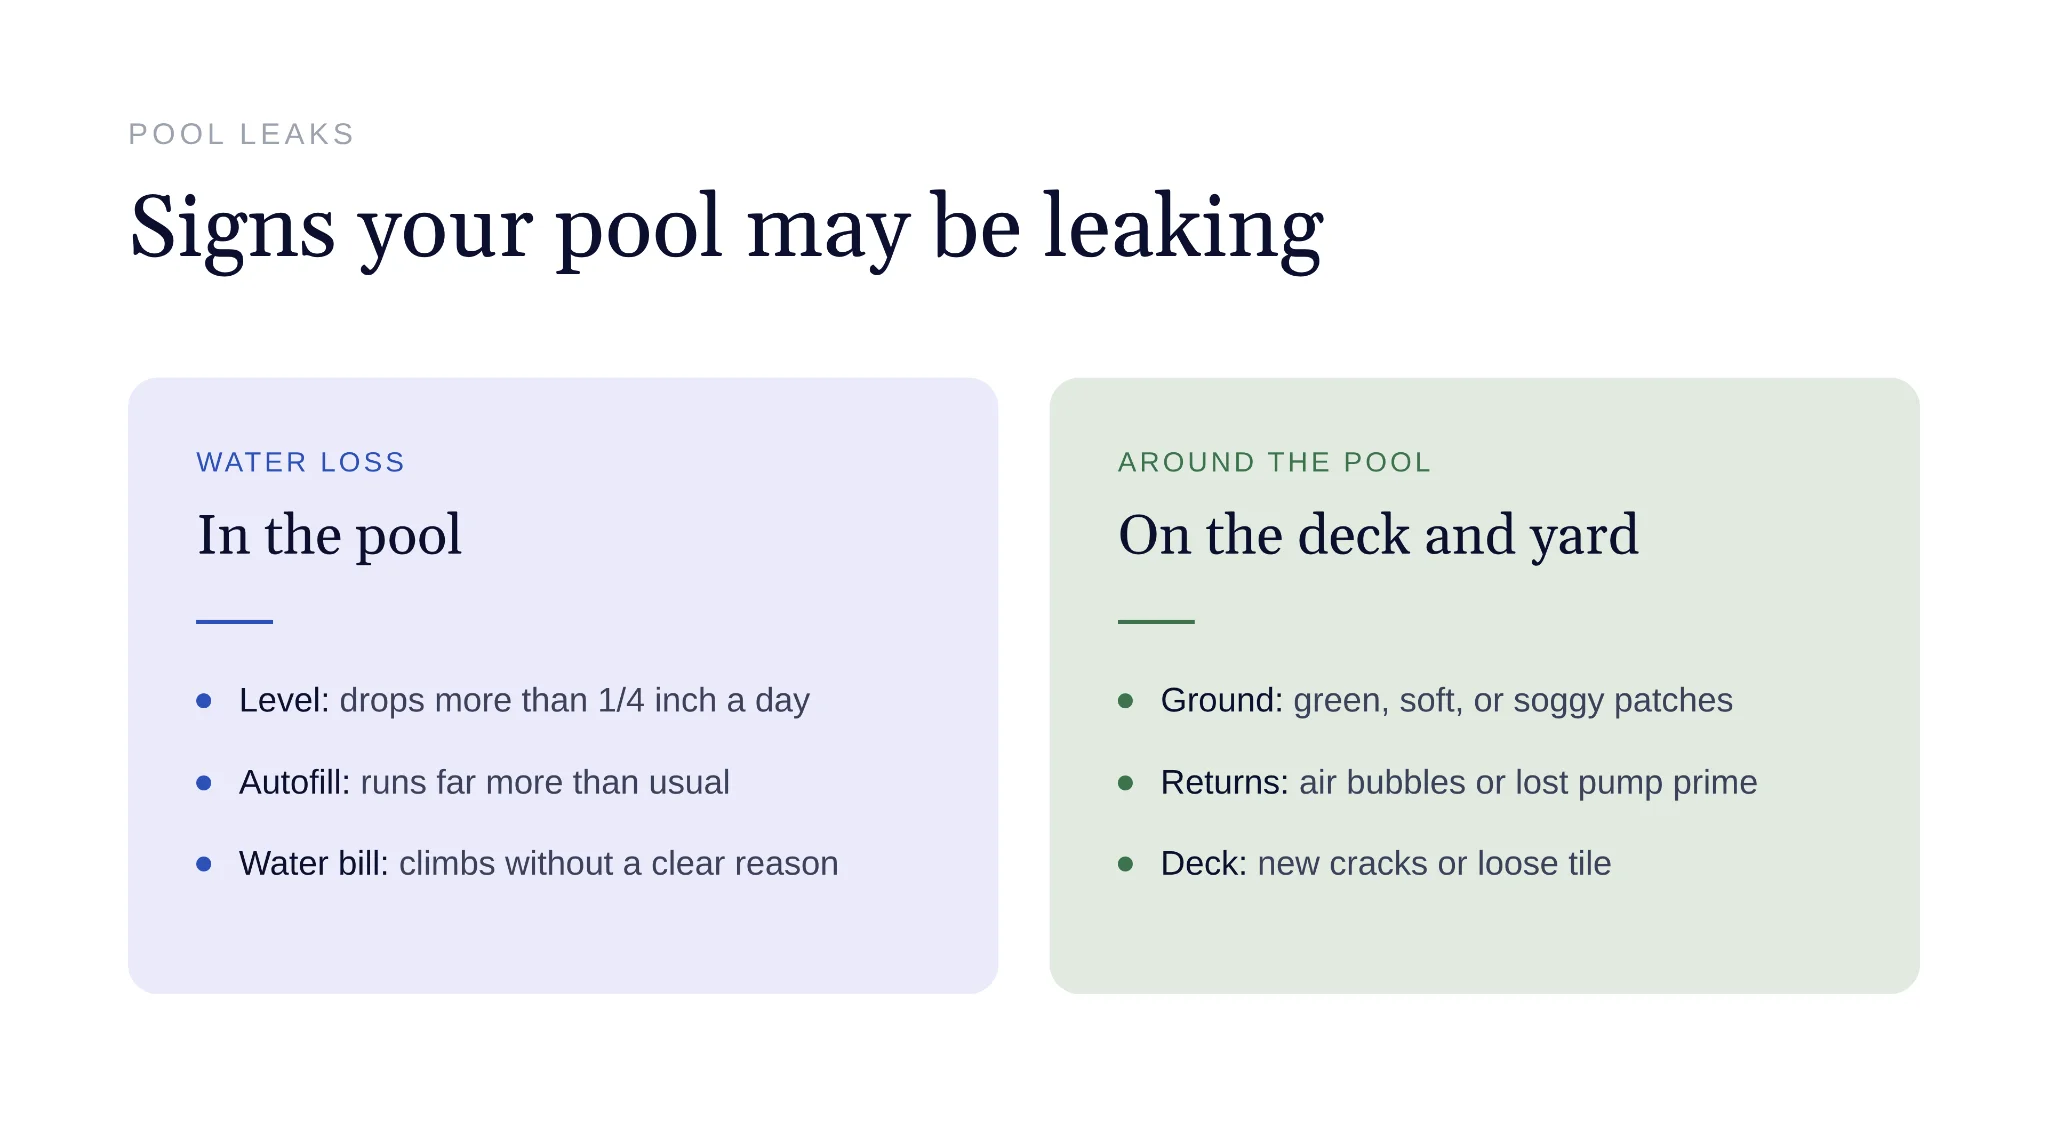
A leak is more likely when the pool shows any of these:
- It loses more than about a quarter inch of water per day, especially in mild weather.
- The water bill has climbed, or the autofill runs far more than it used to.
- A patch of lawn near the pool or equipment stays green, soft, or soggy.
- Air bubbles come out of the return jets, or the pump keeps losing prime.
- New cracks appear in the deck, or tiles loosen at the waterline.
Wet ground and air in the system point toward a plumbing leak. Cracks and loose tile point toward the shell or the soil around it.
Step 1: Confirm It’s a Leak With the Bucket Test
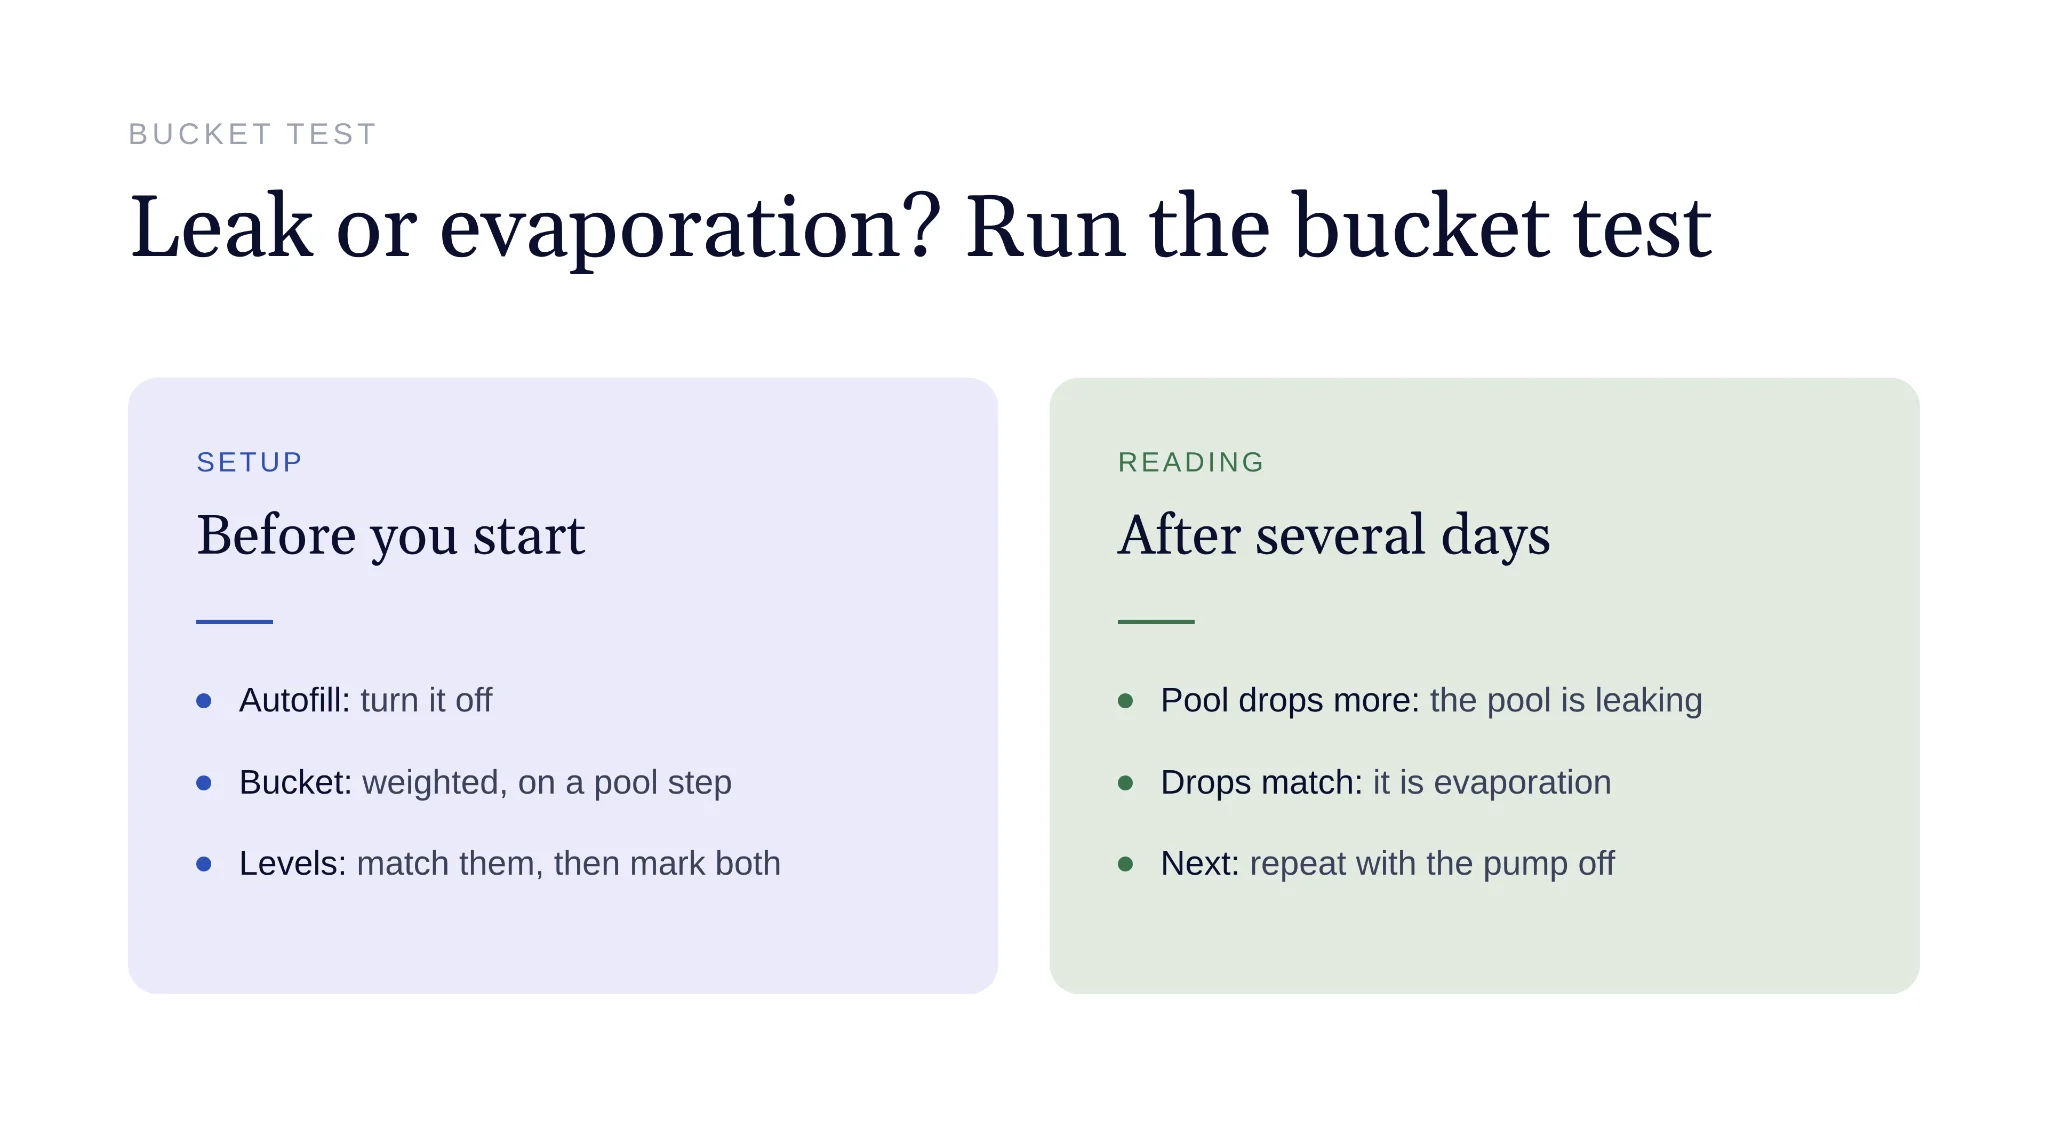
The bucket test compares the pool’s water loss with a bucket of pool water sitting in the same sun, wind, and temperature. If the pool drops more than the bucket, the difference is leaking out.
- Turn off the autofill. An autofill valve tops up the pool and hides the loss you’re trying to measure.
- Set a bucket on a pool step. Place it so the rim sits a few inches above the waterline, and put a heavy weight such as a brick inside so it stays put.
- Fill the bucket to match the pool. The Southern Nevada Water Authority recommends adding water until the level inside the bucket equals the pool level.
- Mark both levels. Put a strip of tape inside the bucket at its waterline and another on the pool tile or skimmer at the pool’s waterline.
- Leave everything alone for several days. Keep swimmers out and don’t backwash. Restart the test if it rains.
- Compare the two drops. If the pool level has fallen noticeably more than the bucket level, the pool is leaking.
Run the test once with the pump on its normal schedule. If it shows a leak, run it again with the pump off for the same length of time. The difference between the two results tells you where to look next.
Step 2: Narrow It to Plumbing or Shell
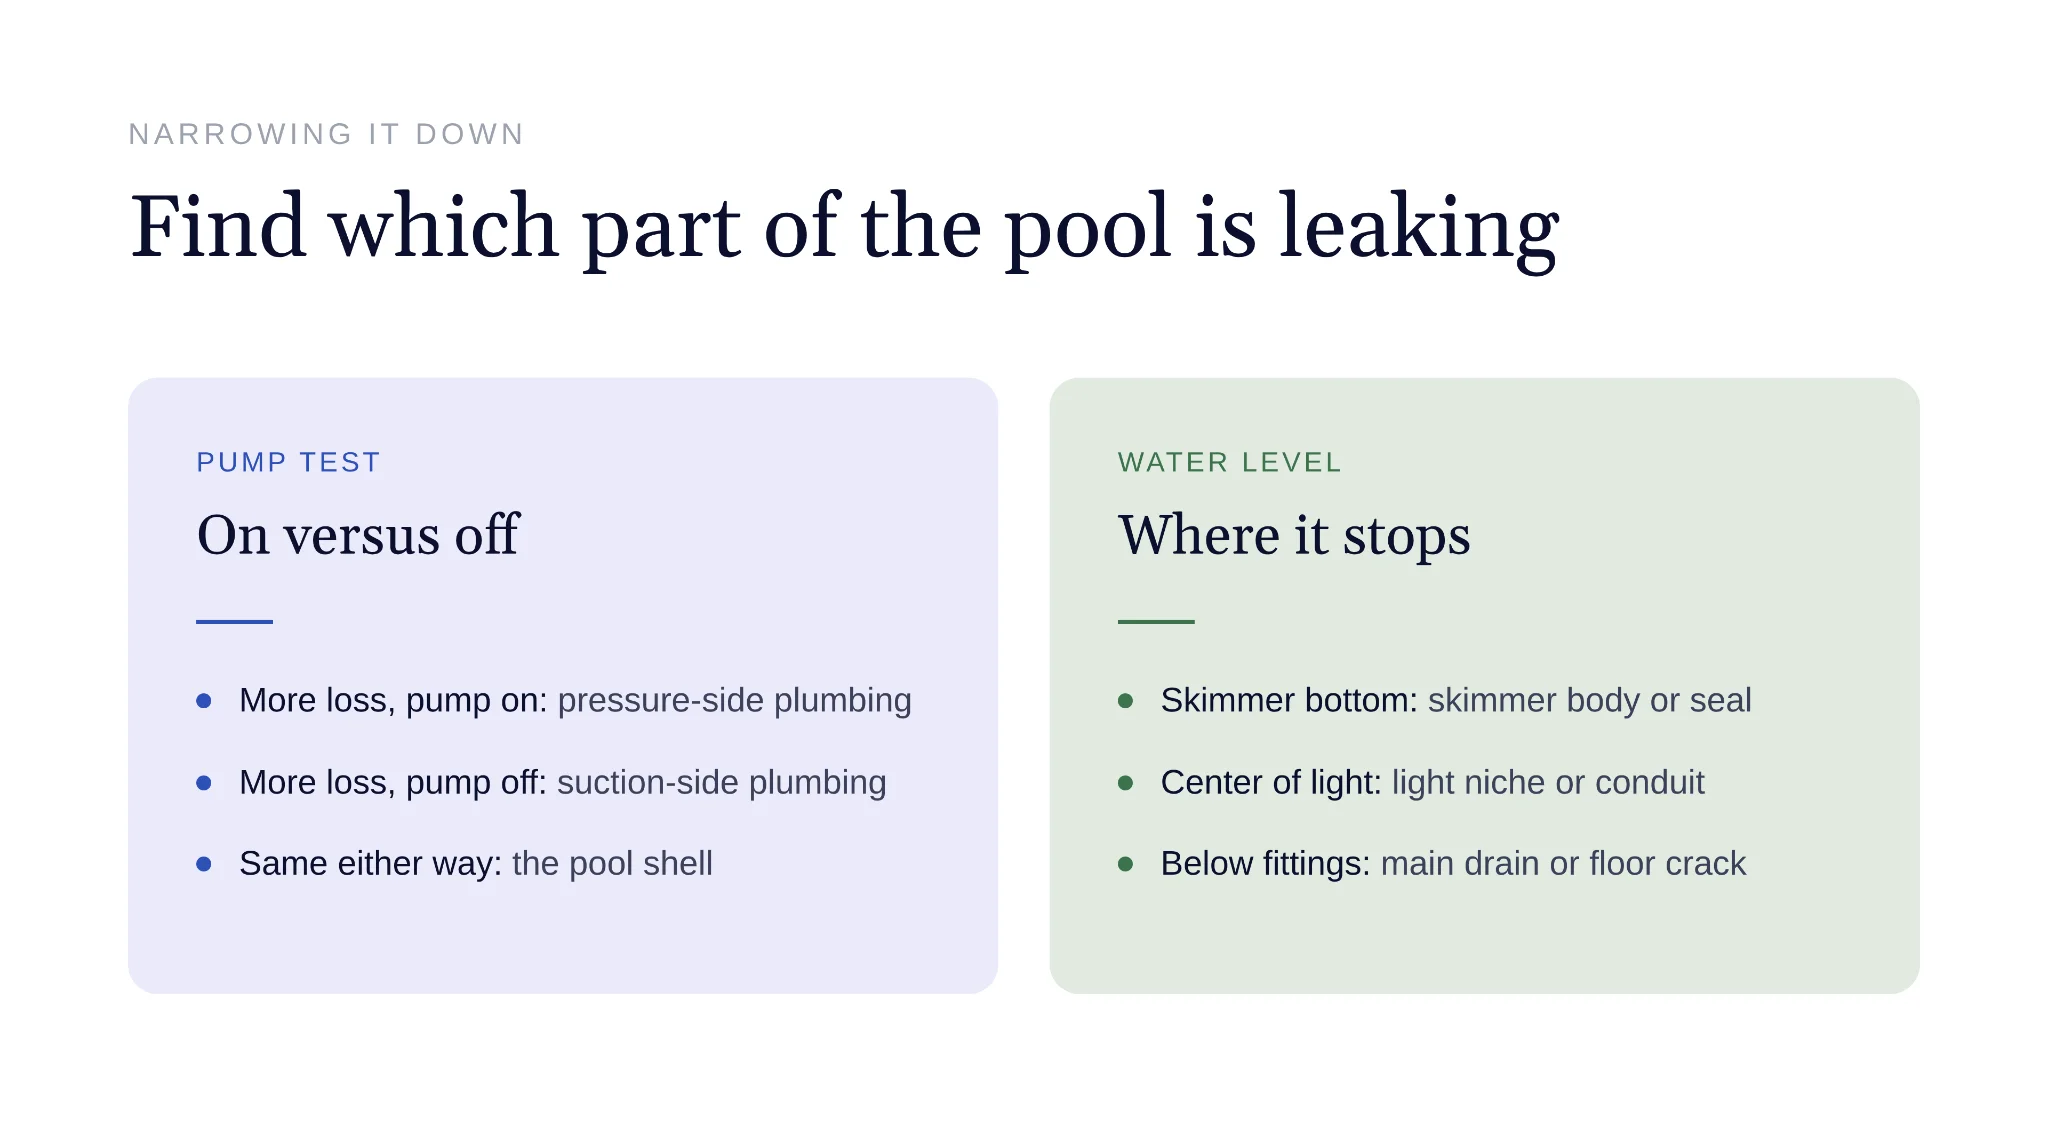
The pump test separates plumbing leaks from shell leaks. Pressure in the lines changes when the pump runs, so plumbing leaks usually lose water at a different rate depending on whether the pump is on or off.
Loses more with the pump on. The leak is likely on the pressure side, in the return lines, filter, heater, or fittings after the pump. Pressurized water pushes out through any gap.
Loses more with the pump off. The leak is likely on the suction side, in the skimmer or main drain lines. When the pump runs, suction pulls on these lines and can reduce the loss or draw in air instead.
Loses the same amount either way. The leak is likely in the shell itself, at a crack, light niche, skimmer throat, or other fitting.
Check the equipment pad before moving on. Look for drips or wet spots under the pump, filter, heater, and valves while the system runs, since these are the easiest leaks to find and fix.
Step 3: Watch Where the Water Stops
With the pump off and the autofill disconnected, let the water level fall on its own. A leak stops draining the pool once the water drops below it, so the level where the water stops points to the source.
| Water stops dropping at | Likely source |
|---|---|
| Bottom of the skimmer opening | Skimmer body or the skimmer's connection to the shell |
| Center of the pool light | Light niche or the conduit behind it |
| Return jet fittings | Return fitting or the return line behind it |
| Keeps dropping below all fittings | Main drain, floor crack, or plaster crack below the fittings |
Don’t let the pool drain lower than the bottom of the light or a few inches below the skimmer. Exposing too much of the shell to sun can damage plaster and vinyl, and groundwater can push up an emptied pool. That risk is one reason to weigh the cost and upkeep tradeoffs between above-ground and in-ground pools before you build.
Step 4: Pinpoint the Spot With Dye
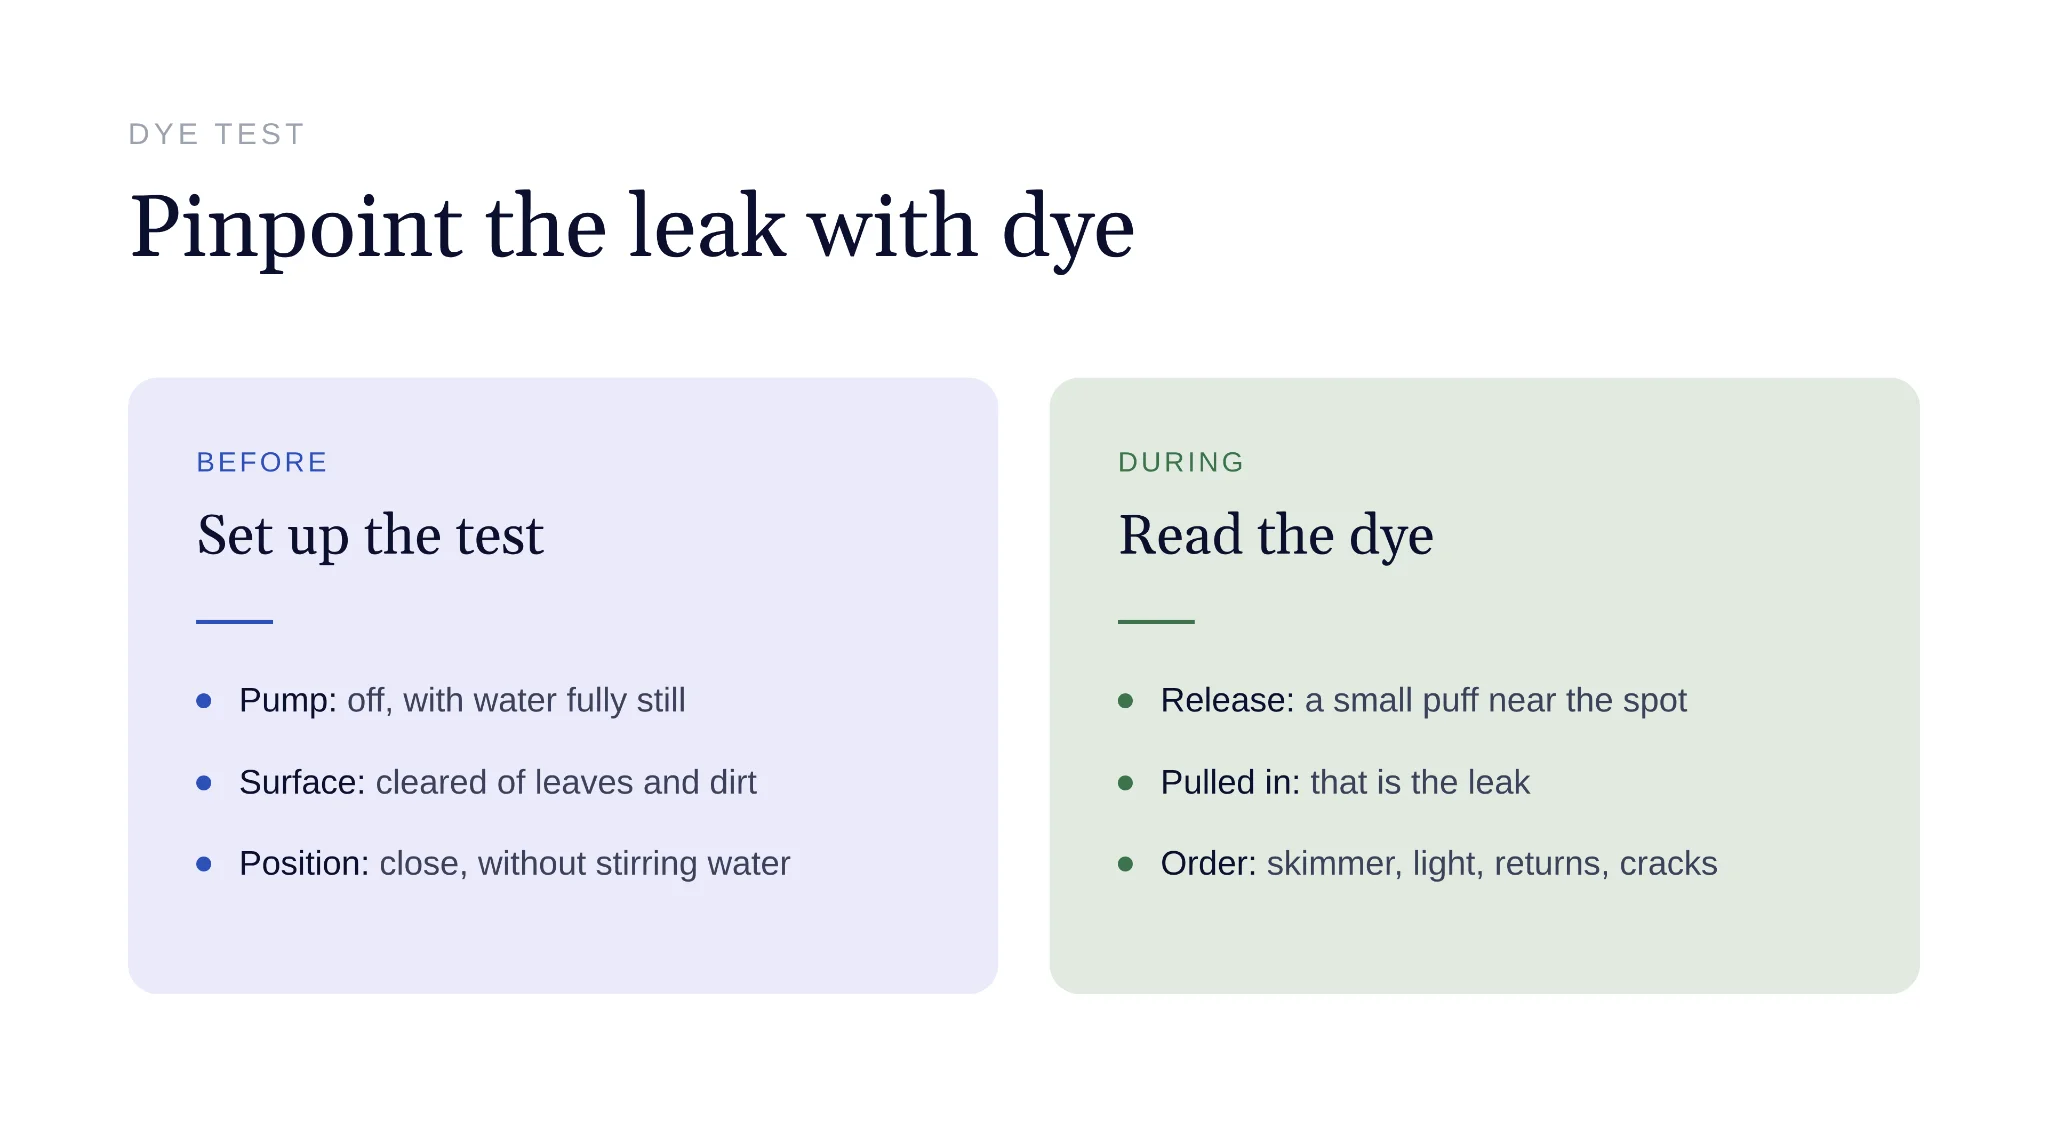
A dye test shows exactly where water is escaping. Water moving through a leak pulls a small puff of dye along with it.
- Turn off the pump and wait for the water to go completely still. Any current from the returns or skimmer throws off the result.
- Clear the surface you’re testing. Leaves and dirt make cracks harder to see and can hide the dye’s movement.
- Get close to the suspected spot. Use goggles and swim slowly, or reach down from the deck for shallow fittings, without stirring up the water.
- Release a small amount of dye right next to the spot. Hold the bottle an inch or two away and squeeze gently.
- Watch the dye. If it drifts and then gets pulled into a crack or gap, that’s the leak. If it hangs in place and spreads slowly, move on to the next spot.
Test the common trouble spots in order: the skimmer throat where it meets the shell, the edges of the light niche, each return fitting, any visible cracks, and the tile line. Test the main drain last, because it sits in the deepest water.
Debris often collects around a leak because the escaping water pulls it in. A clean floor makes that pattern easier to spot, and it keeps dirt from masking cracks during a dye test. The Aiper robotic pool cleaners clear the floor and walls before an inspection, so small cracks and gaps are easier to see.
When to Call a Leak Detection Professional
Some leaks can’t be found from the deck or with dye. Call a professional when the bucket test shows a leak, but the pump and dye tests don’t lead anywhere, or when the signs point to underground plumbing.
Professionals isolate each plumbing line, plug it, and pressurize it to see which one fails. They also use listening equipment to hear water escaping from buried pipes, which avoids digging up the deck to guess.
Give them your bucket test results with the pump on and off. Those numbers shorten the search and usually lower the bill.
Get more pool and lawn care guides from Aiper on Google