How to Find a Leak in a Pool: The Dye Test, Bucket Test, and Pressure Test

Pools lose water to evaporation constantly. A hot, dry, breezy week in an uncovered pool can pull down a quarter inch a day without anything being wrong at all.
Add a few pool parties and some splash-out, and you can convince yourself you have a structural problem when what you actually have is July.
So the first job is proving there is a leak.
After that, the work splits into a rough sequence: figure out whether the water’s going out through the shell or through the plumbing, then narrow down where. Locating the exact break under a deck or lawn is where that sequence gets harder for an inground pool — our guide to finding a leak in an inground pool covers those extra steps.
Three tests do most of that work. None of them require special equipment beyond what you can buy for under twenty dollars, and two of them you can run while you’re doing something else in the yard.
Start With the Bucket Test
The bucket test exists to answer one question: is your pool losing water faster than evaporation alone would explain?
Take a five-gallon bucket.
Set it on the second step of your pool so it’s partially submerged and stable, you want it in the same air, same sun, same wind as the pool surface, because that’s the entire point. Fill the bucket with pool water until the level inside roughly matches the level outside.
Mark both. Tape on the inside of the bucket, grease pencil on the outside, waterline mark on the tile, whatever gives you a line you can read precisely 24 hours later.
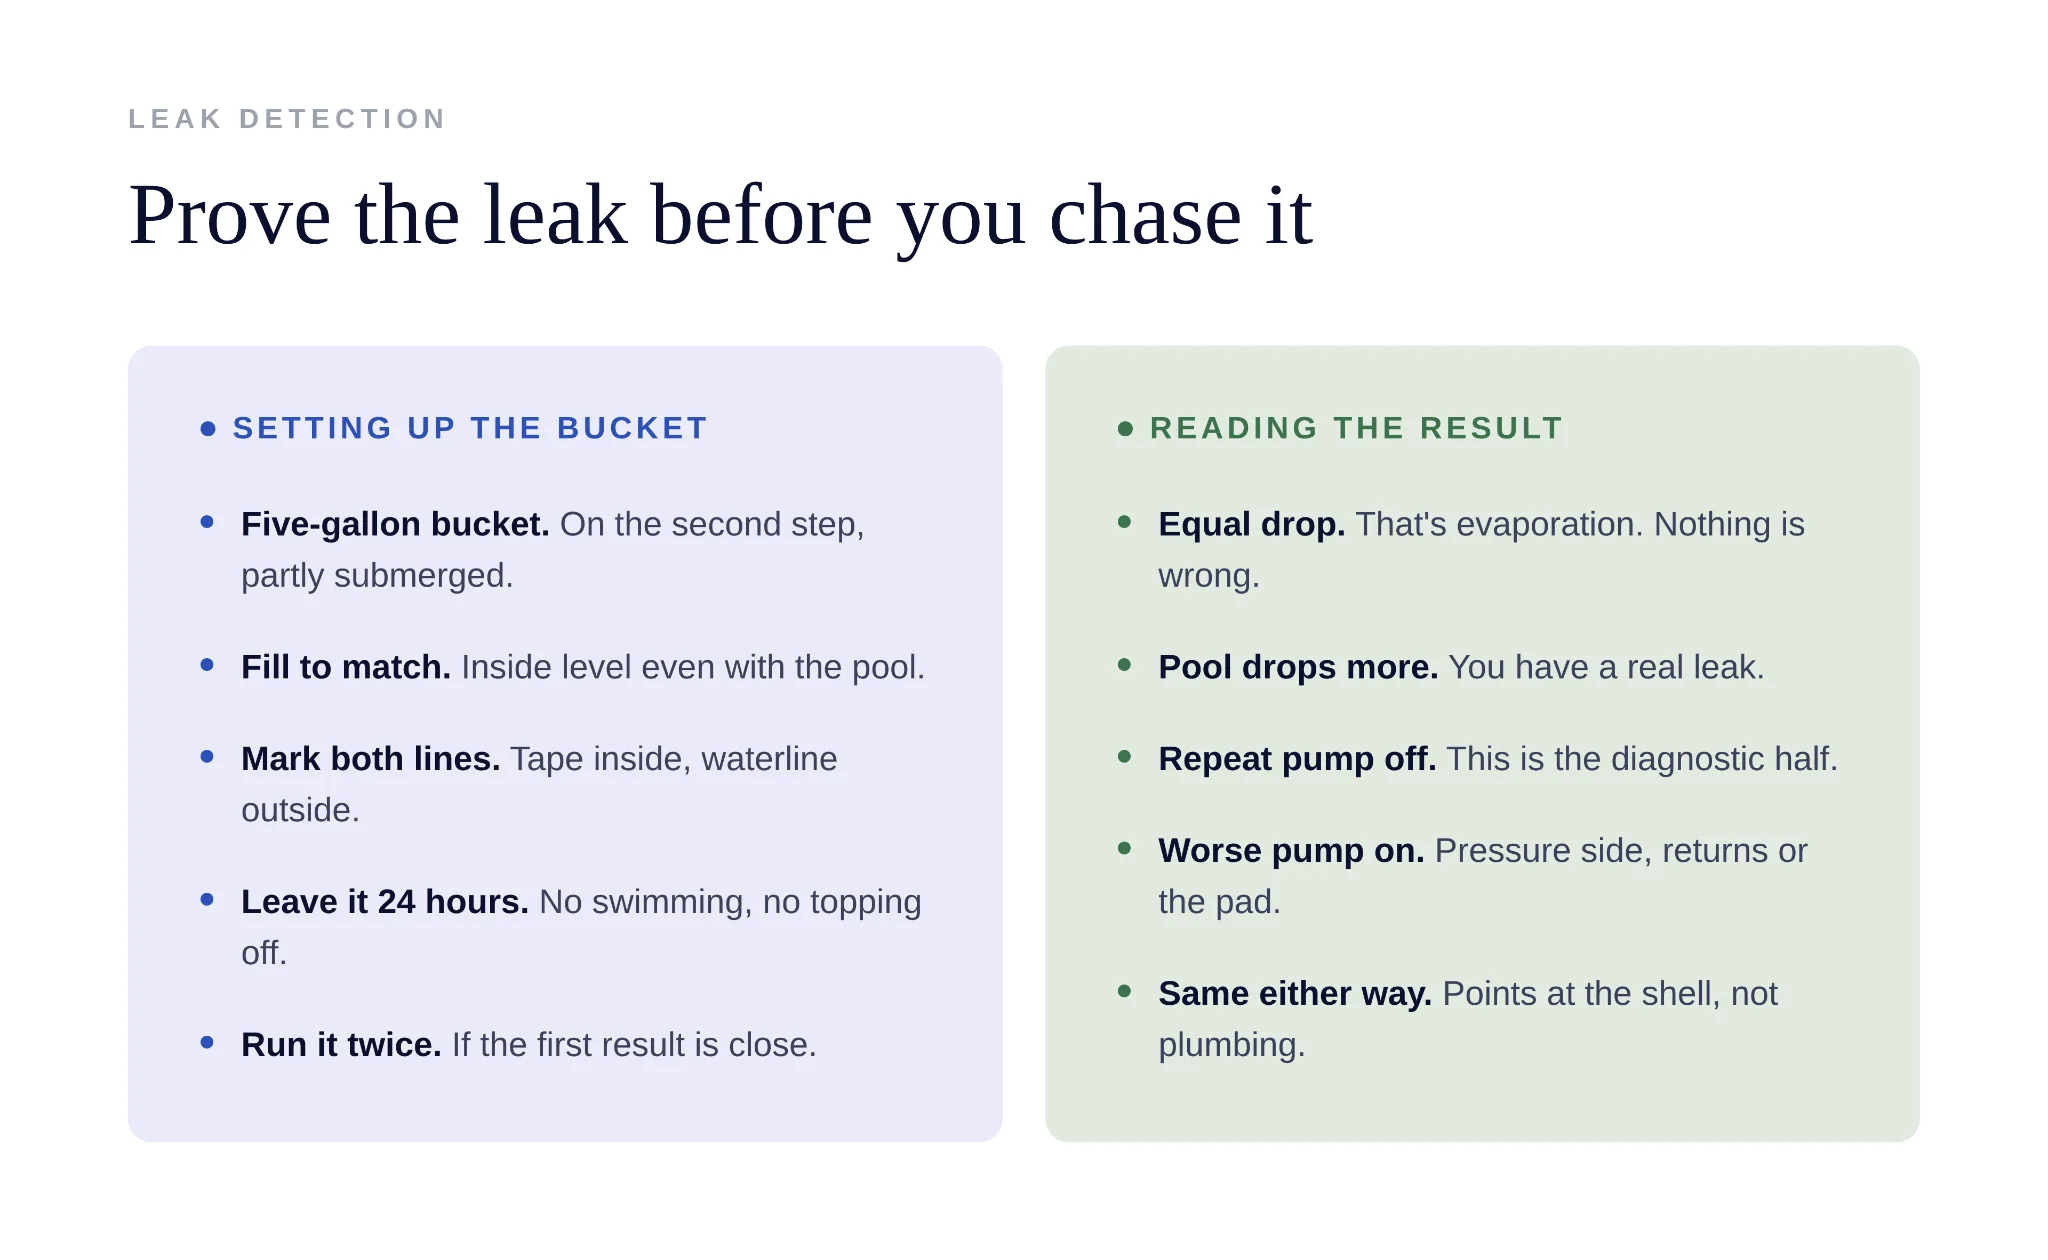
Then leave it alone. Pump running normally. No swimming. No backwashing. No topping off.
Come back a day later and compare.
If both levels dropped by the same amount, that’s evaporation, and your pool is fine. If the pool dropped noticeably more than the bucket, you have a leak. Now the number in front of you actually means something.
Run it twice if the first result is close. A quarter-inch difference could be measurement sloppiness; a full inch is not.
Here’s the variation that saves people a lot of digging: run the test again with the pump off for the full 24 hours.
If the pool loses water when the pump is running but holds steady when it’s off, the leak is on the pressure side of your plumbing, like the return lines, or the equipment pad itself.
If it loses more with the pump off, you’re likely looking at the suction side, or a leak below the static waterline in the shell. Same loss either way points toward the structure rather than the plumbing.
That one comparison eliminates half the possible causes before you’ve gotten wet.
The Dye Test: Where You Actually Find It
Once you know the water’s going out through the shell, the dye test is how you pin the spot.
Buy leak-finding dye. Don’t substitute food coloring. It disperses too fast and too thin to read.
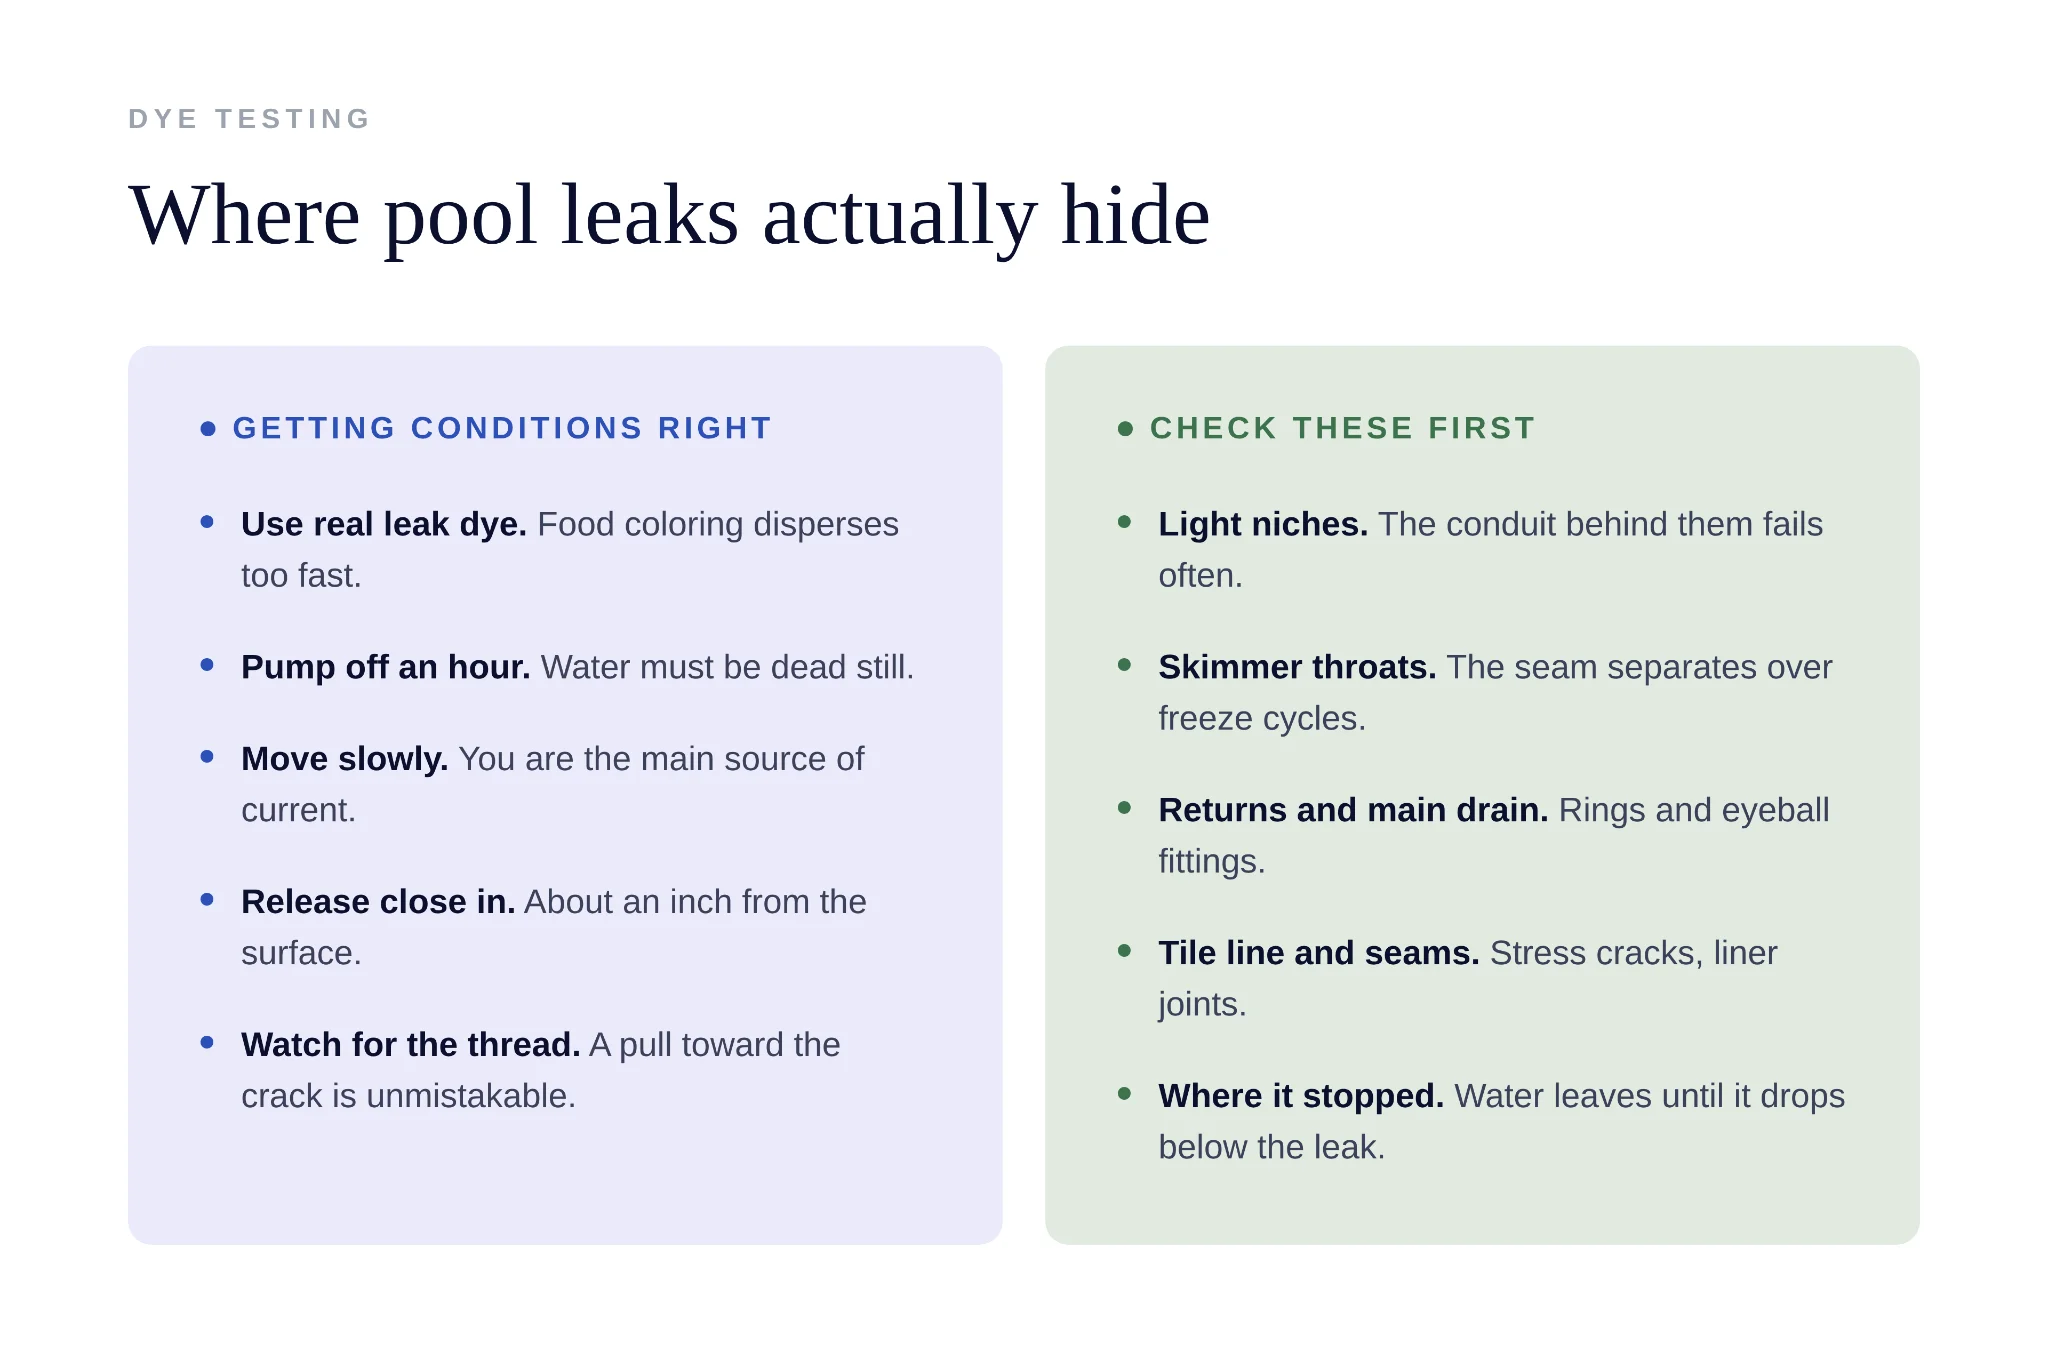
The pool needs to be dead still.
That means pump off for at least an hour, no swimmers, ideally no wind. Any current in the water will pull the dye around and give you false readings that send you chasing a leak on the wrong wall.
Then:
- Get in the water, or lean over the edge if the suspect area is shallow.
- Move slowly, your own movement is the biggest source of interference here.
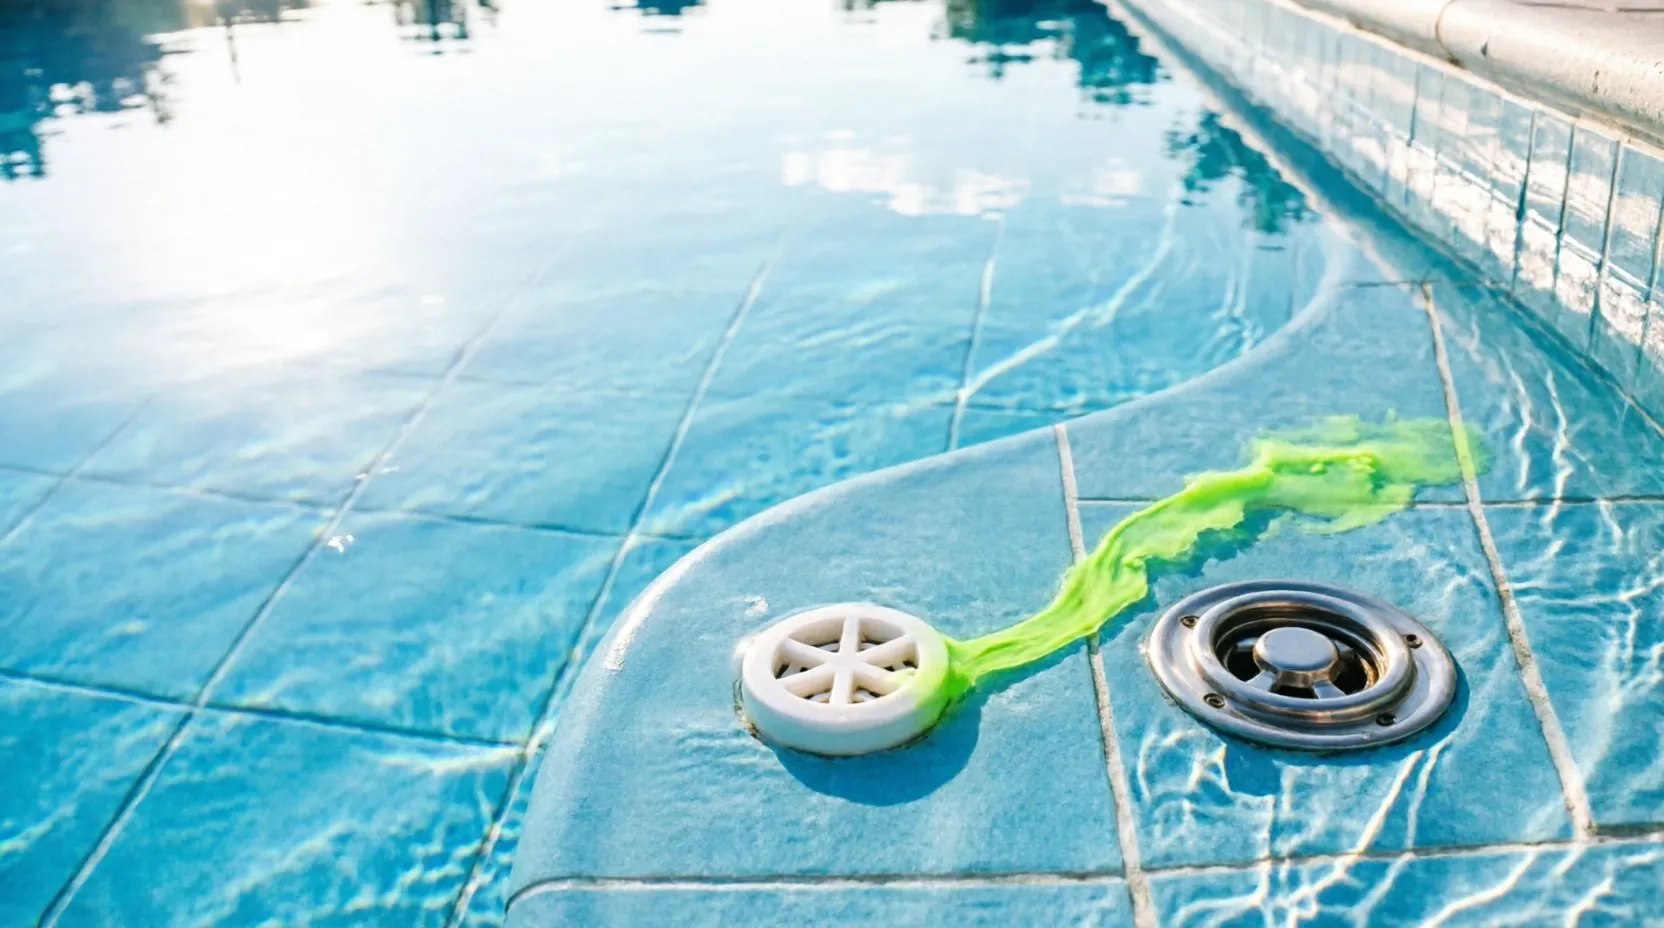
- Release a small amount of dye about an inch from the surface you’re inspecting and watch what it does.
If there’s a leak, the dye gets pulled in a visible thread toward the crack or fitting. It’s unmistakable when it happens. There’s no interpreting required.
Where to look, in the order they actually fail:
- Light niches: The conduit running out the back of the niche is one of the most common leak points in an inground pool, and it hides well because the niche itself looks perfectly intact — if you’re swapping the fixture, see our guide to changing a pool light without draining the water.
- Skimmer throats: The joint where the plastic skimmer body meets the pool wall separates over time, especially in pools that have been through freeze cycles. Dye along that seam.
- Return fittings and main drain: Check the eyeball fittings and the ring around them.
- Tile line and expansion joints: Vinyl liners fail at seams and around fittings; plaster and gunite crack at stress points.
- Steps and step corners: Hollow fiberglass steps in vinyl pools crack where they’ve flexed.
If the water level in the pool has stabilized on its own at some point and stopped dropping further, look right at that level. Water stops leaving when it drops below the leak. That line is a free clue, and people ignore it constantly.
The Pressure Test: When the Shell Comes Back Clean
You’ve done the bucket test, confirmed a leak, dye-tested every fitting and seam you can reach, and found nothing.
A pressure test isolates one line at a time and puts air or water into it under pressure to see whether it holds. You plug the line at the pool end with an expandable rubber plug, connect a pressure rig at the equipment pad, pressurize to a modest working pressure, and watch the gauge.
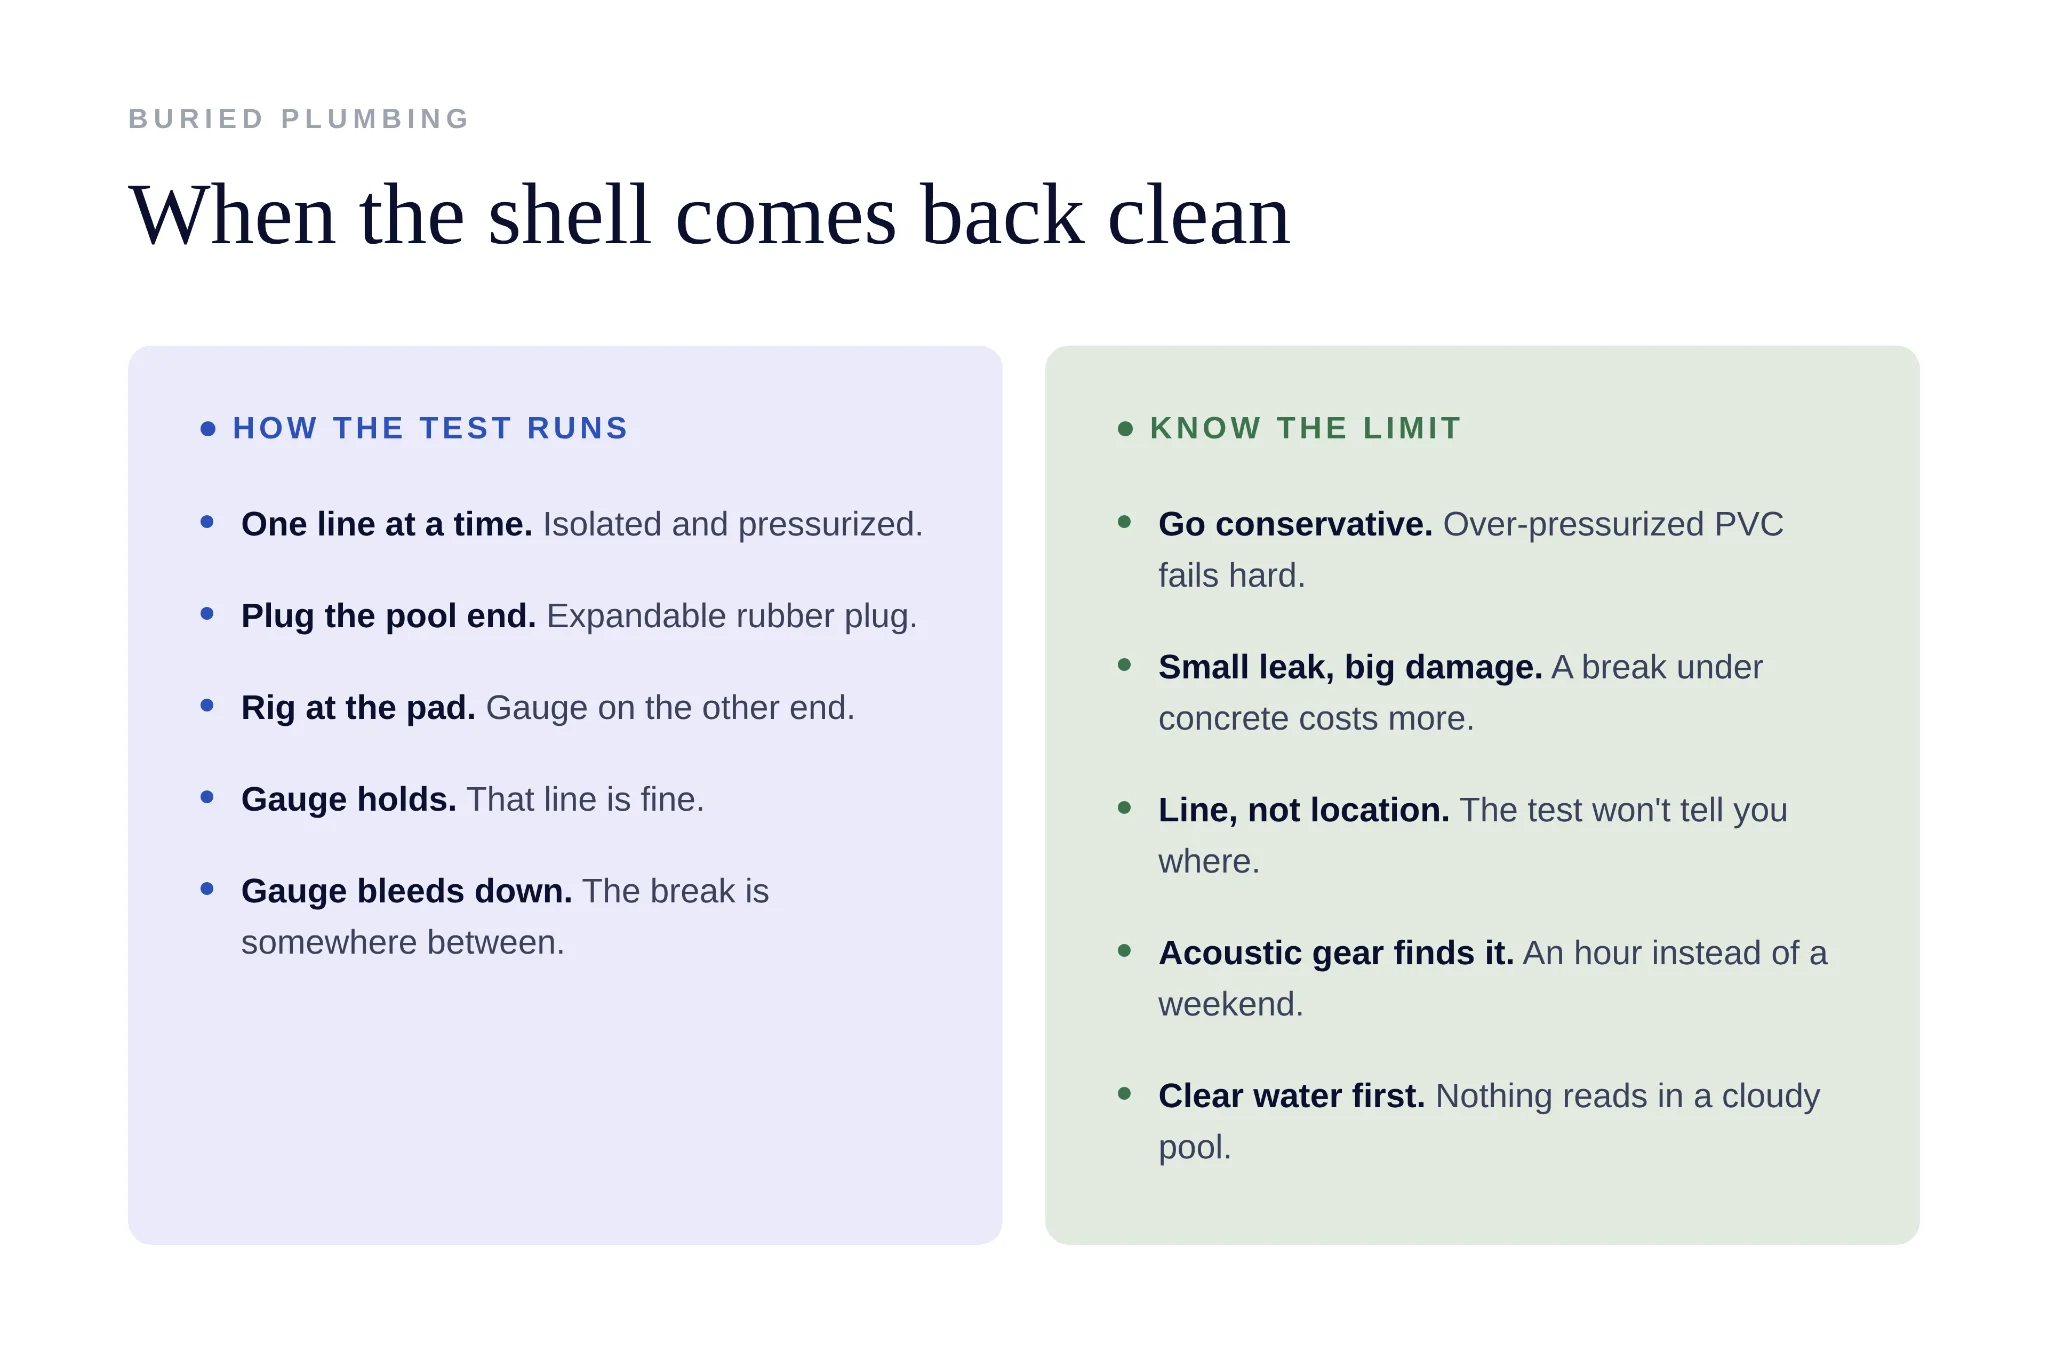
Holds steady, that line’s fine. Bleeds down, that line’s broken somewhere between the two ends.
Two things worth saying plainly here.
First, this is the test where DIY starts getting genuinely risky.
Over-pressurize PVC and it fails, sometimes violently, and you’ve turned a small leak into a broken line under concrete. The pressures involved are low compared to what people assume, and the equipment matters. If you’re renting a kit and reading the instructions for the first time, be conservative with the gauge.
Second, even a successful pressure test only tells you which line is bad, not where along it — and the fix isn’t always a dig, since clearing clogged pool lines before calling a plumber solves plenty of slow-flow cases.
Locating the actual break under a deck or a lawn means either listening equipment or excavation.
That’s the point where hiring someone stops being an admission of defeat and starts being the cheaper option, because a leak detection tech with acoustic gear will find it in an hour and you’ll spend a weekend and a rented jackhammer not finding it.
Know when the tests have taken you as far as they can.
What Water Loss Actually Costs You
A pool losing a half inch a day is also losing chemicals continuously, which means your chlorine and stabilizer never hold a stable reading, and you’re dosing a moving target.
Auto-fill valves mask the whole problem by keeping the level normal while quietly running your water meter and diluting your chemistry around the clock.
Worse: water escaping through a crack or a failed fitting is going somewhere.
Under the deck, into the soil around the shell, sometimes into the void beneath the pool. Saturated soil shifts. Shifting soil moves the structure. A leak that would have cost a few hundred dollars to patch in spring turns into deck settlement and coping separation by the following year.
The delay is what costs money. Not the leak.
Before You Test, Get the Water Clear
One practical note that makes all of this easier: none of these tests work well in a cloudy pool with debris on the floor.
The dye test in particular depends entirely on your ability to see a thin thread of color move a few inches through the water. The biggest leak clues, like a hairline crack in plaster or a separation at the skimmer throat, are exactly the details that disappear under a layer of debris.
Running a cordless robotic cleaner like the ones in Aiper’s robotic pool cleaner lineup through the pool the day before you test solves this. It handles floor and walls, pulls up the settled debris that clouds the water the moment you get in and start moving around, and leaves you with clean surfaces you can actually inspect closely.
Clear water and a clean shell turn a frustrating afternoon of squinting into a test that gives you a straight answer.
Get more pool and lawn care guides from Aiper on Google