How to Keep a Pool Cover From Sagging in Winter

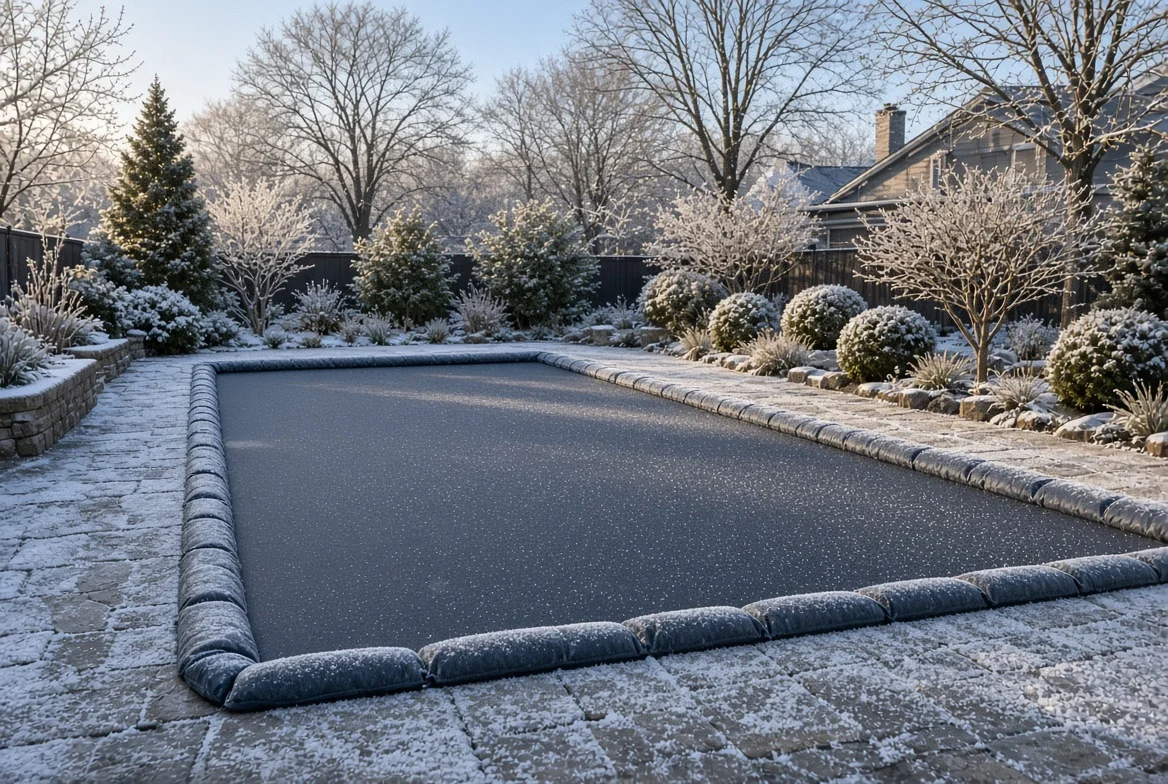
Nobody looks at a winter cover between closing day and the first thaw. It goes on in October, the pool stops being part of the property for a few months, and the next real inspection happens sometime after New Year.
By then the cover is holding a pond.
Six inches deep through the middle, dark with leaf tannin, the fabric along the shallow end already pulling in toward the water.
From that point the options narrow fast, and most of them end with buying a new cover in spring.
Three things decide whether your pool cover sags: the water level underneath the cover, the weight that lands on top of it, and how firmly the perimeter is held down.
This article tells you how to set each one, what to check once winter is underway, and what to do about a cover already carrying water.
Setting the Water Level for Your Cover Type
Measure from the bottom lip of the skimmer mouth. Hook a tape over the edge and read it there, because a four-inch error at this stage decides whether the cover holds.
- Solid winter covers: The water level needs to be three to six inches below the skimmer. A tarp-style cover rests on the pool water, and that water is the only thing supporting the middle of a thirty-six-foot span.
- Mesh safety covers: Twelve to eighteen inches below the skimmer. Mesh passes rain and snowmelt straight into the pool, which refills itself all winter, so it needs the headroom. Close it too high, and by March there is water sitting in the skimmer housing and a cracked skimmer waiting.
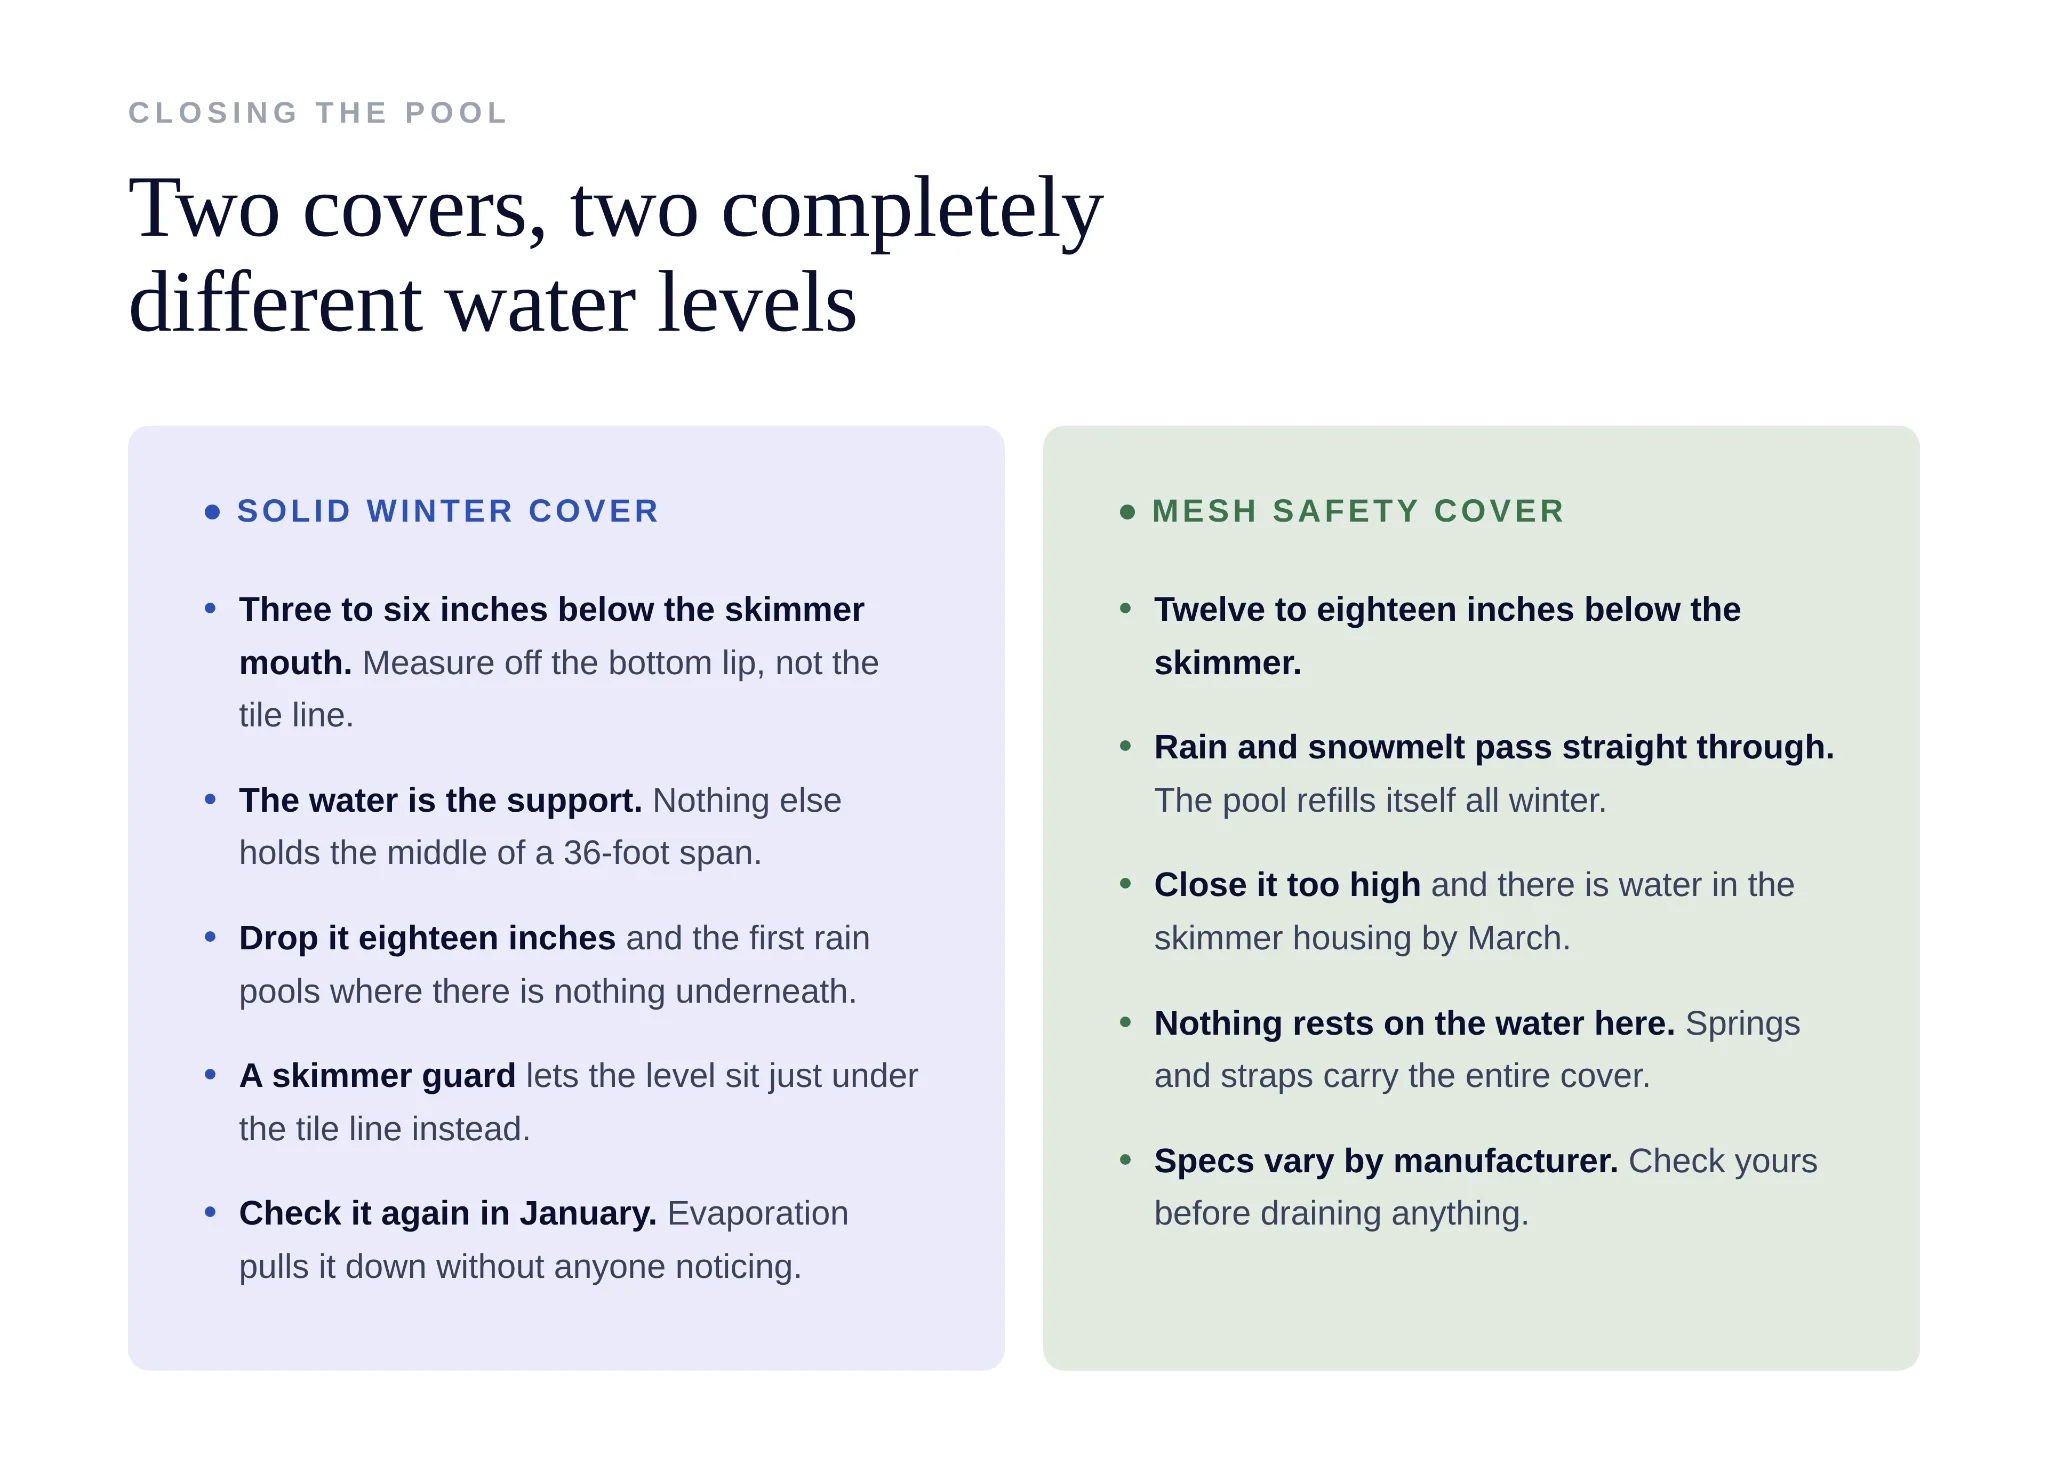
Then there is the step almost nobody takes. Check the level again in January. Evaporation and slow leaks pull water down through the winter, and a solid cover that started correctly can be sitting four inches above the surface by mid-season with no one aware of it. Lift a corner, run a hose underneath, and top it back up to where it was in October.
Choosing and Placing the Cover Pump
A 350 GPH pump moves water. It just cannot move it fast enough during a two-inch overnight rain, and falling behind is how the dish starts.
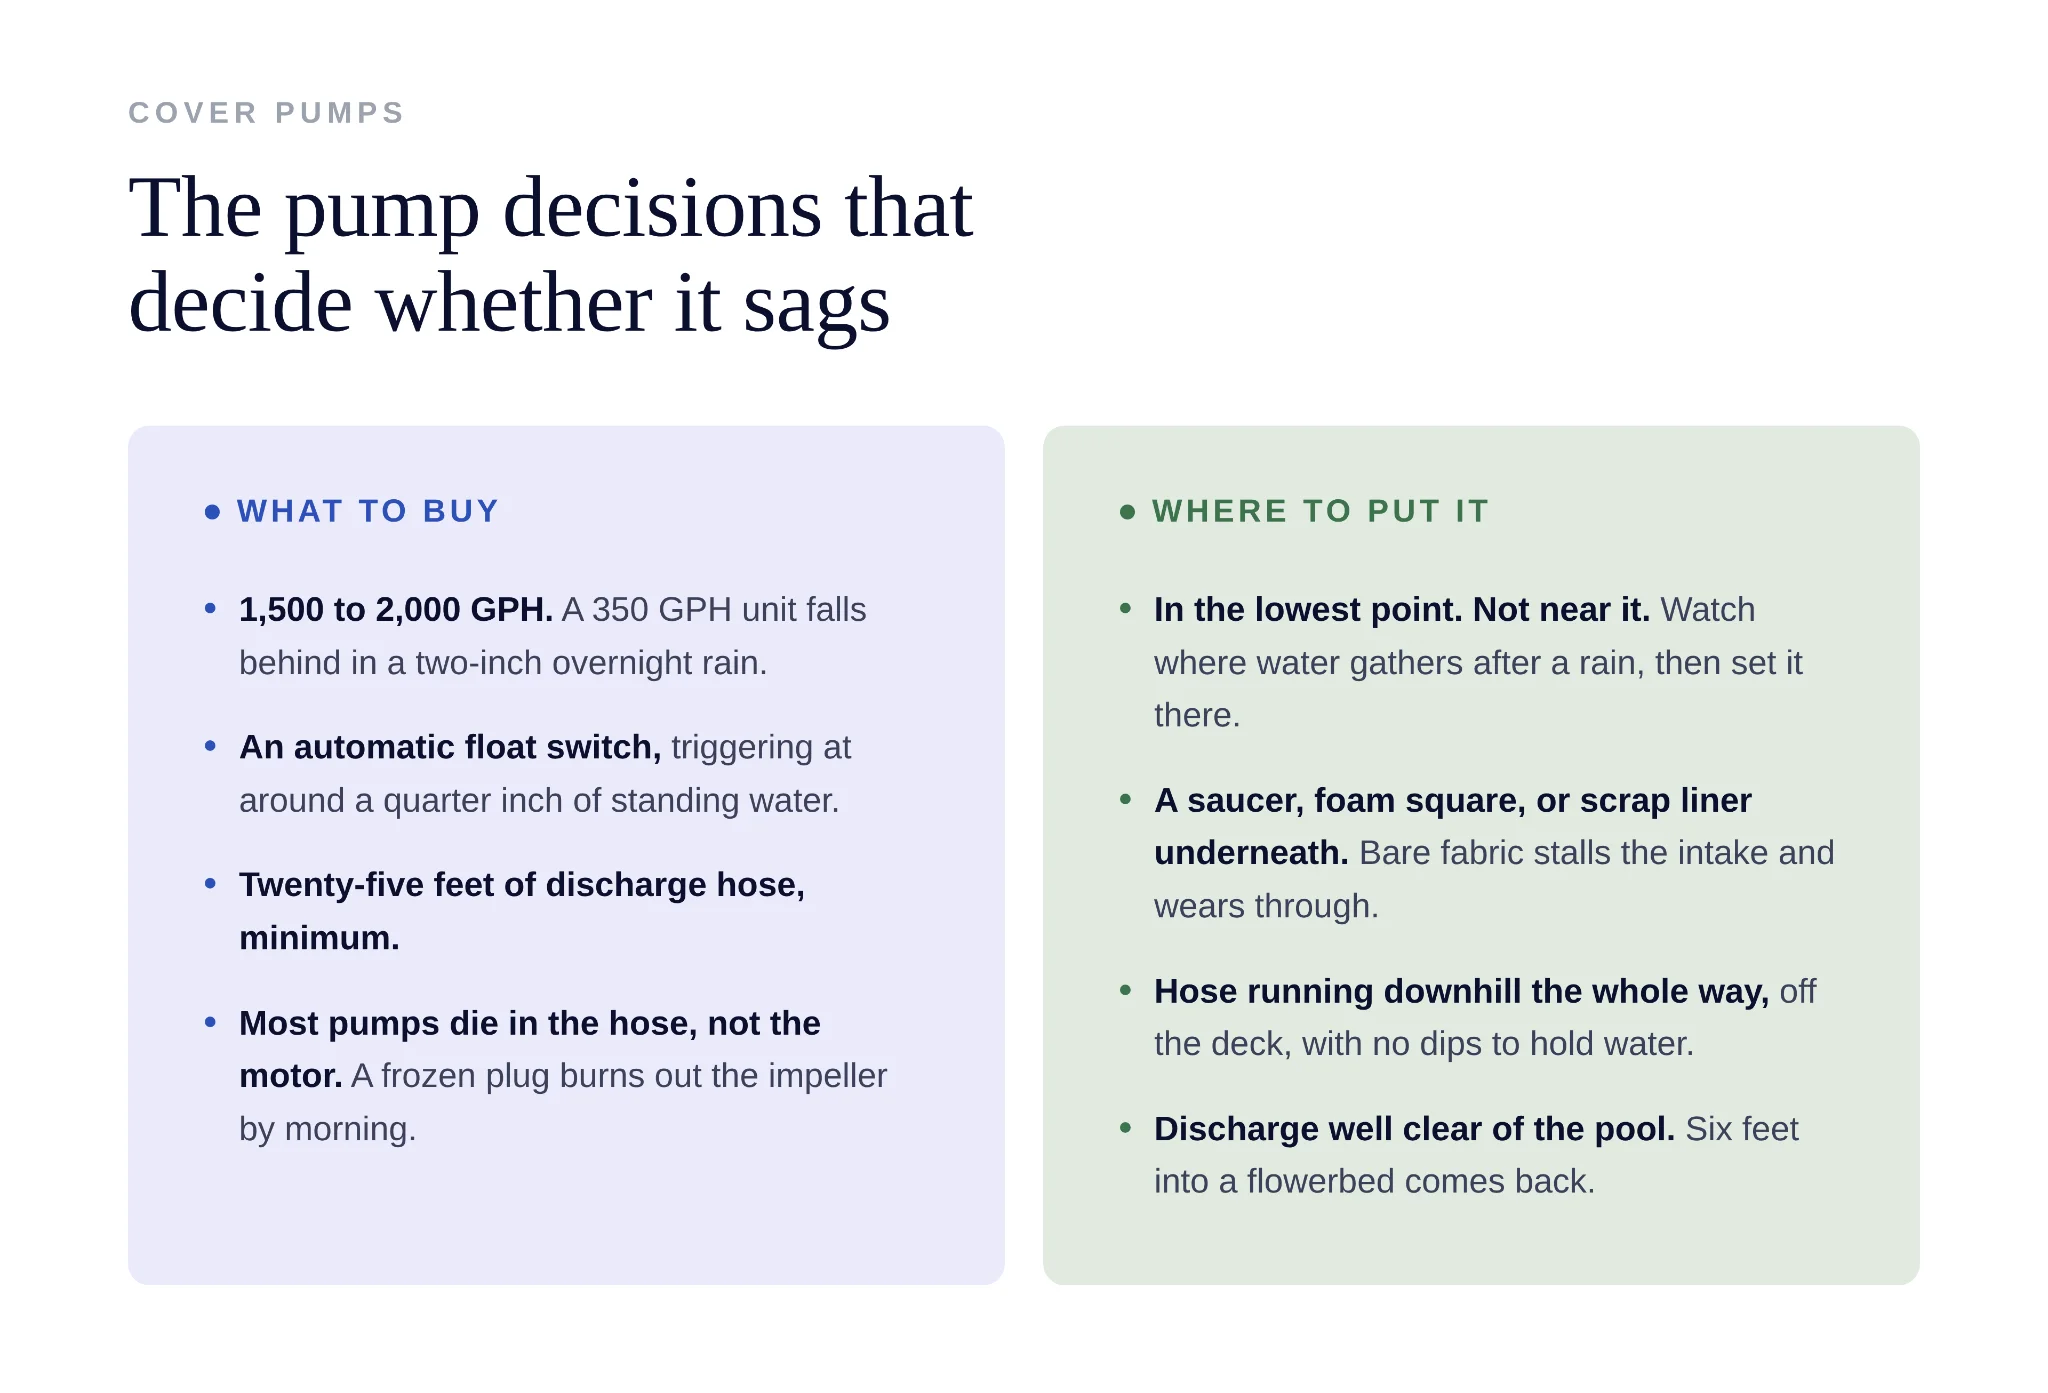
- Capacity: 1,500 to 2,000 GPH. Sized for storms rather than drizzle.
- Automatic float switch. The pump has to work on nights nobody is watching. Most auto models trigger at around a quarter inch of standing water.
- Discharge hose: 25 feet minimum, run continuously downhill, off the deck and well clear of the pool.
- Position: The lowest point, not near it. Watch where water gathers after a rain, then put the pump exactly there.
- A barrier underneath. A plastic saucer, a square of closed-cell foam, a twelve-inch piece of scrap liner.
Without a barrier, the intake screen suctions flat against the fabric and stalls, and the housing grinds a wear patch through the vinyl across four months of vibration.
Also, do not aim the discharge into a flowerbed six feet from the pool. It comes back.
Clearing a Cover That Is Already Holding Water
This is where most people are when they start looking for answers, and the order of operations matters more than any individual step.
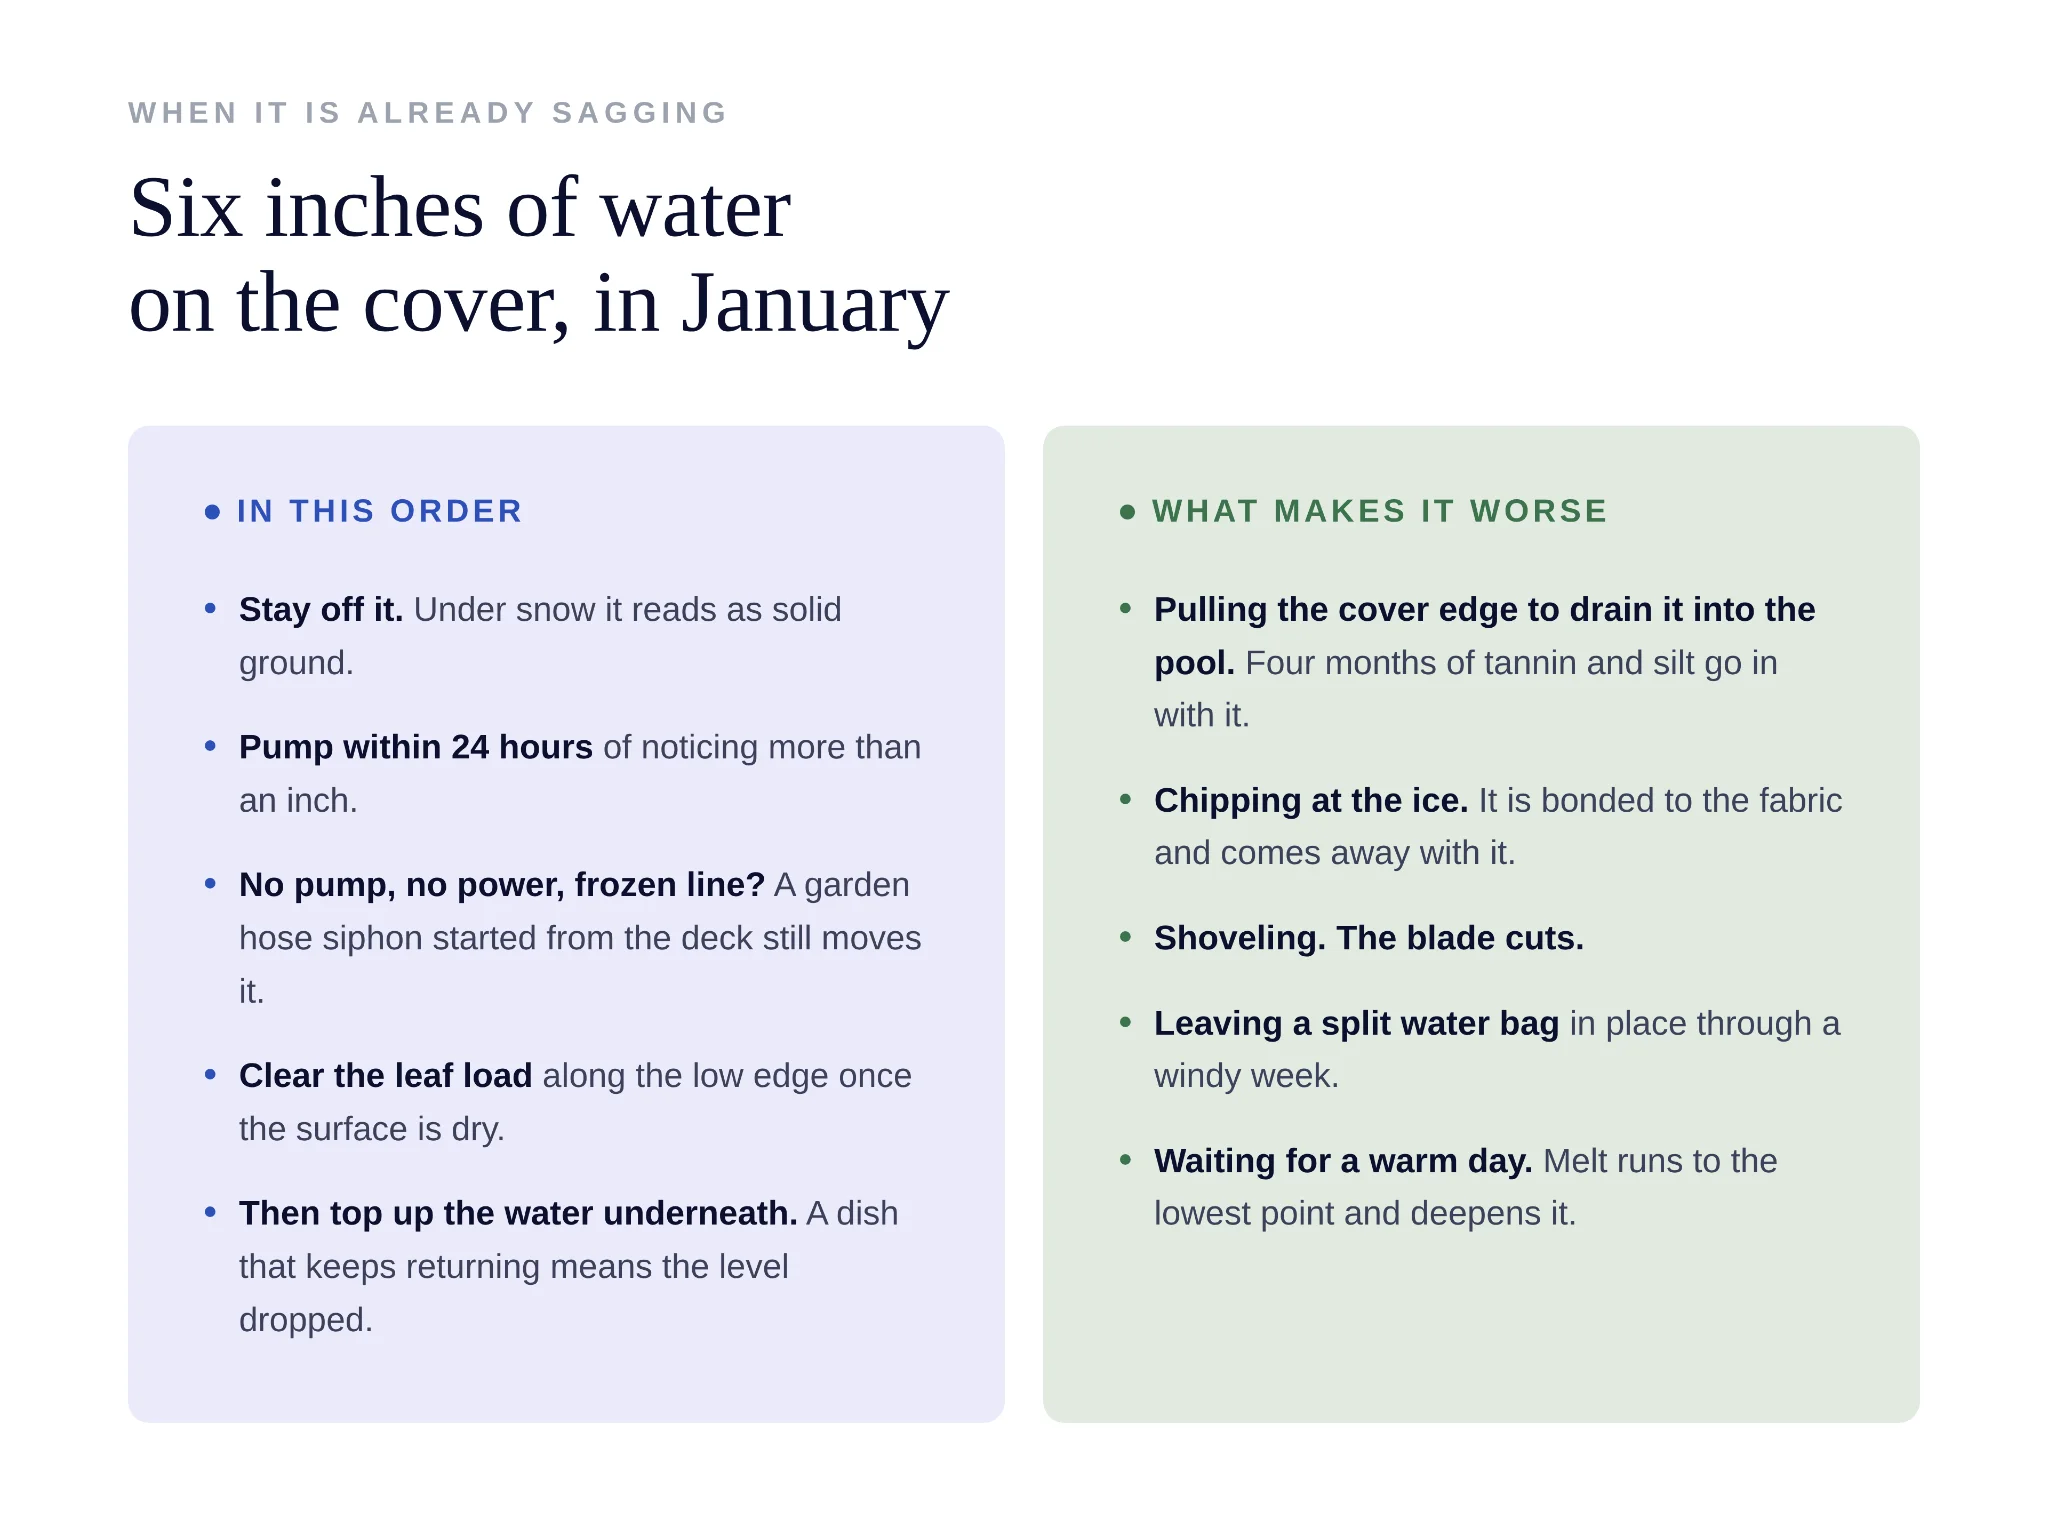
- Stay off the cover and off the ice. Under snow, it reads as a solid surface — even if the difference between mesh and solid pool covers is more than visual. It is not one.
- Get the water off within 24 hours of noticing more than an inch. Set the pump in the deepest part of the dish and let it run. If the pump is dead or frozen, a garden hose siphon started from the deck moves water slowly, but it moves it.
- Do not pull the cover edge to dump water into the pool. That sends four months of tannin, silt, and rotting leaf matter into water you spent a day balancing before closing, and more often than not it drags the cover further in.
- Clear the leaf load along the low edge once the surface is dry. Sodden leaf mass is heavy, and it holds moisture against the fabric all winter.
- Check the level underneath. A dish that keeps coming back after every rain usually means the water dropped, not that the pump is undersized. Top it up.
- Re-seat the perimeter. Reposition drifted bags, take up slack straps, replace anything split.
Step three is the one people talk themselves into.
The logic seems sound: the water on top came from the sky, the water below is already pool water, so tip one into the other and save an hour. What actually happens is that a season of black leaf tannin, silt, and decomposing organic matter goes into a pool that was balanced and sealed in October, and the cover edge you wrestled for fifteen minutes to release now has to be re-seated in the cold.
If ice has already formed over the puddle, leave it alone. It is bonded to the fabric. Chipping at it, or dropping anything heavy on it to break it up, produces holes that surface in April when the cover comes off. Wait for a thaw and pump it then.
Snow and Ice Removal Thresholds
An 18 by 36 pool has 648 square feet of cover. One inch of water across it weighs about 3,300 pounds. A foot of wet snow weighs closer to 9,700 pounds.
Safety covers are built to carry that. Solid tarp covers are not.
Check which one you have before doing anything, because plenty of people spend winters clearing snow off covers designed to handle it. On a solid cover, clear it once snow passes four to six inches. Clear it sooner if a thaw is forecast.
The thaw is the real risk, not the storm. Snow sitting evenly across the whole cover is stable. A warm afternoon three days later turns it into several hundred gallons of water, and all of that water runs to the same low point at once.
Clear it with a soft broom or a foam-edged roof rake, working from the deck.
Never use a shovel. The blade cuts the fabric, and the edge of a covered pool is a bad place to be standing. Take only the top layer, since scraping down to the fabric risks tearing it. Start at the perimeter so meltwater has somewhere to drain other than the middle.
Air Pillows and Water Bags on Above-Ground Pools
The pillow is an ice compensator, absorbing the outward push when the pool water freezes so that pressure never reaches the wall. The crown it puts in the cover is a useful side effect of its shape, not its purpose.
Inflate to 50 or 60 percent and no more. A pillow blown up drum-tight in mild October weather has no give left in it, and the first night that drops to fifteen degrees splits the seam. By Christmas it is a flat sheet of vinyl floating somewhere near the ladder, and the cover it was crowning now collapses.
Tie it off through the grommets to the cover or the top rail, because loose pillows migrate under wind and end up peaking one corner while everything else puddles. One pillow suits a small round pool. A twenty-four-foot round or an oval wants two.
Water bags get filled two-thirds, never to the top, because a full bag has nowhere for ice to expand and splits along the seam on the first cold night. Set them end to end with no gaps. They are ballast against wind lift, not anchors, whatever the packaging says.
Never substitute bricks or cinder blocks. They tear covers, and they end up on the pool floor. When a brick-sized hole shows up in the spring, how to repair a damaged pool cover walks through patching it before you price a replacement.
Safety Cover Tension and Anchors
Nothing about a safety cover rests on water. It hangs under spring tension from anchors set into the deck, so a dip in one points to tension or anchoring rather than anything underneath.
- Springs compress to roughly half their free length. You should be able to slide a finger under a strap and feel resistance. Fully compressed springs are wrong in both directions, leaving nothing in reserve for snow load while putting constant stress on the anchor and the stitching around it.
- Take up strap slack every autumn. Straps stretch slowly, and across five or six seasons a cover that once sat drum-tight develops a permanent center dip. The buckles adjust for exactly this reason.
- Raise anchors about three-quarters of an inch with the hex key before hooking springs, and lower them flush in spring so nobody catches a toe on them.
- Replace anchors that spin or sit lifted. A spinning anchor is stripped. One that has risen a quarter inch means the substrate around it has failed, usually frost heave in pavers or an already-cracked deck.
Do the tensioning before the cover goes on. Not in February with snow on it.
The Mid-Winter Inspection
Once a month is not enough. Go out after any storm dropping more than an inch, after the first hard freeze, after every thaw, and after wind strong enough to move patio furniture.
Standing water, and whether the pump is running or sitting dry on a high spot. Bags that have drifted, split, or gone soft. Slack straps and anchors sitting proud. Leaf piles at the low edge. The water level underneath, which you can read from how the cover meets the wall.
Ninety seconds, eight or nine times a winter. That is the entire difference between covers that last ten seasons and covers that do not.
What a Failed Cover Actually Costs
A solid cover carrying six inches of water is not an aesthetic problem.
Every year there are drownings on winter covers, dogs mostly and children sometimes, and the mechanism never varies: something walks onto what looks like solid footing, the fabric gives, and the cover wraps.
A pool that stayed sealed and tensioned opens differently.
Pull the cover, run the filter, start the chemistry, and let a robotic cleaner work the floor while you deal with everything else. That is an afternoon. It gets decided in October, not April.
If your cover did not survive the winter, the pool underneath probably needs attention. A robotic pool cleaner handles the debris and the fine silt that settled while the cover was down, so you can focus on water chemistry and equipment checks without also vacuuming by hand.
Get more pool and lawn care guides from Aiper on Google