How to Get Rid of Spurge in a Lawn

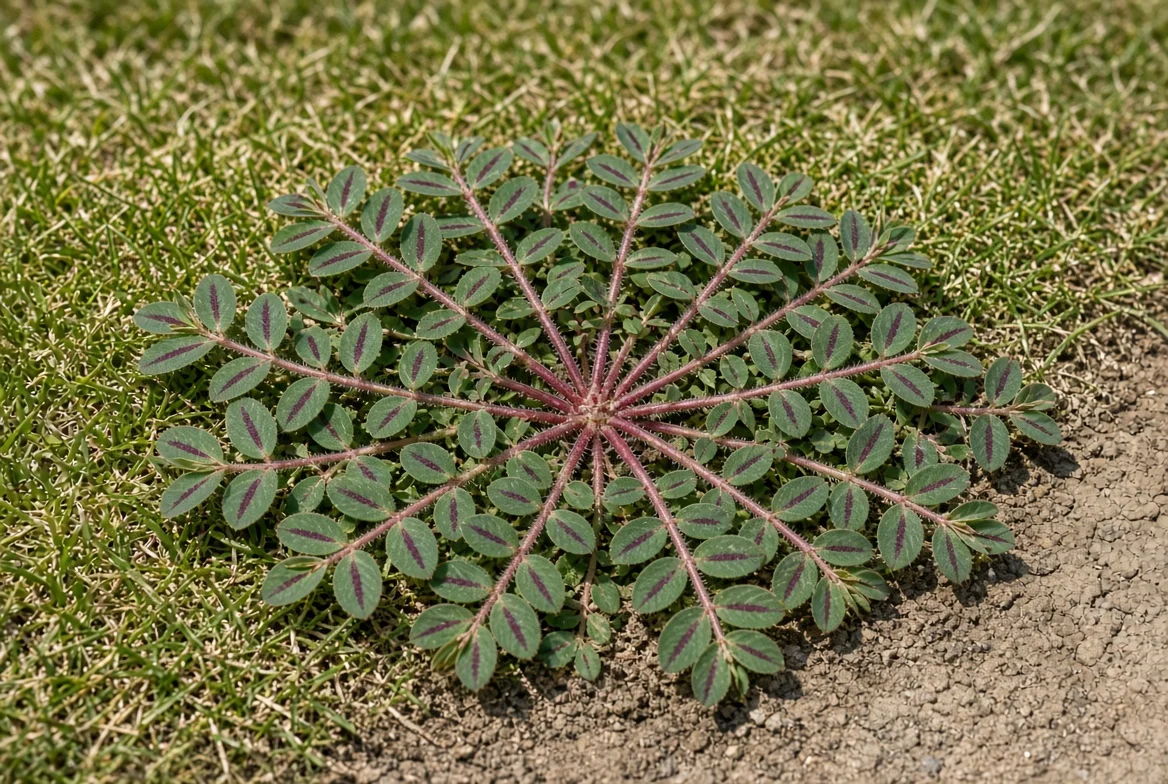
Spurge is the flat green mat that appears along the driveway edge in July, spreading out from a single point as if something spilled. Snap a stem, and it bleeds white.
That milky latex is the giveaway, and it’s also an irritant, so anyone pulling it barehanded finds out by the end of the afternoon.
The plant itself is easy to kill. The problem is that a single spurge plant goes from seedling to seed production in about five weeks and drops a few thousand seeds that stay viable in the soil for years, so killing what’s visible in August accomplishes very little. Unlike low-growing spurge, johnsongrass shoots up tall fast, so getting rid of johnsongrass in a lawn early in the season makes removal much easier.
Getting rid of spurge is a two-season project aimed at the seed bank and the conditions letting it germinate, and everything below is organized around that. Bahiagrass in a thin lawn follows the same two-part logic, targeting both the plant and the conditions that let it establish — see our guide to removing bahiagrass from a lawn.
What Spurge Actually Is
Spotted spurge, Euphorbia maculata, is the one in most lawns. It grows prostrate in a dense, circular mat, with stems radiating from a central taproot and small, oval leaves that usually bear a maroon or purple blotch along the midrib.
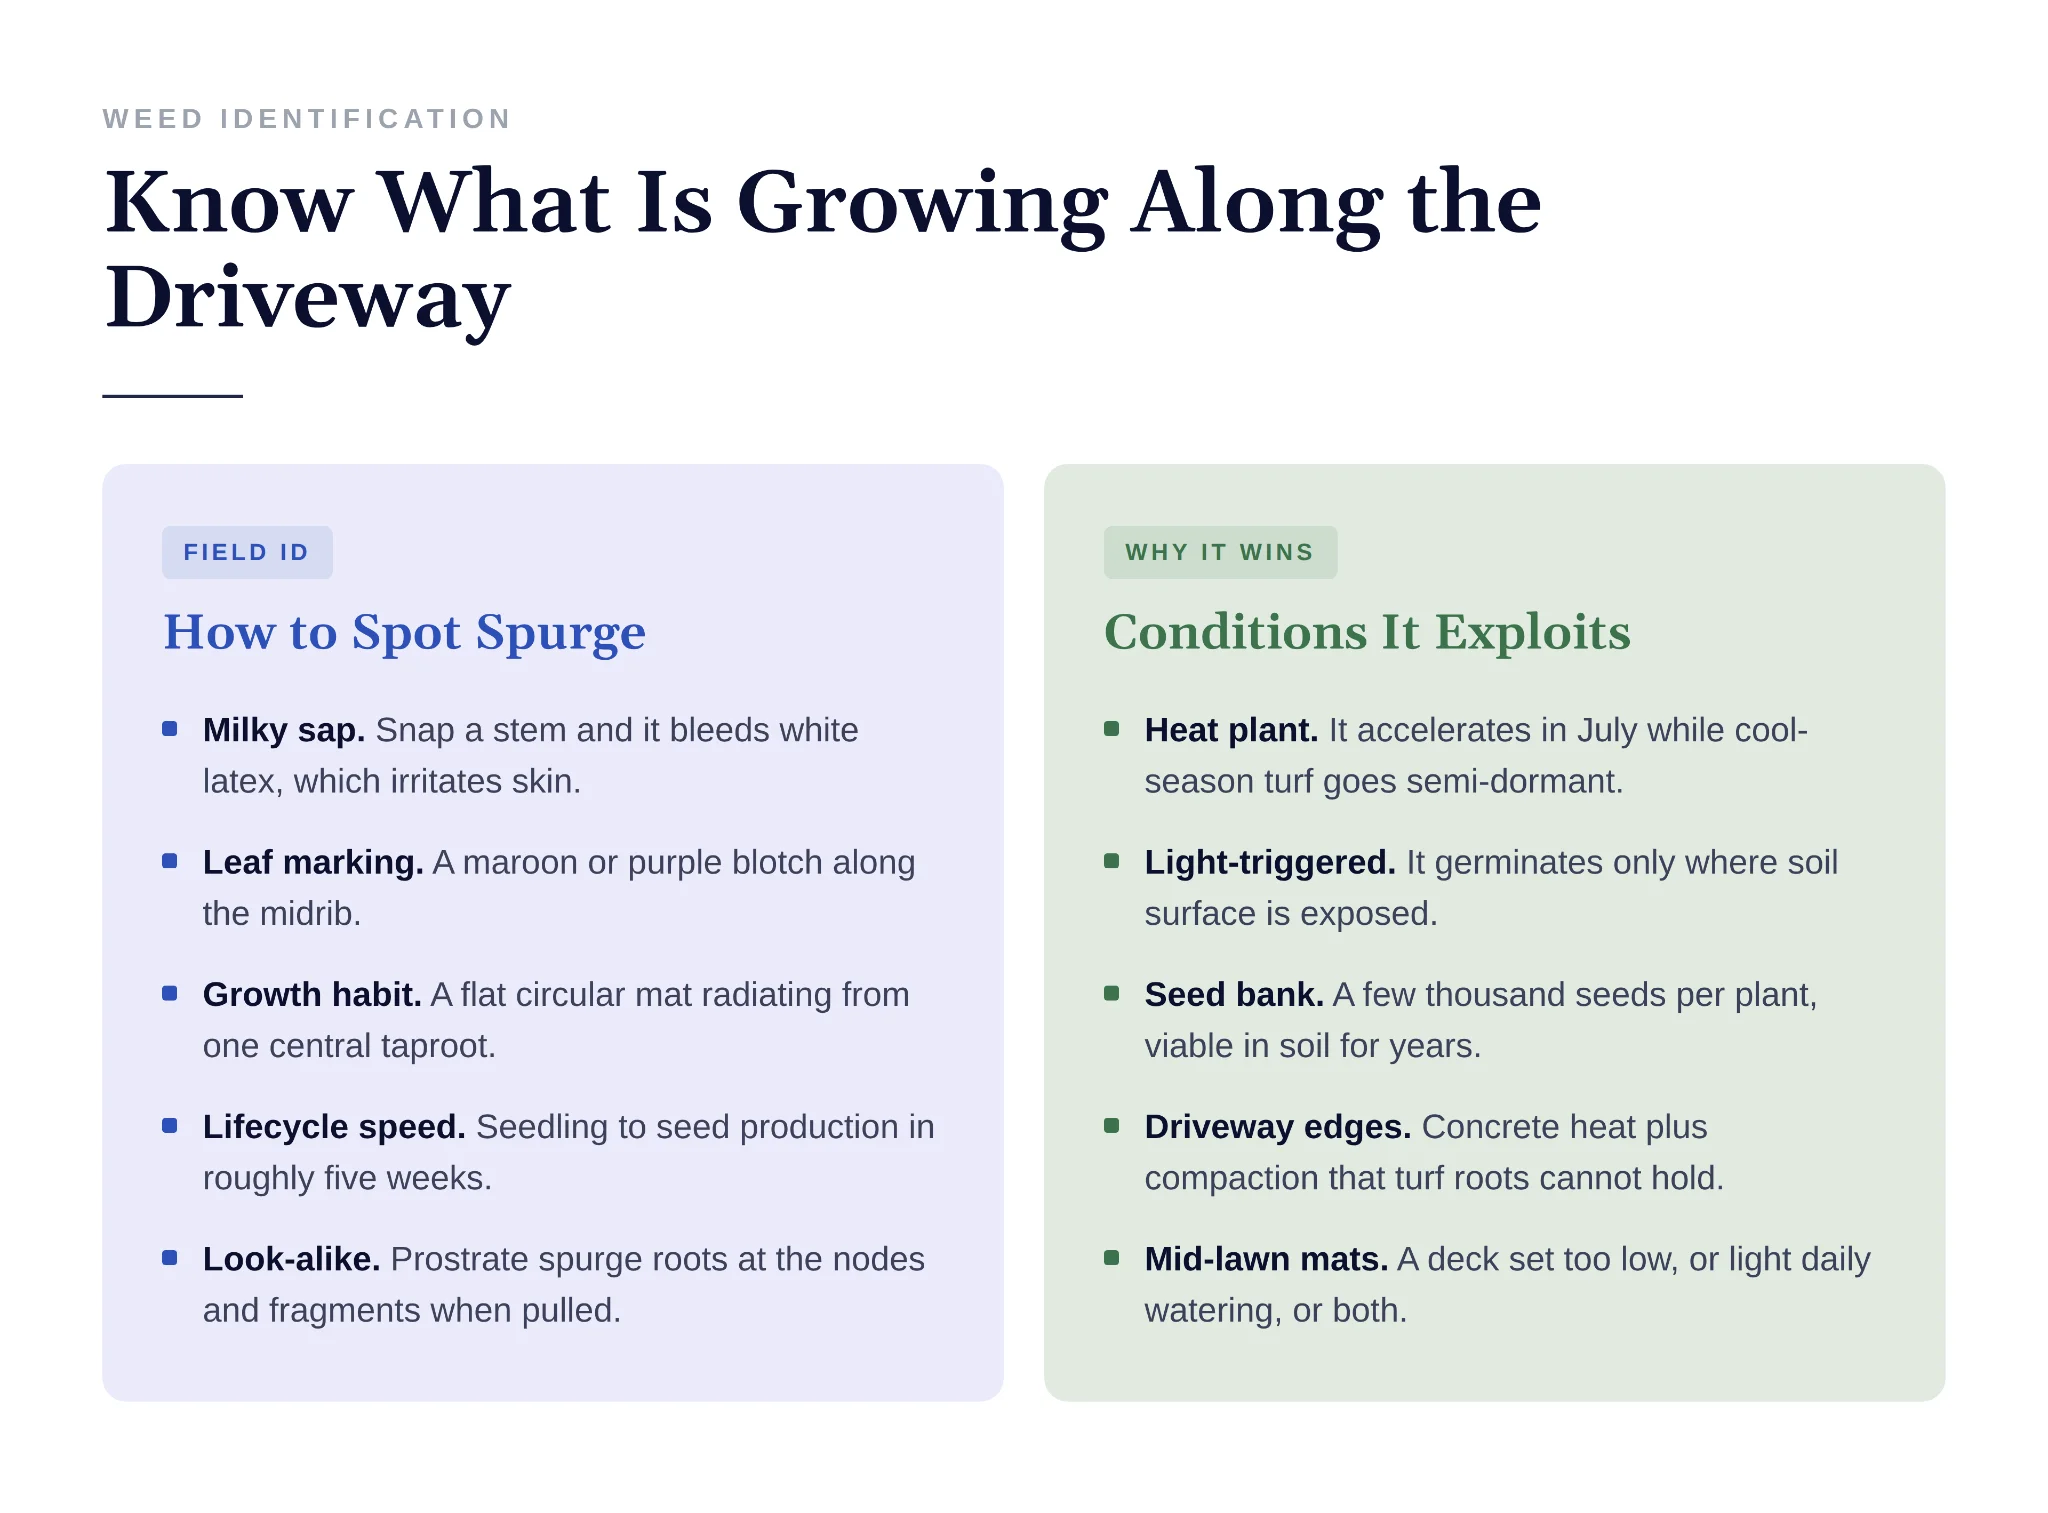
Prostrate spurge looks nearly identical but roots at the stem nodes as it spreads, which matters when you try to pull it.
It’s a warm-season annual and a C4 plant, which is the technical term for it doing its best work in the heat that cool-season turf hates. Fescue and bluegrass go semi-dormant and thin out in late July. Spurge accelerates.
Germination starts once surface soil temperature holds around 60 to 65 degrees and continues in waves through the hottest stretch of summer. It also needs light at the soil surface to germinate, which is the single most useful fact about it.
Where It Grows Tells You Why
Spurge along a sidewalk or driveway edge is a heat and compaction problem. Concrete radiates warmth into the adjacent six inches of soil, foot traffic and mower wheels have packed it, and turf roots can’t hold that strip.
Spurge in the middle of the yard usually means the mower is set too low, or the lawn is being watered lightly every day, or both. Under a maple on the dripline, it means root competition already won, and nothing else was going to fill that space.
Fix what the location is telling you, or the same mat comes back next July in the same shape.
Pulling It by Hand
Hand pulling works, with conditions. Water first, because a taproot pulls cleanly out of moist soil and snaps off in dry soil, and a snapped taproot regrows. Wear gloves for the sap. Get it done before the plant sets seed, which on an established mat means you’re probably already late.
Bag what comes out and put it in the trash. Don’t leave the pile on the driveway and don’t compost it, because seeds already forming on a pulled plant will continue maturing and remain viable.
Prostrate spurge that has rooted at the nodes fragments when pulled and leaves rooted pieces behind. That one is worth spraying instead.
When to Apply Pre-Emergent
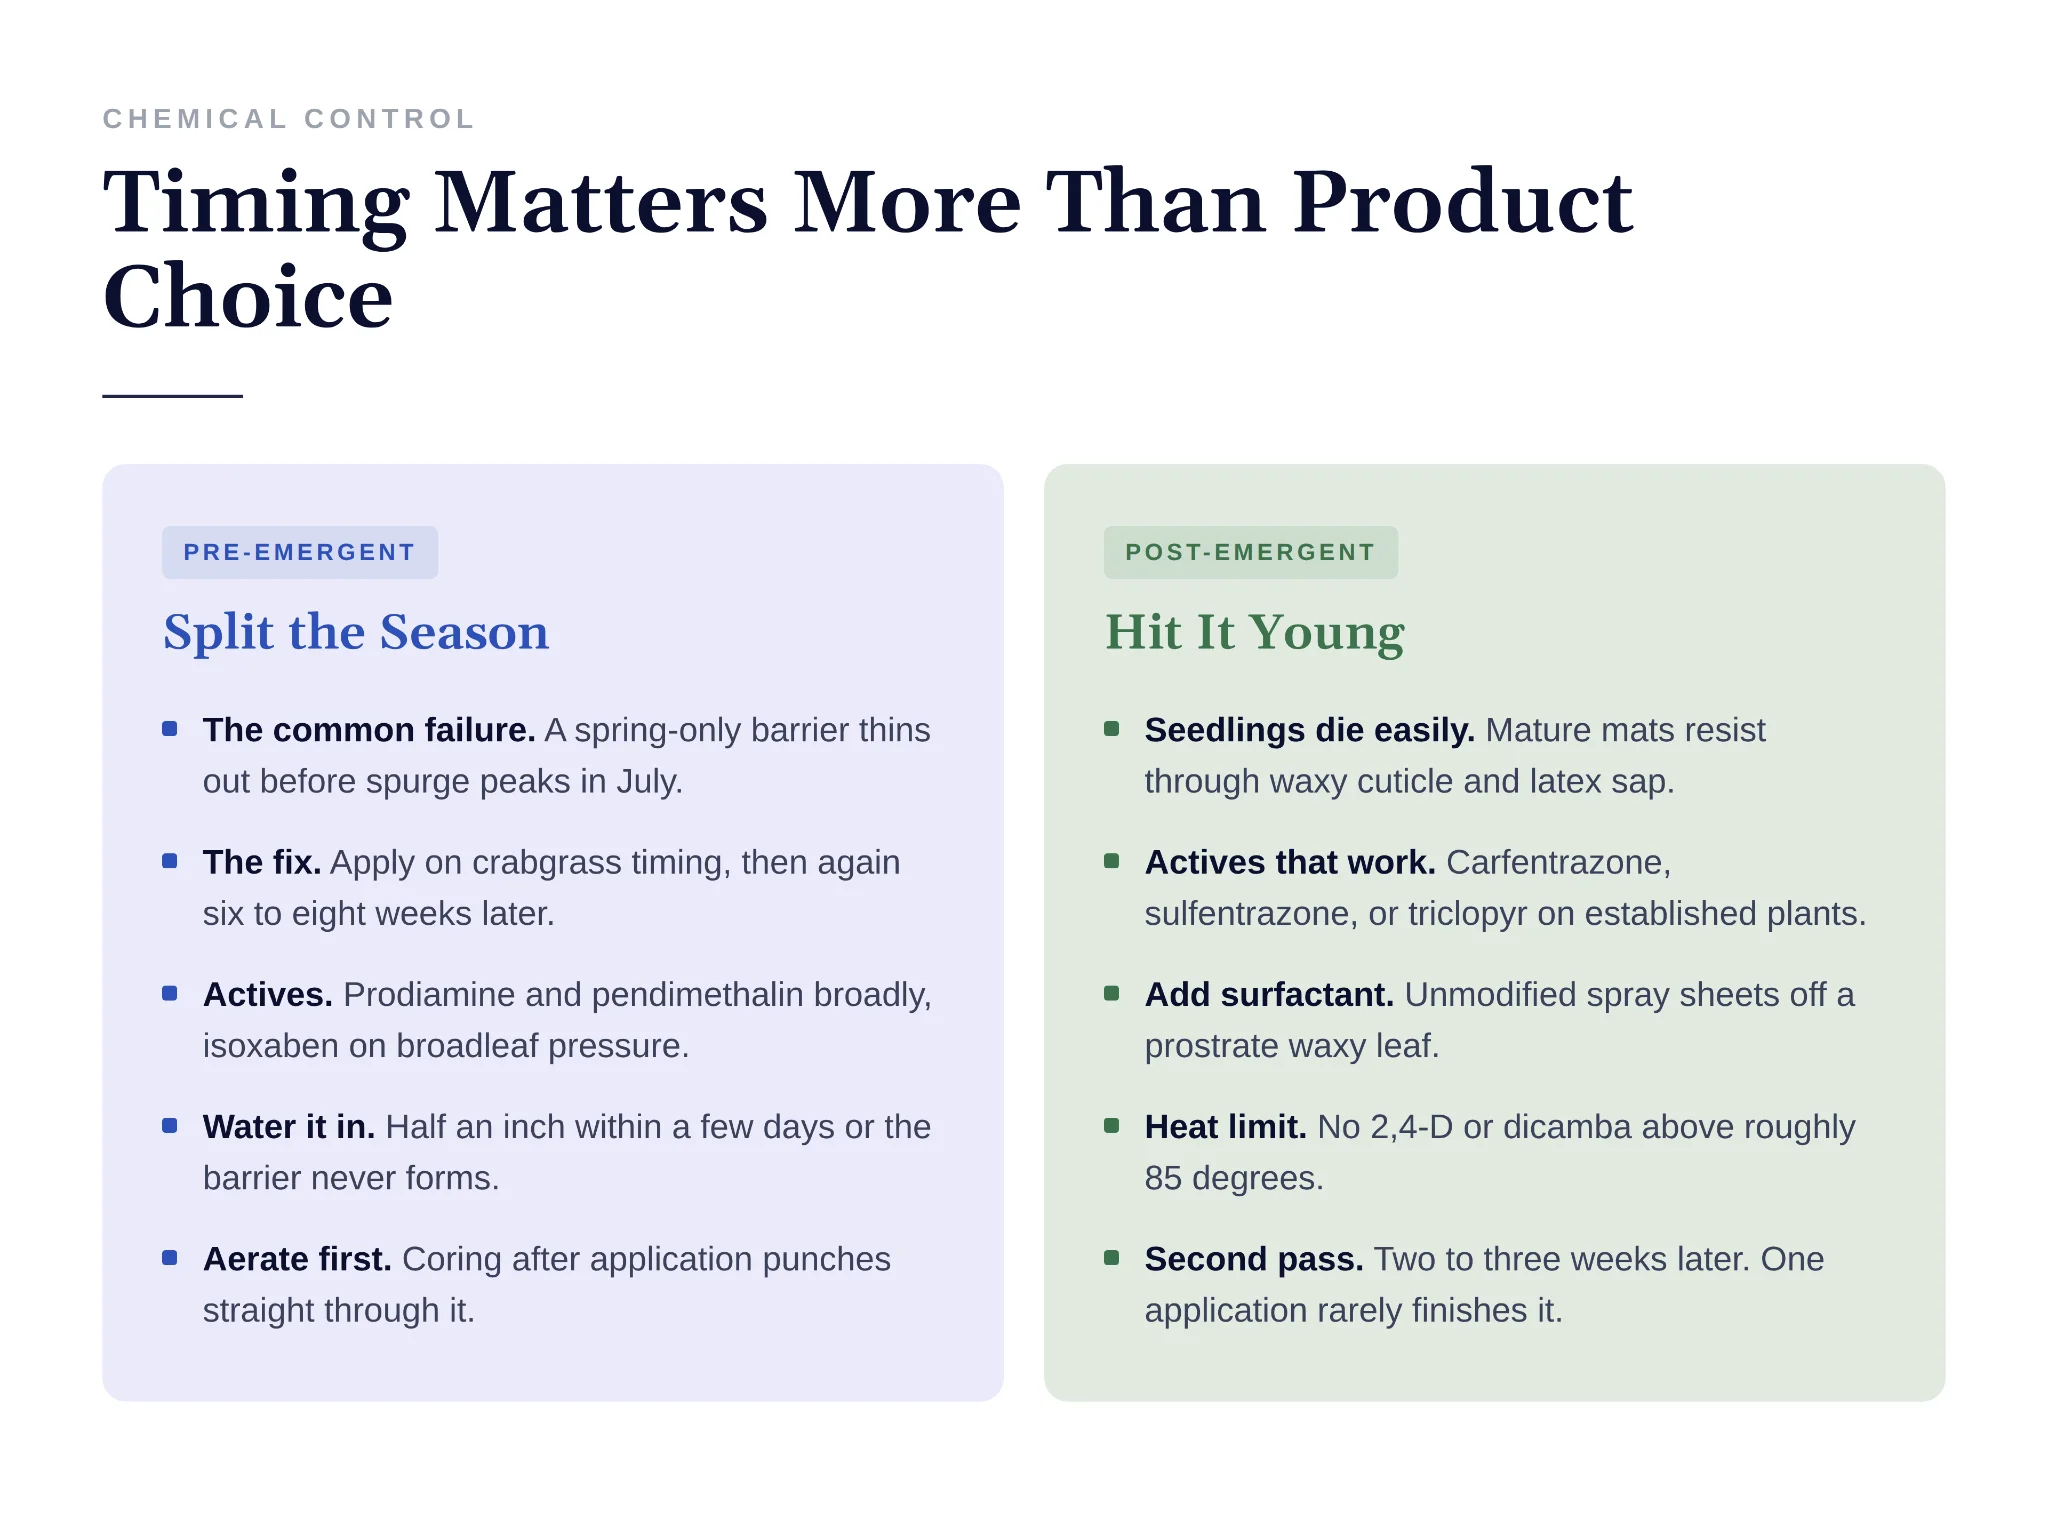
Pre-emergent stops seeds from sprouting. It does nothing to spurge that is already growing, and timing is where most people get it wrong.
The usual spring application, put down when soil temperature reaches the mid-50s to stop crabgrass, only lasts about 8 to 12 weeks. Spurge germinates later than crabgrass and keeps germinating all summer, so by the time it starts coming up in June and July, that spring barrier has worn out.
Apply twice:
- First application: early spring, at the same time you would treat for crabgrass.
- Second application: 6 to 8 weeks later, keeping the season total within the label maximum.
The second one is what actually controls spurge.
Which product to use
- Prodiamine or pendimethalin. Inexpensive, widely available, and reasonably effective on spurge.
- Isoxaben. Stronger on broadleaf weeds like spurge. Worth the extra cost if spurge returns every year.
- Indaziflam. Lasts the longest, but it is mostly labeled for warm-season grasses. Read the label before buying.
Two things that ruin it
- Not watering it in. Pre-emergent needs about half an inch of water within a few days to move into the soil. Left dry on top of thatch, it does nothing at all.
- Aerating afterward. Core aeration punches holes straight through the barrier. Aerate first, then apply.
One more limitation: you cannot seed for roughly four months after most pre-emergents. If the lawn needs overseeding in fall, that year is a seeding year, not a pre-emergent year.
How to Kill Existing Spurge
Small seedlings die easily with almost any broadleaf weed killer. Horseweed is a broadleaf that behaves very differently from spurge, so if a tall, bristly stalk has appeared among the mats, see how to remove horseweed from a lawn for good before it goes to seed. Mature mats are much harder, because the leaves are waxy and the milky sap slows the chemical from moving through the plant. A standard three-way weed killer usually burns the top, looks like it worked for a week, then the plant regrows from the center.
Walk the lawn in June and treat spurge while the plants are still small.
What works on mature plants
Look for a product containing one of these:
- Carfentrazone. Fast, visible burndown.
- Sulfentrazone. Slower but more thorough, and it kills nutsedge at the same time.
- Triclopyr. Effective on tougher broadleaf weeds.
Add a non-ionic surfactant unless the product already contains one. It helps the spray stick to waxy leaves instead of beading off.
How to spray
- Spray early in the morning, and skip any day forecast above 85 degrees. Most 2,4-D and dicamba products damage heat-stressed lawns above that.
- Do not mow for two days before or after spraying.
- Spray again 2 to 3 weeks later. One pass rarely finishes an established mat.
If you have St. Augustine or centipede grass, normal 2,4-D and dicamba rates will damage the lawn. Atrazine is the usual alternative, though it is restricted in some states and counties.
Beds, Cracks, and Edges
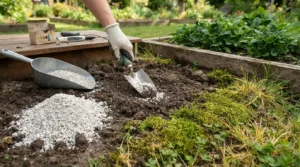
In landscape beds, spurge is a mulch depth problem. Two to three inches of mulch blocks the light spurge needs to germinate, and a bed that’s down to an inch after two years of settling is an open invitation.
In pavement cracks and along expansion joints, a shielded spray of glyphosate ends it. Vinegar and boiling water burn the top growth and leave the taproot, which is why the same plant is back in three weeks.
Mowing Height and Water
Spurge requires light hitting bare soil to germinate, so a dense canopy is a physical barrier that works continuously and costs nothing.
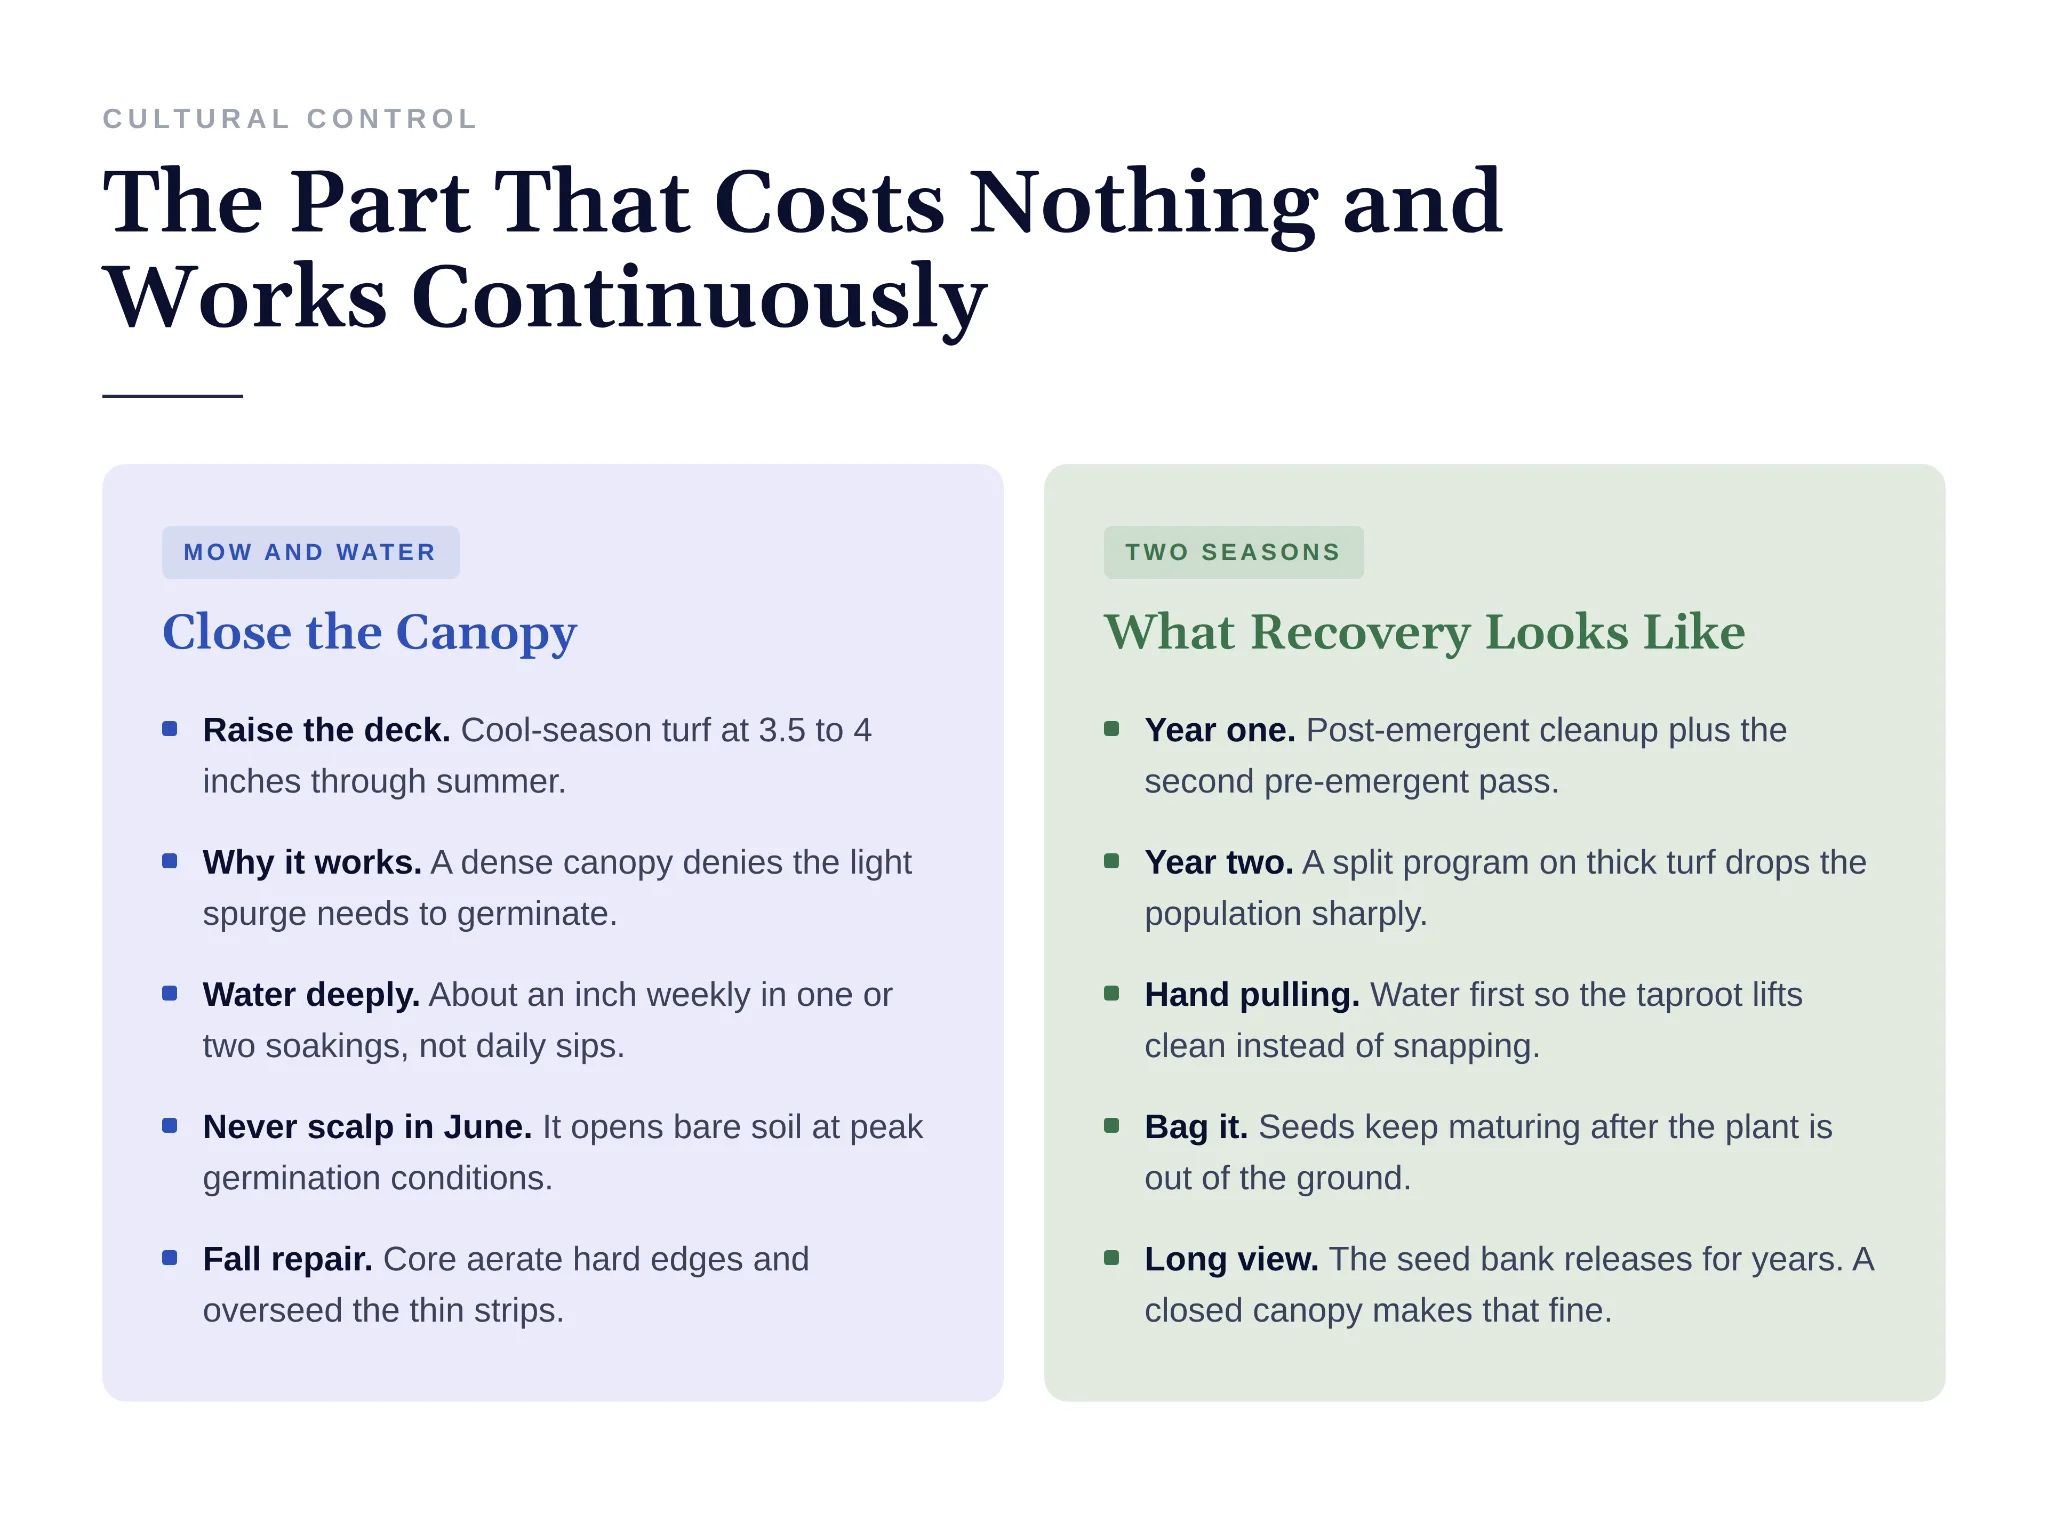
Raise cool-season turf to 3.5 or 4 inches through summer, and a substantial share of the seed bank simply never gets the signal. Scalping a fescue lawn to two inches in June opens the soil surface across the entire yard at exactly the moment germination conditions peak.
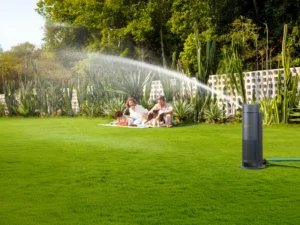
Water deeply and infrequently, roughly an inch a week in one or two soakings rather than fifteen minutes every evening. Daily light watering keeps the top half inch of soil damp and warm, which is precisely what a shallow-rooted summer annual wants and precisely what deep turf roots don’t.
Then deal with the compaction the spurge pointed out. Core aerate the hard edges and traffic lanes in fall, overseed the thin strips, and keep fertility adequate through the shoulder seasons so the turf has the density to close those gaps on its own.
What Two Seasons Look Like
Year one is mostly damage control. Post-emergent knocks down what’s there, hand pulling handles the strays, and the second-round pre-emergent starts cutting into new germination.
Year two is where it changes. A properly split pre-emergent program running from spring into early summer, on turf mowed high and watered deep, drops the visible population dramatically, and the mats that do appear are small and easy to spot.
The seed bank keeps releasing for several years regardless. That’s tolerable when the canopy is thick enough that most of what germinates never reaches the light.
Get more pool and lawn care guides from Aiper on Google