Published: May 13, 2025 | Views: 6,100 | Source: Aiper Official
About This Video
New to the Aiper HydroComm Pro? This step-by-step guide walks you through everything from unboxing to your first successful run. Let us get you up and running in no time.
Video Script & Key Takeaways
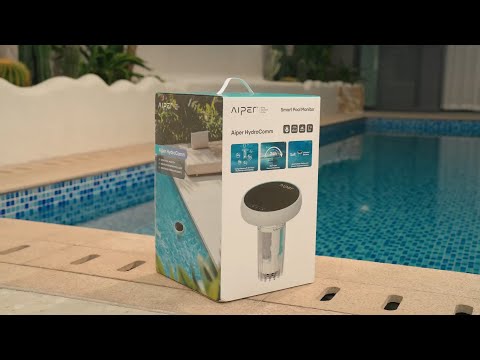
1. Unboxing and What is in the Box
Open the box carefully and verify all components: the Aiper HydroComm Pro unit, charging dock/cable, power adapter, user manual, and any accessories specific to your model. Keep the packaging until you have confirmed everything works.
2. Initial Setup and Charging
Place the charging dock in a flat, accessible location with at least 3 feet of clearance on each side. Fully charge the Aiper HydroComm Pro before first use — this typically takes 3-4 hours and ensures optimal battery calibration.
3. First-Time Configuration
Download the Aiper app and follow the on-screen pairing instructions. Connect the Aiper HydroComm Pro to your Wi-Fi network (2.4 GHz only). Complete the initial mapping or calibration routine so the device learns your space.
4. Running Your First Cycle
Start with the default mode for your first run. Monitor the first cycle to understand how the Aiper HydroComm Pro navigates your space. After completion, check the results and adjust settings if needed.
5. Post-Run Maintenance
Empty the debris compartment, rinse the filter, and wipe down sensors after each use. Regular cleaning ensures consistent performance and extends the life of your device.
Want more tips? Subscribe to the Aiper Official YouTube channel for weekly how-to videos on pool care, lawn maintenance, and smart outdoor living.
Related Videos