How to Plant a Clover Lawn: The Low-Water Alternative

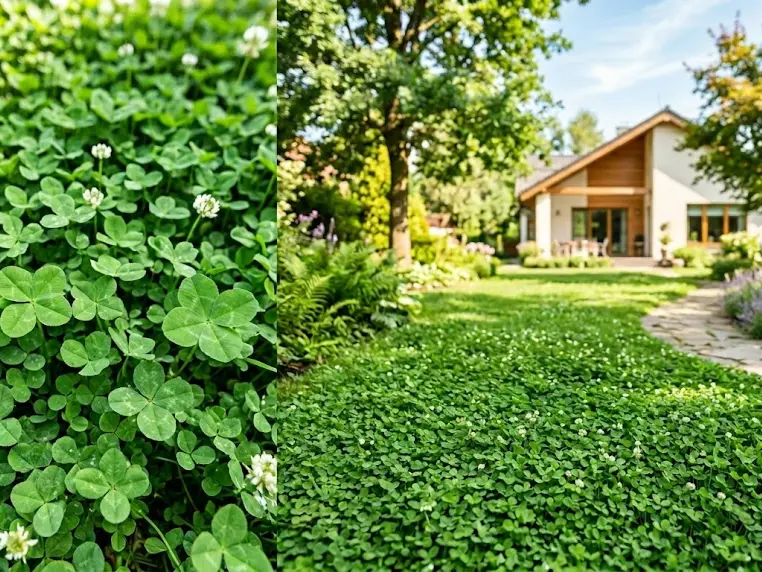
Most people inherit grass lawns with the house, mow it because that’s what you do, water it because the neighbors do, and never ask whether the thing belongs there in the first place. Once established, follow the best time to water your lawn to keep it green without waste.
Clover does. In most of the country, anyway.
A clover lawn uses a fraction of the water a grass lawn does, fixes its own nitrogen so you stop buying fertilizer, stays green through droughts that turn fescue brown, and feeds pollinators while it’s at it. The mowing drops to three or four times a year. Sometimes less.
The catch is that clover is soft.
Heavy daily foot traffic will wear it down in spots. If you have kids running soccer drills in the backyard every afternoon, a pure clover lawn won’t hold up. For most yards, that’s not the situation.
Pick the Right Clover
Two real options: Dutch white and microclover.
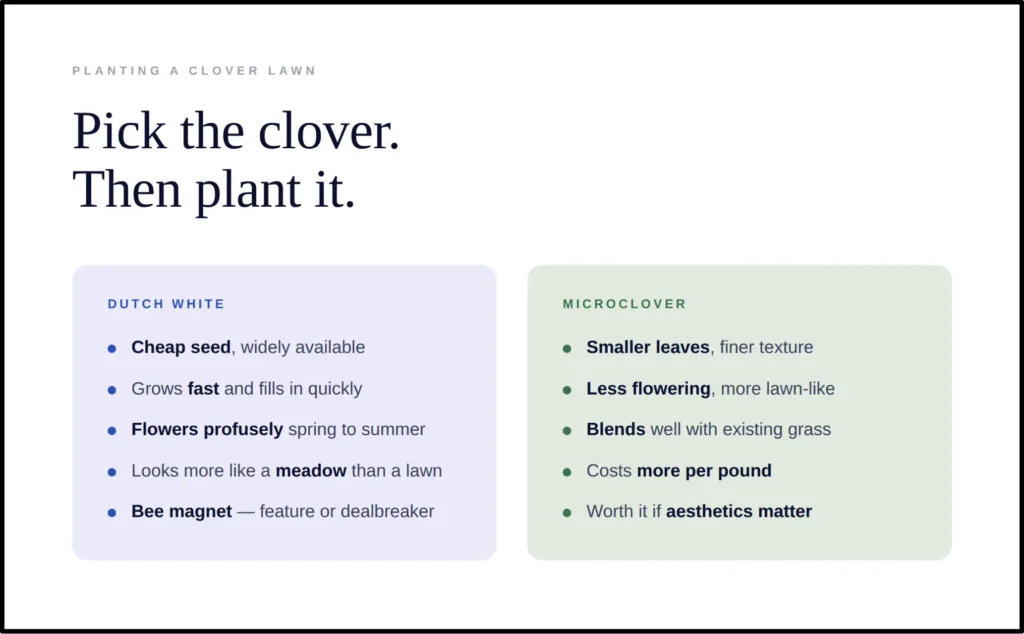
Dutch white is the classic. Cheap seed, easy to find, grows fast, and flowers profusely in spring and summer. The flowers are the feature if you like bees, and the drawback if you walk barefoot and don’t. Keeping a clean edge where the clover meets the beds also keeps it from spreading where it’s not wanted — the same tools and technique covered in our guide to edging a lawn apply here too.
Microclover is a smaller-leafed variety bred specifically for lawns. Less flowering, finer texture, blends better with existing grass if you’re overseeding rather than starting fresh. Costs more per pound. Worth it if you want the lawn to look like a lawn rather than a meadow.
Strawberry clover and crimson clover exist. Skip them for residential lawns. Strawberry is for wet soils, and most people don’t have that. Crimson is an annual.
When to Plant
Early fall is best in most climates.
Soil is still warm, rain is more reliable, and you give the seedlings months to establish before any real heat hits. Spring works too, but you’re racing the summer.
Avoid mid-summer.
Clover germinates fine in heat, but the seedlings will fry before they’re established unless you commit to watering them daily for three weeks, which defeats most of the point.
Prep the Ground
Clover seed is tiny and needs soil contact to germinate. Throwing it on top of a compacted lawn or a thatch layer and walking away is how you end up with bare patches and a story about how clover doesn’t work.
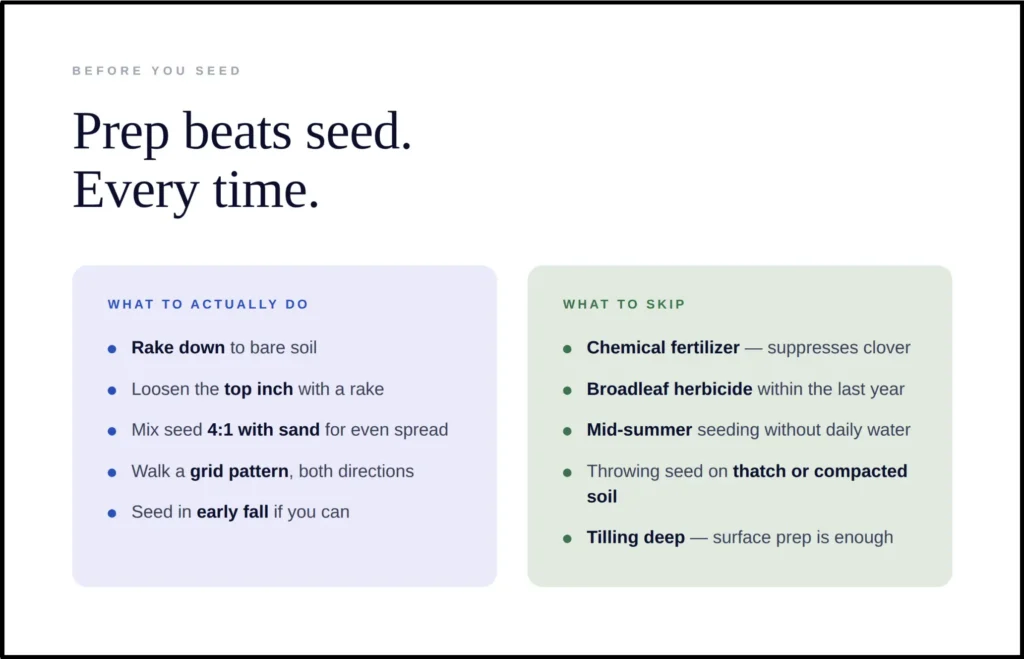
For a new lawn: rake down to bare soil. Loosen the top inch with a rake or a thatching tool. Remove rocks and debris. You don’t need to till because clover roots are shallow enough that surface prep is enough.
For overseeding into existing grass: mow short, scalp it really. Then rake hard to expose dirt between the blades. The seed needs to touch soil, not sit on grass.
Skip the chemical fertilizer. Clover fixes its own nitrogen, and high-nitrogen soil actually suppresses it, which is why a well-fertilized grass lawn pushes clover out over time.
Seeding Rates
For a pure clover lawn: roughly 8 oz of seed per 1,000 sq ft.
For overseeding into existing grass to build a mixed lawn: 4 to 6 oz per 1,000 sq ft.
Mix the seed with sand or sawdust at about 4:1 before broadcasting. Clover seed is small enough that spreading it evenly by hand is hard, the filler makes it visible and gives you something to actually distribute.
Walk a grid pattern. North-south first, then east-west. Catches the spots you’d otherwise miss.
Water Until It’s Up
This is the only stage where clover needs real watering. Keep the top half-inch of soil consistently moist for 7 to 14 days while it germinates. Light watering twice a day is better than one heavy soak.
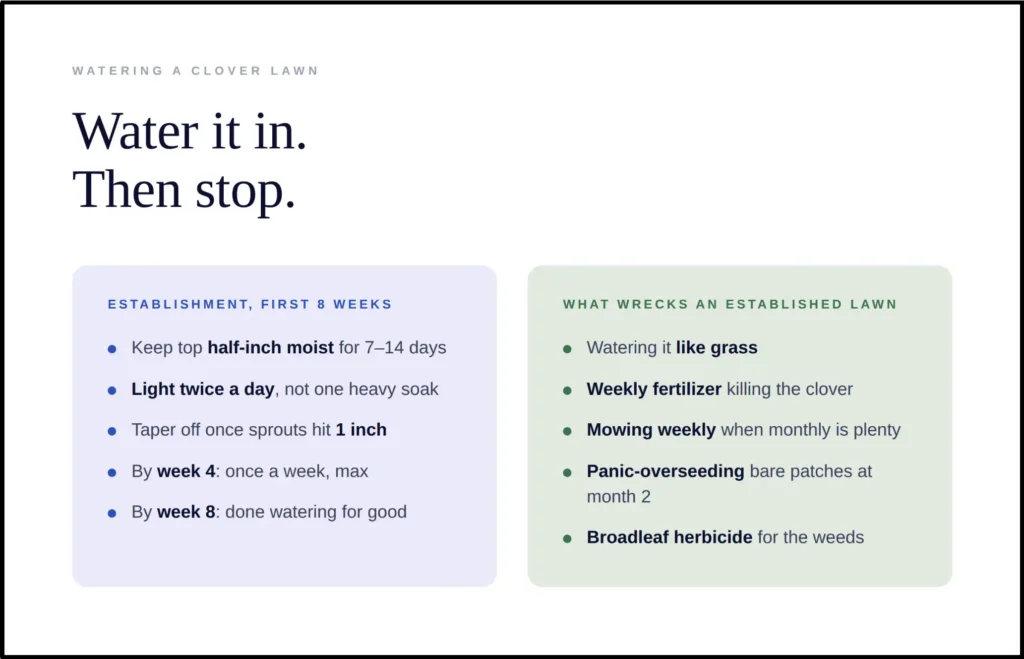
Once you see green sprouts an inch high, taper off. By week four, you should be watering once a week at most. By week eight, you’re done watering on purpose for the life of the lawn unless you hit a serious drought.
This is where most people sabotage themselves.
They water the established clover the way they watered the grass and end up with weak roots, fungal problems, and the same water bill as before. Stop watering. The whole point is that it doesn’t need it.
The First Year
Clover establishes faster than grass but takes a full season to fill in completely. Expect bare patches in month two. Don’t panic-overseed. They’ll close in by month four as the plants spread laterally.
Mow if you want to. Once a month, at 3 to 4 inches is plenty. Some people don’t mow at all and let it bloom. The flowers attract bees, which is either the point or a dealbreaker depending on the household.
Weeds will show up. Most will lose to the clover once it’s dense. Hand-pull anything obvious in the first few months. Don’t use broadleaf herbicides, they kill clover faster than they kill the weeds you’re after.
What Goes Wrong
Heavy clay soil that doesn’t drain. Clover hates wet feet. Either amend the soil or pick a different plant.
Deep shade. Clover wants four hours of direct sun minimum. Under dense tree canopy, it’ll struggle.
Dog urine. Same problem as grass, you may get yellow patches. Clover handles it slightly better but isn’t immune.
Existing grass lawns treated with broadleaf herbicide within the last year. The residue will kill new clover seedlings. Wait a full year before seeding or accept patchy results.
After It’s In
The lawn mostly takes care of itself. The biggest mistake at this stage is doing too much, like watering and fertilizing it like grass, or mowing it weekly. None of that is necessary, and most of it is counterproductive.
A clover lawn has a different relationship with the yard. Less work, less water, less money, fewer chemicals. The aesthetics are different too, softer, slightly wilder, with flowers in the warm months if you let it bloom. But clover is not for everyone — before you commit either way, our clover lawn versus grass for your yard comparison weighs both sides. If it has already spread through a traditional grass lawn and you want it gone, see our guide on how to get rid of clover in your lawn for removal methods that actually work.
If the rest of the yard is going low-maintenance, too, the pool is usually the last piece still asking for regular attention.
Aiper’s smart sprinkler system helps automate watering schedules based on actual lawn needs, which fits much better with low-input lawn setups like clover than rigid daily watering routines.
Get more pool and lawn care guides from Aiper on Google