How to Winterize an Inground Pool: Step-by-Step
Most pool problems that show up in spring were made in the fall.
The algae bloom you’re fighting in April, or the cracked fitting you found when you pulled the cover trace back to a close that was rushed, or skipped a step, or done on a day that was too warm because you wanted to be finished with it.
Winterizing an inground pool is a sequence. And like most sequences, the order matters more than any individual step.
This is for concrete and vinyl-liner inground pools in climates where water freezes. If you’re in Phoenix or central Florida, some of this applies, and a lot of it doesn’t, you’re dealing with a different set of problems.
Time It Right
The water has to be consistently below 65°F before you close. Not air temperature. Water temperature.
Above 65°F, algae reproduce fast enough that a closing dose of algaecide won’t hold through a five-month winter. The water looks fine when you cover it.
By March, it’s a swamp. Below 60°F, and algae growth slows dramatically, closing at 55°F or below, and you’ll open to water that still looks recognizable.
Check the extended forecast. You want at least two weeks of nights in the 40s ahead of you. One warm week after a cold snap can be enough to undo a good close if the water temperature spikes back up before you put the cover on.
A lot of pool owners pick a calendar date. Labor Day, Columbus Day, “before Halloween.” That works fine until it doesn’t. A warm October will cost you in April.
Balance the Chemistry First
Do this three to five days before you plan to close, not the same afternoon. You need time for adjustments to work.
- pH: 7.2 to 7.6. Tighter than your summer range. If the pH drifts high over winter, scale forms on surfaces and equipment. Low pH eats the liner and corrodes metal fittings.
- Alkalinity: 80 to 120 ppm. This is your buffer. If alkalinity is off, pH swings, and then everything else swings with it.
- Calcium hardness: 175 to 225 ppm for vinyl, 200 to 275 for plaster or concrete. Soft water is aggressive. It will leach calcium out of your plaster finish and pit it over a long winter. Hard water scales.
- Stabilizer (cyanuric acid): 40 to 80 ppm. Some people skip this for winter since you’re not fighting UV degradation when there’s no sun. That’s fine. It’s not going to hurt anything either way.
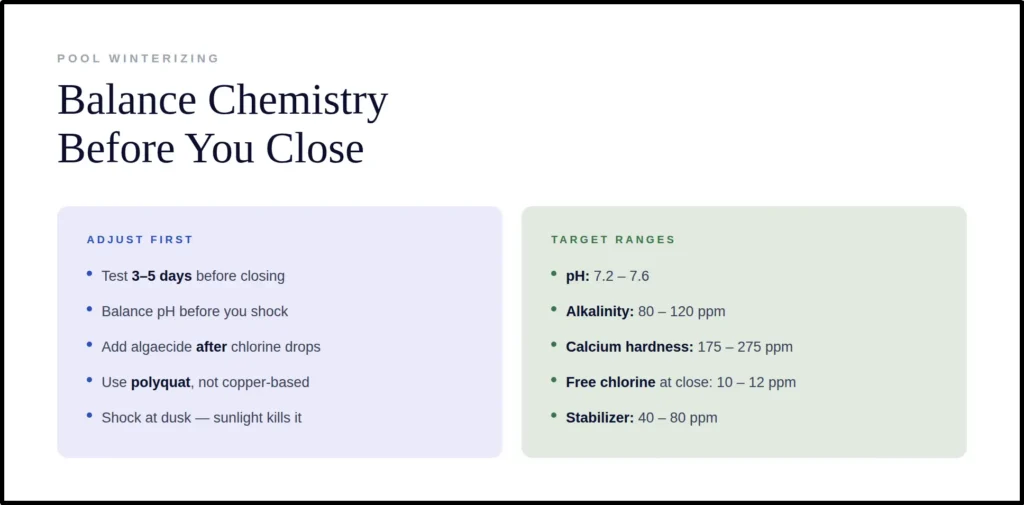
Get all of that balanced before you shock. Shocking out-of-balance water wastes product and gives you inaccurate results.
Shock the Pool
Shock with calcium hypochlorite (cal-hypo, the granular stuff) at a rate of 2 lbs per 10,000 gallons. More if the water’s been struggling through a warm September.
Do it at dusk or night. Sunlight burns off unstabilized chlorine fast. You want the shock to circulate overnight and actually work.
Pre-dissolve the granules in a bucket of water before adding them to the pool. Undissolved granules sitting on a vinyl liner will bleach it. On plaster, they can etch. It takes four minutes, and it matters.
Run the pump for at least eight hours after shocking — ideally overnight and into the next morning. Check the chlorine level before you proceed. You want free chlorine between 10 and 12 ppm at close. It’ll drop over winter as it slowly works, and you want it to finish winter somewhere above zero.
Don’t add any winterizing algaecide until chlorine levels drop back to 5 ppm or below. High chlorine degrades algaecide on contact.
Add Winterizing Chemicals
Once chlorine has come back down, this is the order:
- Algaecide. Use a polyquat algaecide, not copper-based. Copper algaecides are cheaper, but they stain. Polyquat is more expensive, and it doesn’t stain white plaster or vinyl. Run the pump while adding it so it distributes evenly.
- Phosphate remover (optional, but worth it). Algae need phosphates. Remove their food source, and you give yourself a bigger margin for error if something goes sideways chemically over winter. One treatment before closing is enough.
- A winterizing enzyme product like Natural Chemistry’s Pool Magic. These break down non-living organics, sunscreen, body oils, and environmental debris that accumulate under the cover over winter. They prevent the waterline ring that forms when organics concentrate at the surface. Not essential. Worth using.
Some people add a metal sequestrant if their water source is high in iron or copper. If you’ve ever opened to a green or brown tinge that wasn’t algae, that’s your call.
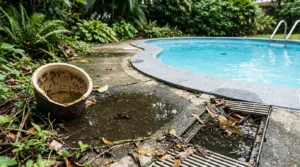
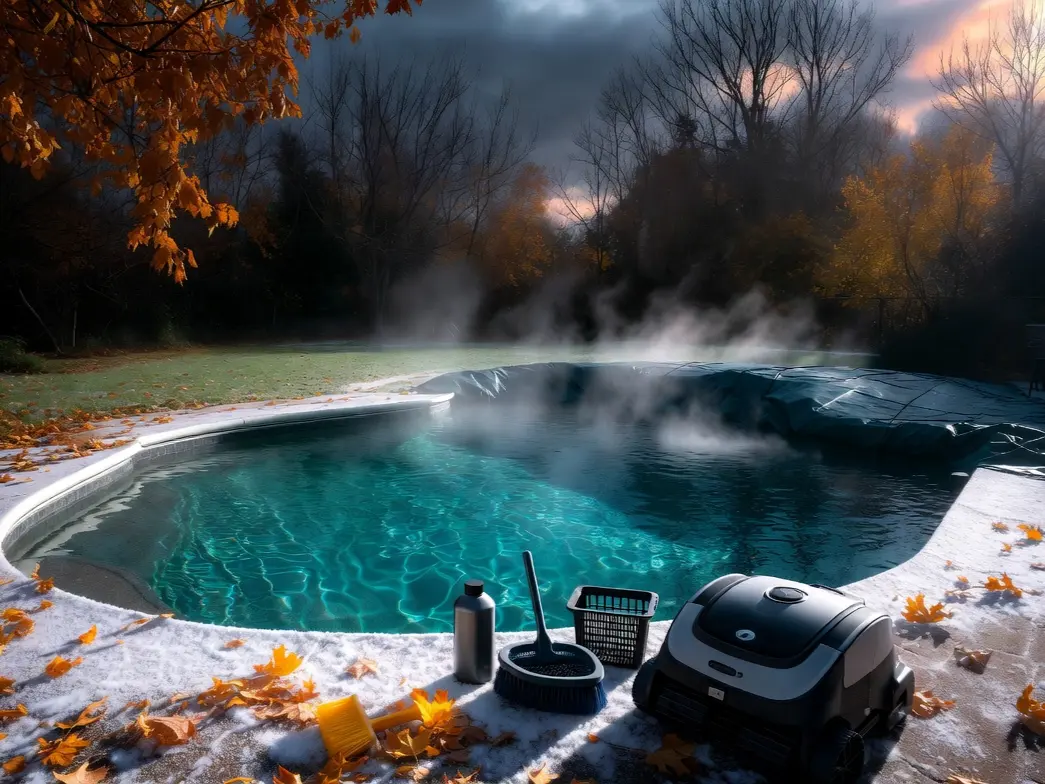
Clean Everything Before You Cover It
This sounds obvious. It gets skipped constantly.
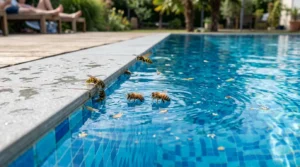
Skim the surface. Vacuum the floor and walls. Brush every surface you can reach. Every piece of organic material you leave in that water, a leaf, a dead bug, a clump of pollen, is food for bacteria and algae over a long, covered, dark winter.
The water will smell. It will be harder to clear in the spring.
Scrub the tile line and waterline if you have calcium or organic staining. You won’t be able to do it effectively after the cover goes on, and it’ll be worse by April.
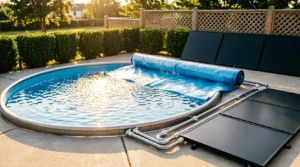
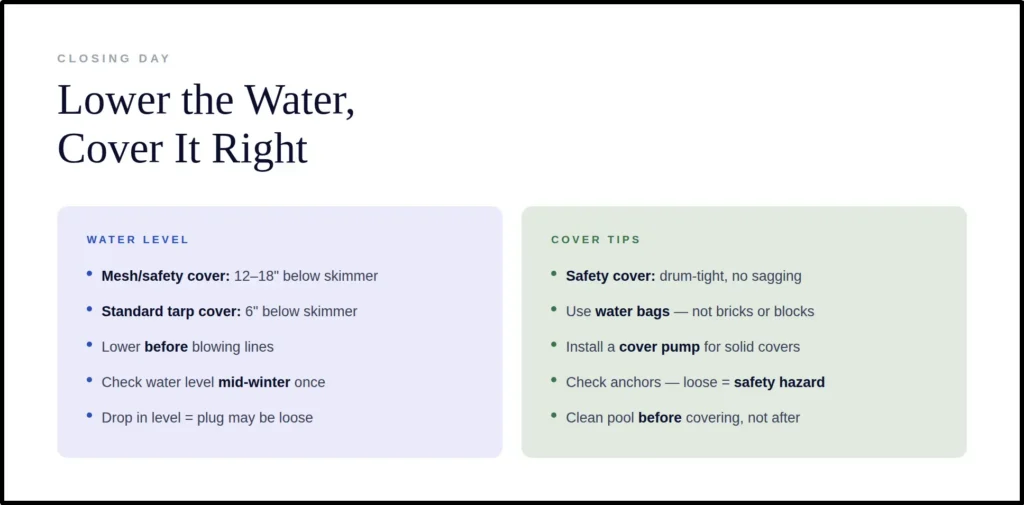
Lower the Water Level
Where you lower it to depends on your cover type.
- Solid safety cover or mesh cover: Lower the water to 12 to 18 inches below the skimmer opening. Mesh covers let debris and some water through, so you need more room. Solid covers hold water on top, and that water has to go somewhere, so you need a cover pump, which is a separate conversation.
- Standard winter cover (the tarp-and-water-bags kind): Lower to about 6 inches below the skimmer opening. You’re keeping the water close enough to support the cover from underneath, but below the point where it’ll push back up into the plumbing.
The reason for lowering the water at all is simple: water expands when it freezes. Any water left in the plumbing, in the pump, in the filter, in the heater, will expand if it freezes and crack whatever it’s sitting in.
Blow Out and Plug the Lines
This is the most consequential step. A cracked PVC line under a deck costs more to fix than everything else in this article combined.
You need a shop vac or a dedicated pool blower (not a leaf blower). Attach it to each line in turn.
- The return lines first. Close the main drain valve. Open the return lines, attach the blower to the equipment end, and blow air through until you see bubbles erupting from the returns in the pool.
- The skimmer lines next. Same approach: blow until bubbles come out of the pool end, then plug the skimmer. Use a Gizzmo, rather than just a foam plug. A Gizzmo is designed to compress as ice forms around it; it gives the expanding ice somewhere to go instead of cracking the skimmer body.
- The main drain. If your main drain line has an equalizer or shutoff, close it after blowing. If not, you can leave a small ball of air in the line, and it’ll be fine. The main drain is typically deep enough that the water above it doesn’t freeze.
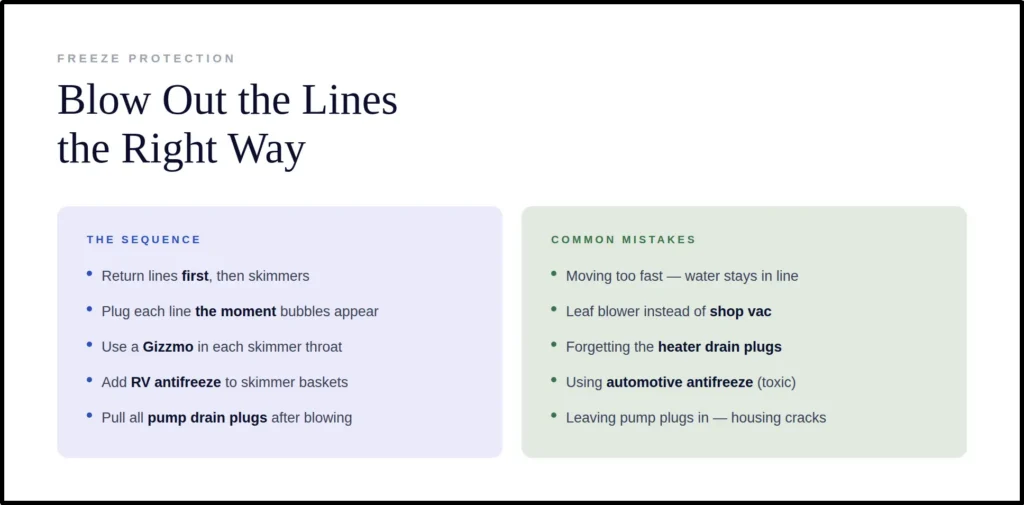
Put a half cup of non-toxic RV antifreeze in each skimmer basket after you blow the lines. It’s a cheap insurance policy for whatever water might seep back in.
The Equipment
For the equipment, here’s what you need to know.
Pump
Remove the drain plugs from the pump housing. There are usually two, one on each side of the volute. Set them in the pump basket so you don’t lose them. Tip the pump housing to drain any residual water if you can.
Filter
Sand filter gets the drain plug pulled, and the multiport valve rotated to winterize or closed, or if yours doesn’t have that position, to somewhere between settings so the valve can’t hold water in any passage. The cartridge filter gets the cartridge removed, rinsed, and stored inside. The DE filter gets backwashed, drained, disassembled, and the grids are stored somewhere it won’t freeze.
Heater
This is the one people underestimate. Pull the drain plugs on the header, usually brass or plastic hex plugs on the front face of the heater. Tip the heater slightly if you can to drain water from the heat exchanger.
If your heater has a bypass, make sure it’s set so water doesn’t loop back into the heater manifold. A frozen heat exchanger is a $600 part.
Don’t forget the chemical feeder or salt chlorinator. Pull the cell and store it inside. Salt cells crack in freezing temperatures. The cell housing is fine outside, the cell itself is not.
One Less Thing to Think About Come Spring
A clean pool going into winter is easier to close, easier to open, and easier to maintain all season long.
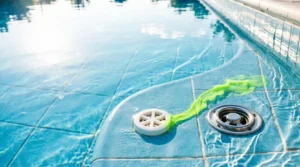
Aiper’s robotic pool cleaners handle the floor, walls, and waterline autonomously, with no hoses, no manual vacuuming, no arguing with a pressure-side cleaner that keeps climbing out of the deep end.
Before you close, run an Aiper for one final cleaning pass. You’ll pull the cover over a pool that’s actually clean, not one with a season’s worth of settled debris waiting to break down under a tarp for five months.
Come spring, the same principle applies. Drop it in before you start balancing chemistry, let it clear the floor, then treat the water. One less variable.